Ad-Free Blog
You don't have to be a magician to cobble together some Halloween costumes for your dolls. Just like real life we have stuff in our closets which are costume fodder.
Since most of of my doll outfits are bought in thrift stores...and bag lots---I have a myriad of odd stuff to pick from. When I did the skeleton Bash in 2017, I had to come up with 40 some costumes---all different---so I was tested in the ingenuity department.
 |
| barbieoldnewgreenredo |
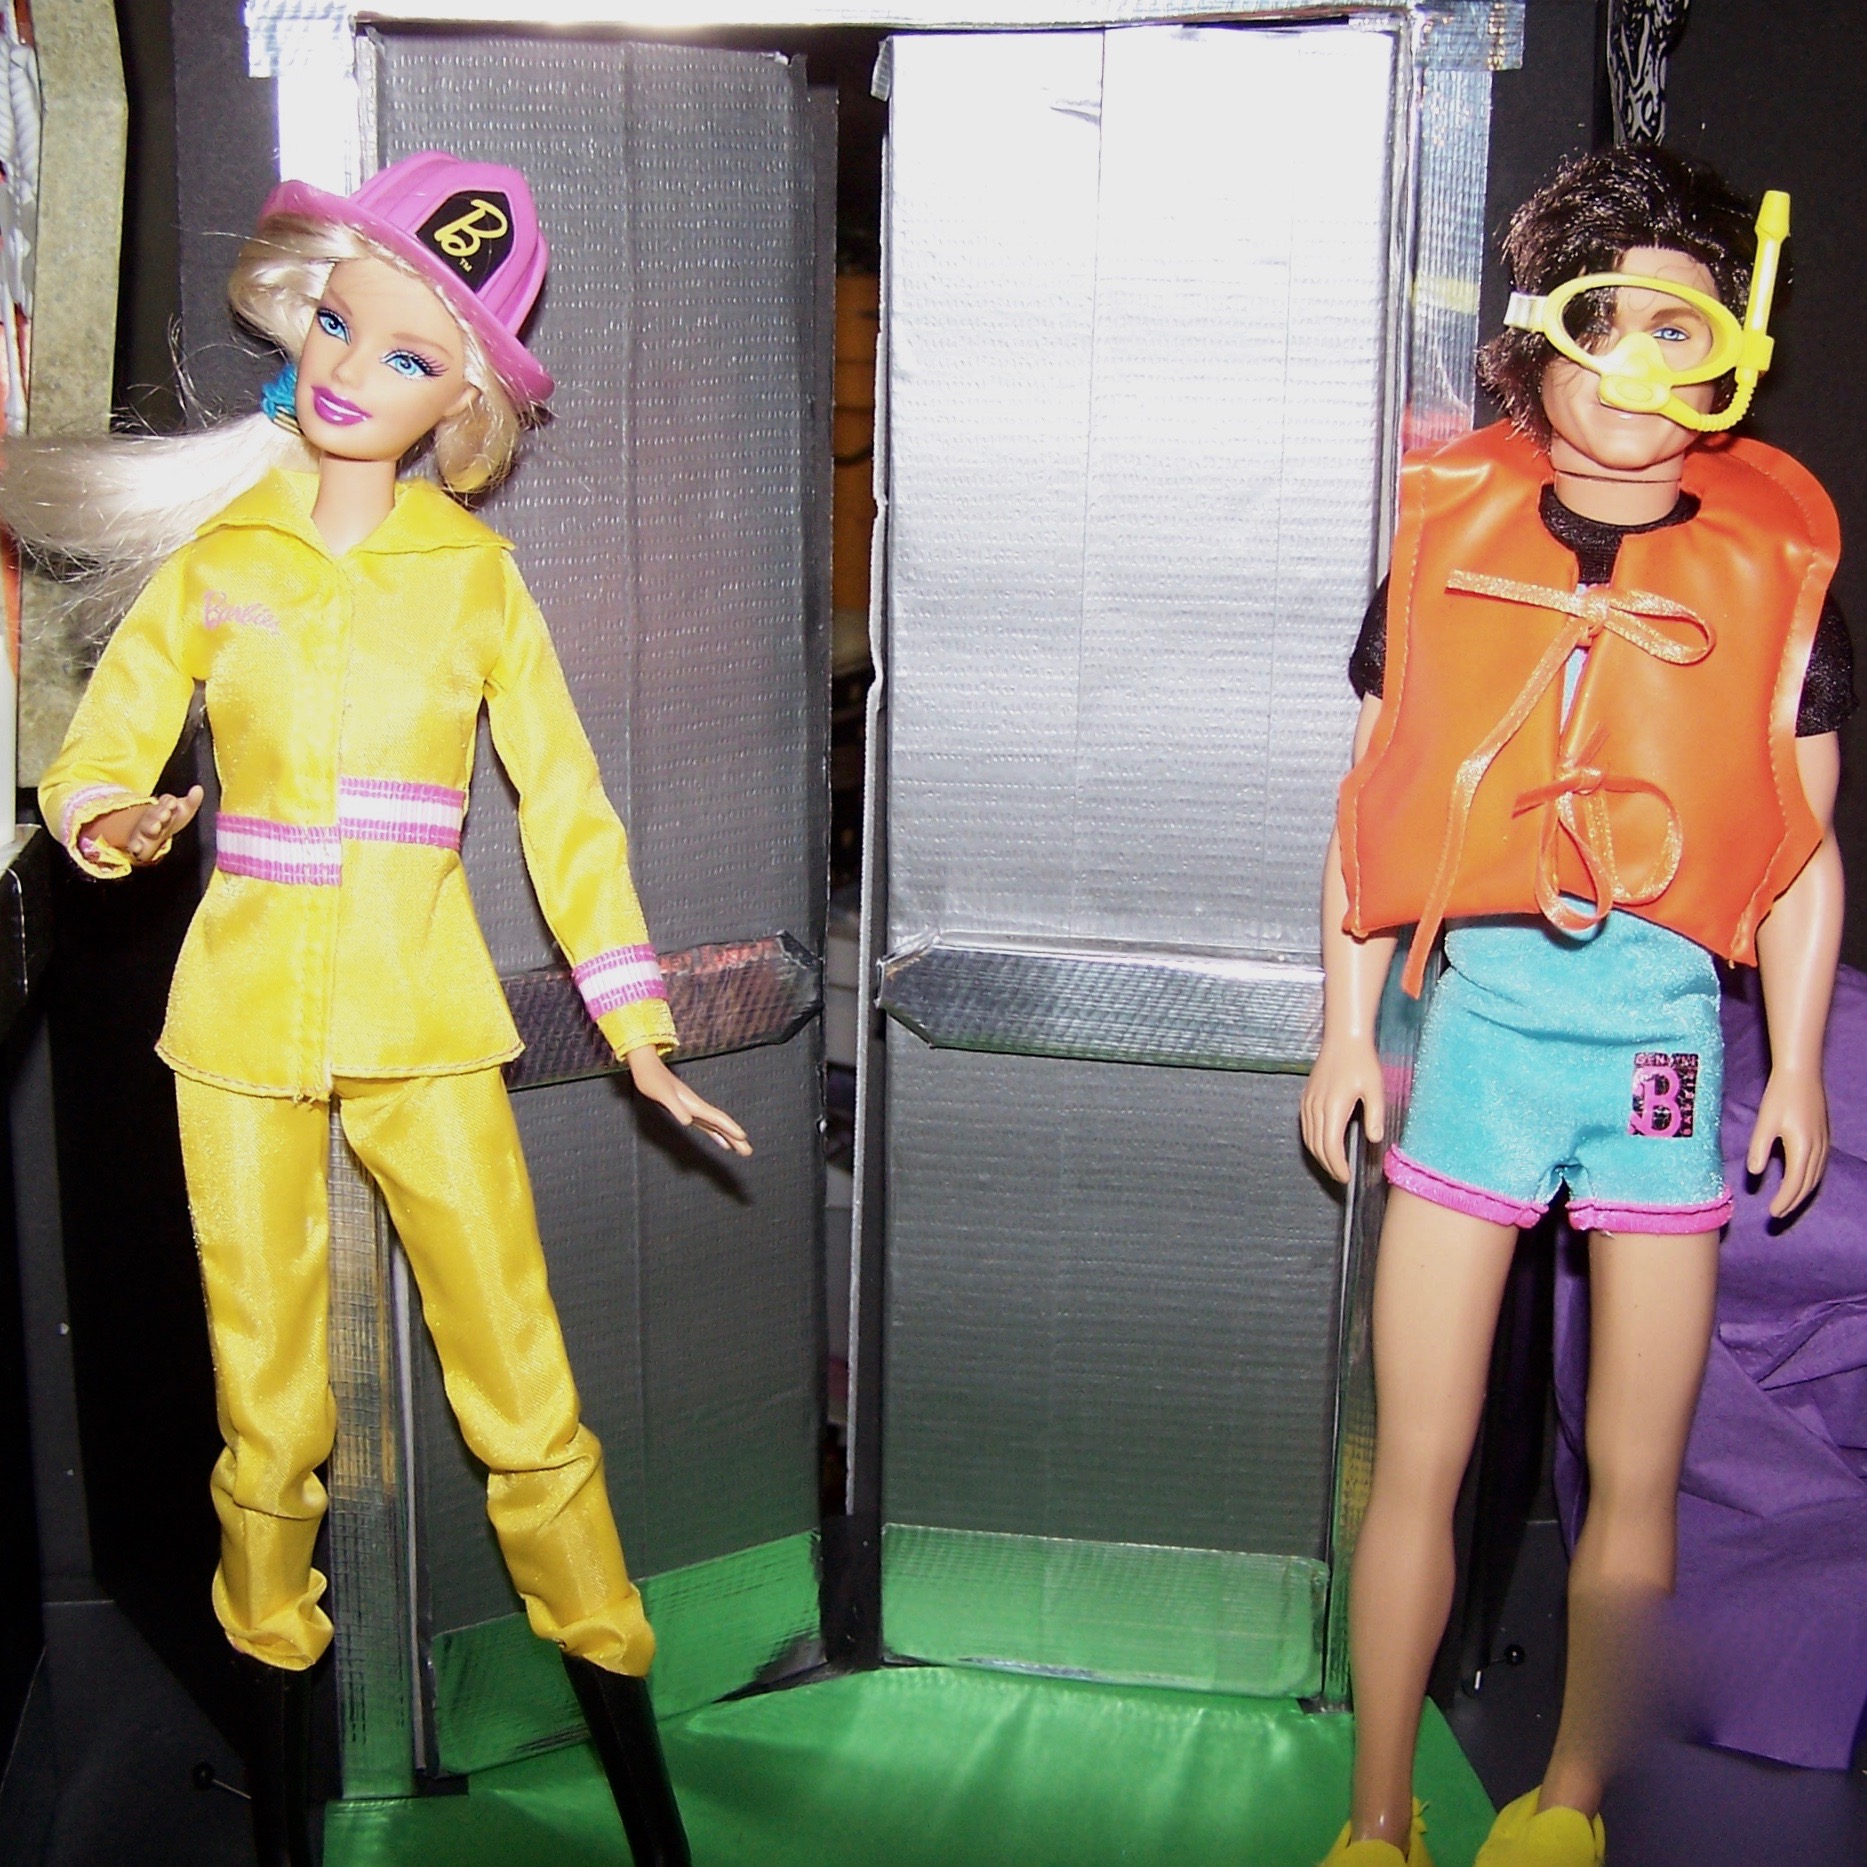
If you have ever worn a uniform---or gone diving---you have a costume ready to use for yourself, well it's the same for your dolls. Just work on extra details, and don't forget the accessories. Barbie forgot her ax...where ever it was, perhaps in someon's head. The snorkeling outfit, is actually a doll swimsuit, and a life preserver (probably GI Joe) and a barbie mask--the fins were homemade.
 |
| barbieoldnewgreenredo |
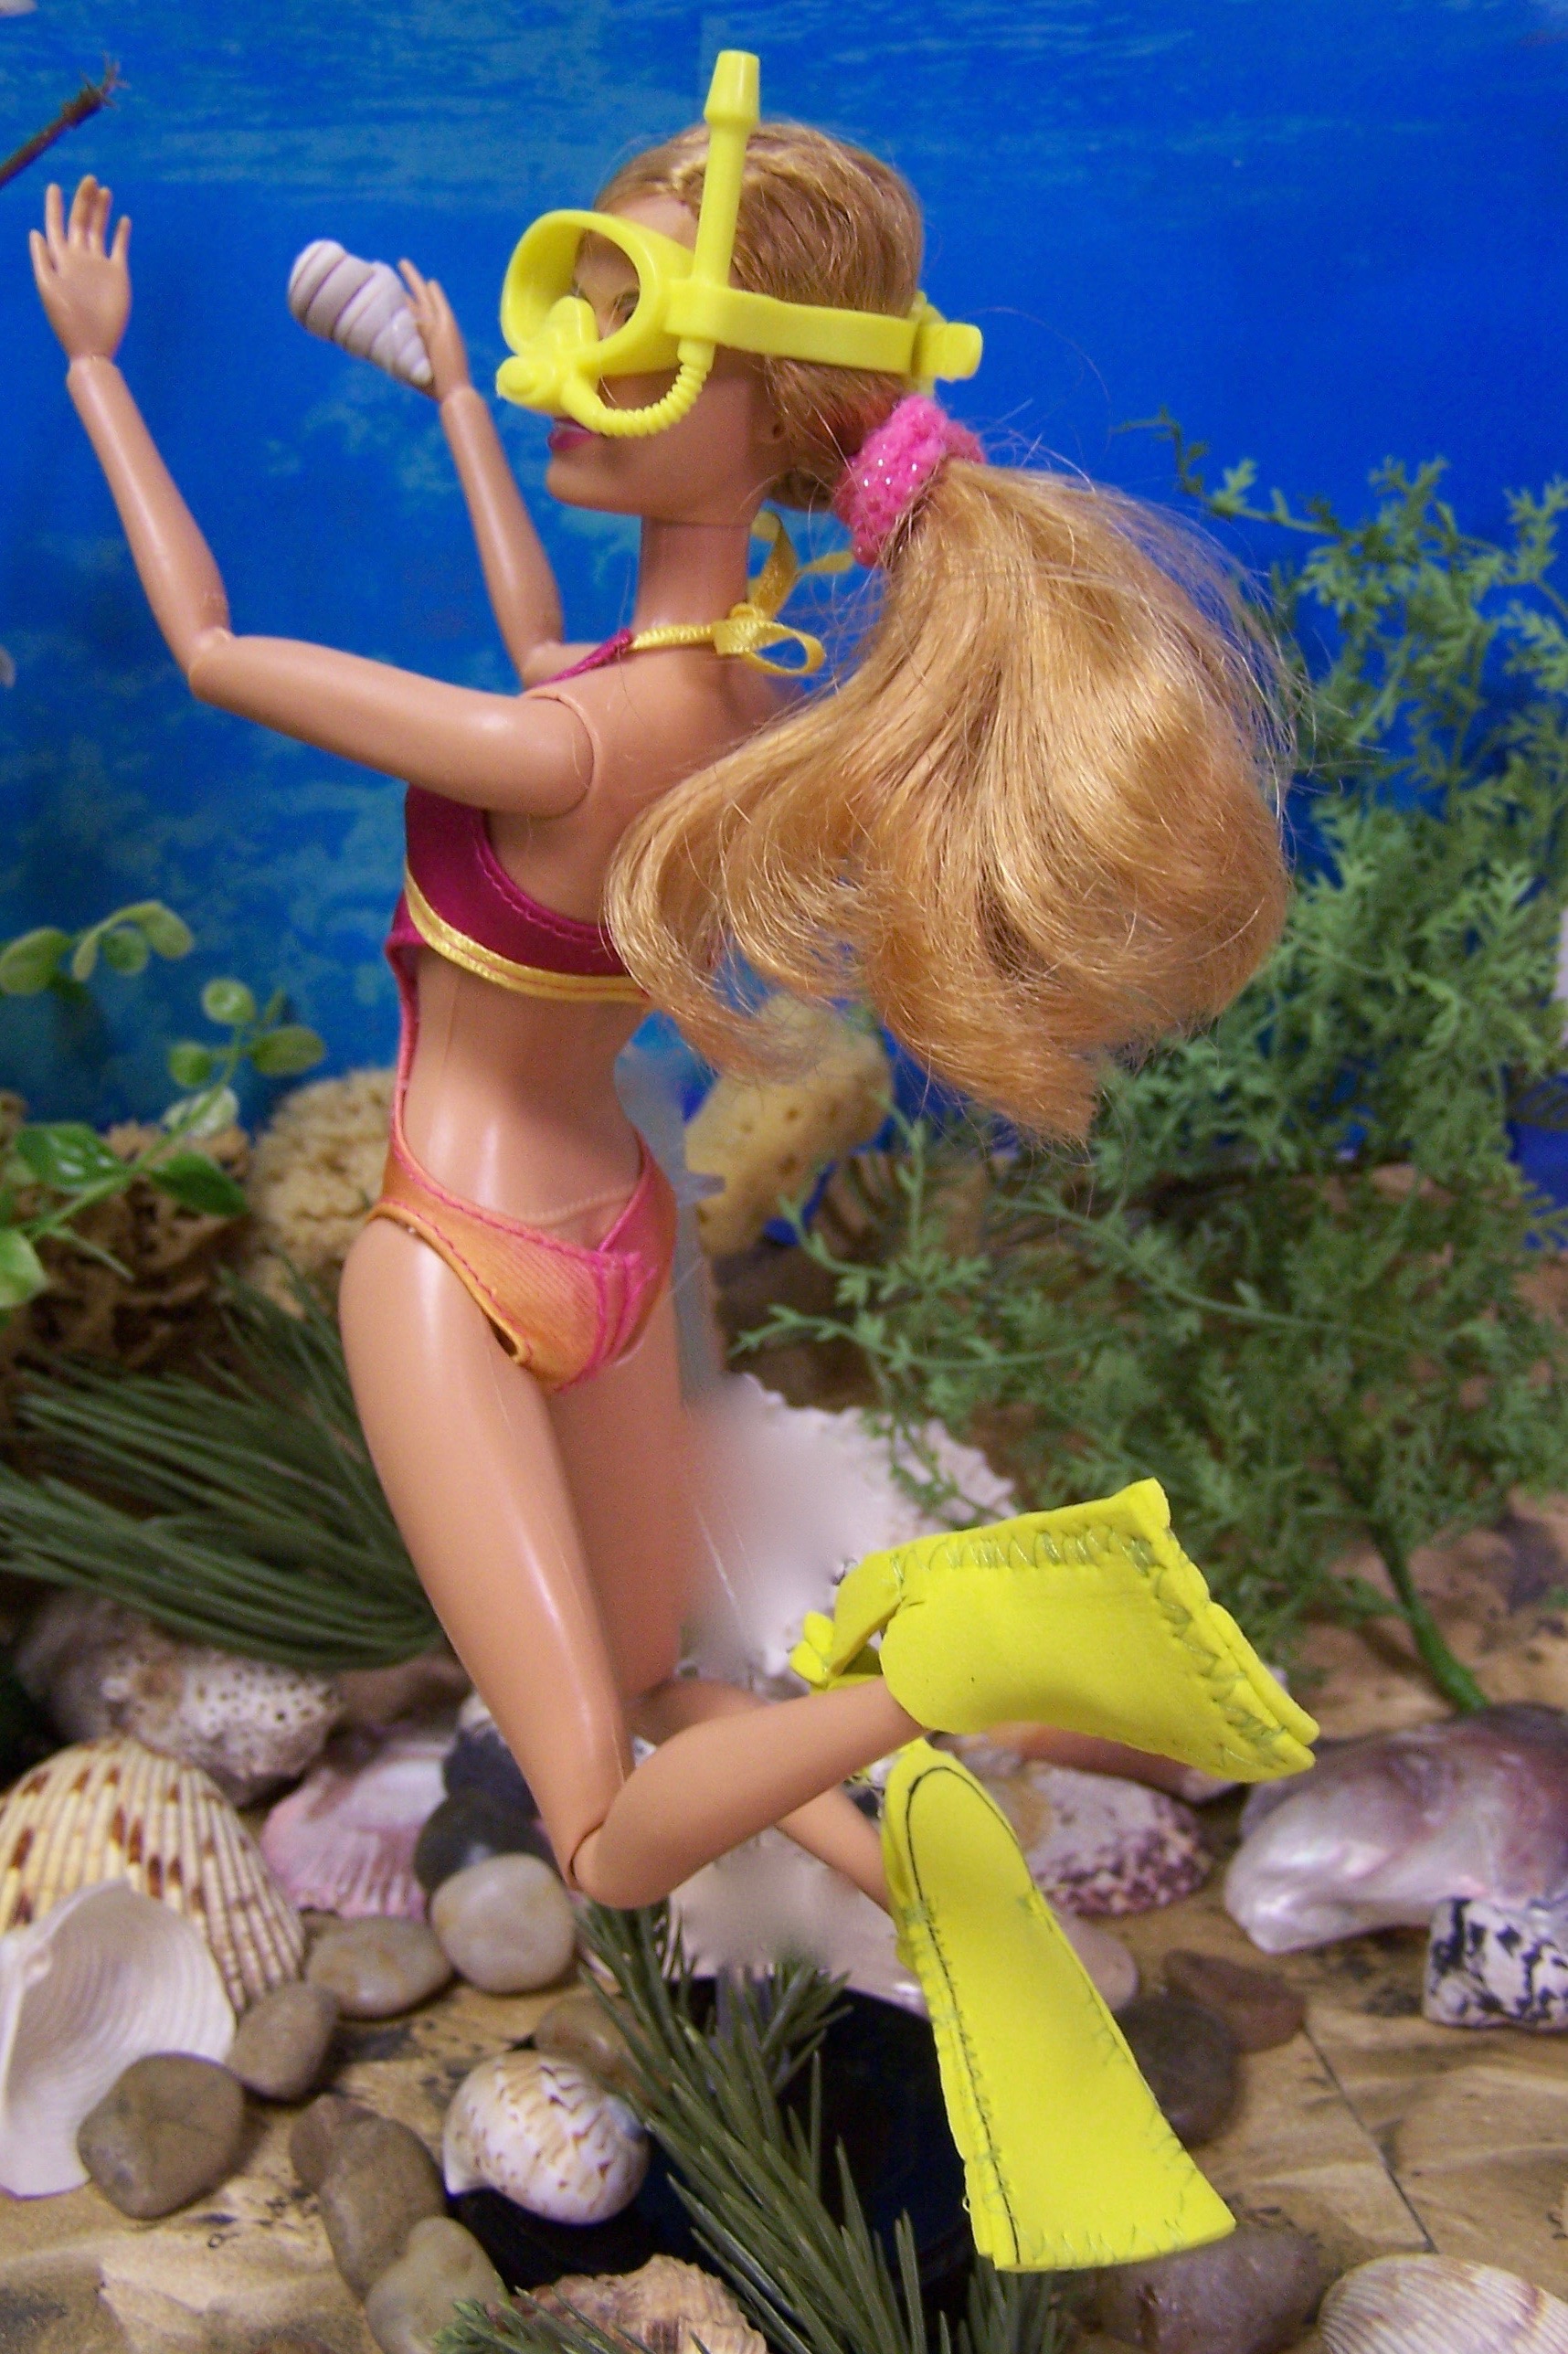
Here's a better shot of the same homemade fins...made from Kid's Foam, and just stitched. together...foam glue would work also.
 |
| barbieoldnewgreenredo |
If you have access to any of the 80's-90's clothes---the colors alone will make costumes...here some mismatched pieces helping to make up a Girl Band---add some instruments and crazy hair, and you have the perfect band.
 |
| barbieoldnewgreenredo |
If you buy any dolls in thrift stores you end up with tons of Princess outfits, that I won't even go into---here the pantaloons were found in a thrift store...the top is a scrap of turquoise tee shirt, covered in the gold shiny fabric also used for the headpiece. Jewels are a scrap of trim with $$store glue ons for jewelry. Bracelets are made from curly hair scrunchies...and you have a 'Jasmine'. Print a rug on your printer and glue it to fabric, add fringe and you have a flying carpet.
 |
| barbieoldnewgreenredo |
This Guard costume was 100% homemade. Bits of fabric, only the pants were sewn from some thin black fabric. I pick up 1/4 yard pieces and occasionally a thrift store piece. (I confess my fabric stash is huge-and needs to be thinned out)
His sword is cardstock with shiny tape covering both sides and handle, black electricians tape. Sash and turban are just jersey fabrics wrapped and maybe pinned on. Boots were made from fake gold leather...chest shield is scrapbook cardstock painted with Modge podge-front and back...makes it protected and flexible. Armbands are shiny tape
The evil handmaiden costume is two pieces of Ribbon with wires pulled out...ends turned under and sewn---Fringe added. Hair pieces are same ribbon modge-podged to cardstock and stuck in her head with pins. Jewelry was made by me from bits and bobs.
 |
| barbieoldnewgreenredo |
These two were basically old pieces mixed with other costumes. Hers---was the fortune teller pieces(shown later) with a black top and a coin belt. Him an embroidered jacket, over some TNT 80's pants, with a sash of printed ribbon. (pants were left open under the jacket). Headpiece is a square of fabric tied with thin ribbon. Beard is unwound yarn bunched up on doublestick tape.
 |
| barbieoldnewgreenredo |
The entire cast was all handmade except the yellow/burgundy Mogul's costume in the back which was found in a mixed thrift store bag--His hat was made with a layer of gold 'leatherette' and some scrap burgundy velvety fabric.
 |
| barbieoldnewgreenredo |
Thief of Bagdad pants were Barbie clone pants. The top was cut from a Chellywood pattern and altered a bit for Douglas Fairbanks' trademark chest exposure. Belt was multi-layered Christmas ribbon, and jewelry was again bits and bobs.
Hat was made from a scrap velour scrap and cut from a pattern from the internet.
 |
| barbieoldnewgreenredo |
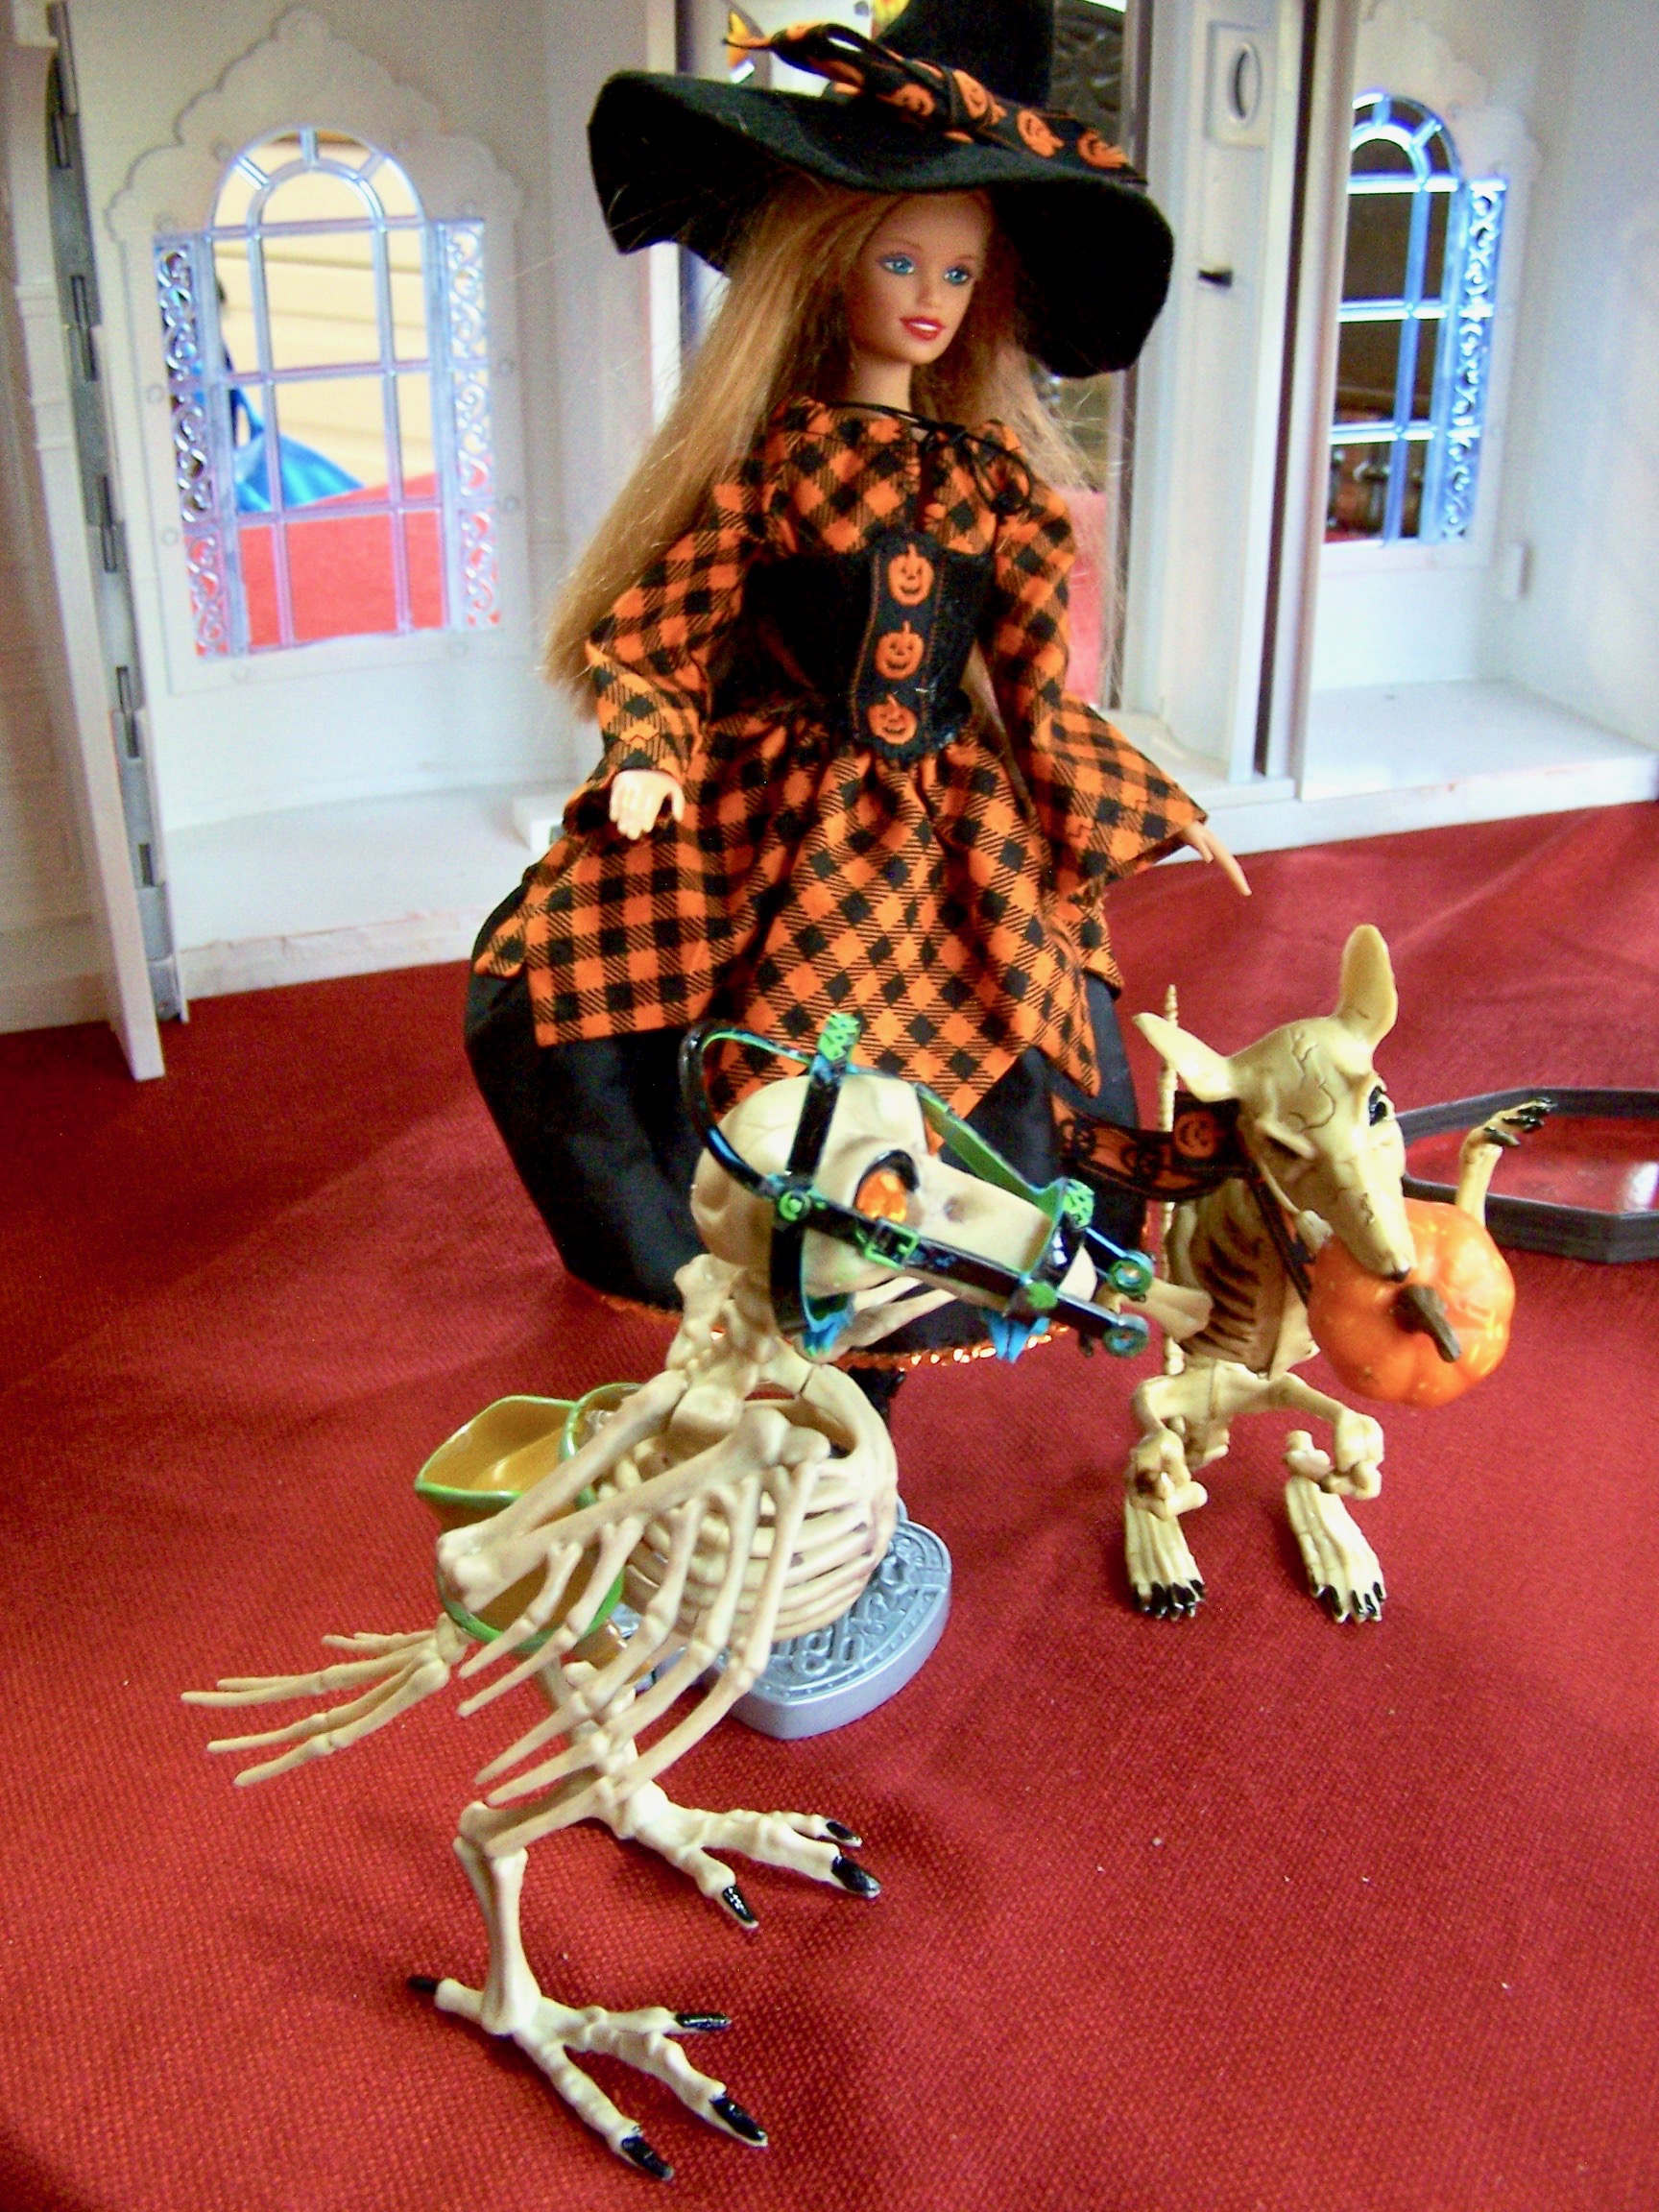
What's Halloween without Witches and Pumpkins.
Witch on the left was all handmade. I used the check fabric on the bias...topskirt was cut with the diamonds tips cut to the checks, and then sewn right on the line of the next row. Gather and use ribbon for waistband. Under skirt was a scrap with some sequin trim sewn on the edge---gathered and a ribbon waistband. Top is a loose shirt made from a pattern from Chellywood Free Patterns. She has some great costume-like patterns and everyday clothes with easy tutorials...all from the goodness of her heart. Many of the Chellywood designs are simple and easy for a beginner.
Years ago, I purchased a huge grouping of out of print patterns for fashion dolls through Etsy---you print from a PDF file or on DVD's. UPSIDE is these are all 20 years or older. You can sew for your first classic barbie bodies, TNT's or any of the New dolls, by the date of the original pattern. By buying an assortment of old patterns on a DVD---I have a good selection of sources to mix and match. Also---rather than ordering actual used patterns---ALL the pieces will be there.
Huge different assortments of patterns are for the price of one new pattern today.
IMPORTANT: Make sure your printer is set to print in the proper scale---usually matching a 1" bar from pattern to 1" on your printed paper. Print one page before you print all of them.
Pumpkin girl is made from a kid's $$$Tore skirt with elastic at the top, I just hemmed the bottom and ran more elastic through. Add some straps, put over a green top---and add pumpkin sticker, tights, boots and a hat...so cute!
The Corset---was a free pattern for a TNT, I adapted it to fit a current Barbie, I don't have the exact source---but it was one piece, I used Felt---the forgiving fabric, and I have also made them in faux leather!

Enlarge the pattern on printing paper to meet the measurements in the upper left corner.
I reinforced the felt with trim or ribbon and cut off some of the exaggerated points on top---lace it up through grommets or just holes. I've used string, leather or fine ribbon braid for lacings. Iron on interfacing can reinforce the shape---but then for costumes, they are only worn once a year...lol. Feel free to screen shot this as is---make a copy to fit to your doll--enlarge a bit if necessary, 2% at a time at your printer settings.
 |
| barbieoldnewgreenredo |
Hats are made with a 1/3 circle of felt sewn to a cone shape, and then the bottom edge snipped and then glued into a donut shape for the brim. Sticky tape held this while the glue dried. Add some trim. I use cups or bowls to draw my circles.
$$$ store critters become great Pets for Halloween....it's always the accessories that make it FUN!
 |
| barbieoldnewgreenredo |
This King costume was actually made to coordinate with a thrift store Princess dress....all from Chellywood pattern. Crown above is actually a napkin holder....very elaborate and from a thrift store bag.
 |
| barbieoldnewgreenredo |
Here his gold top was made from a Chellywood patterns, and the fancy vest with added trim, and pants all from free patterns.
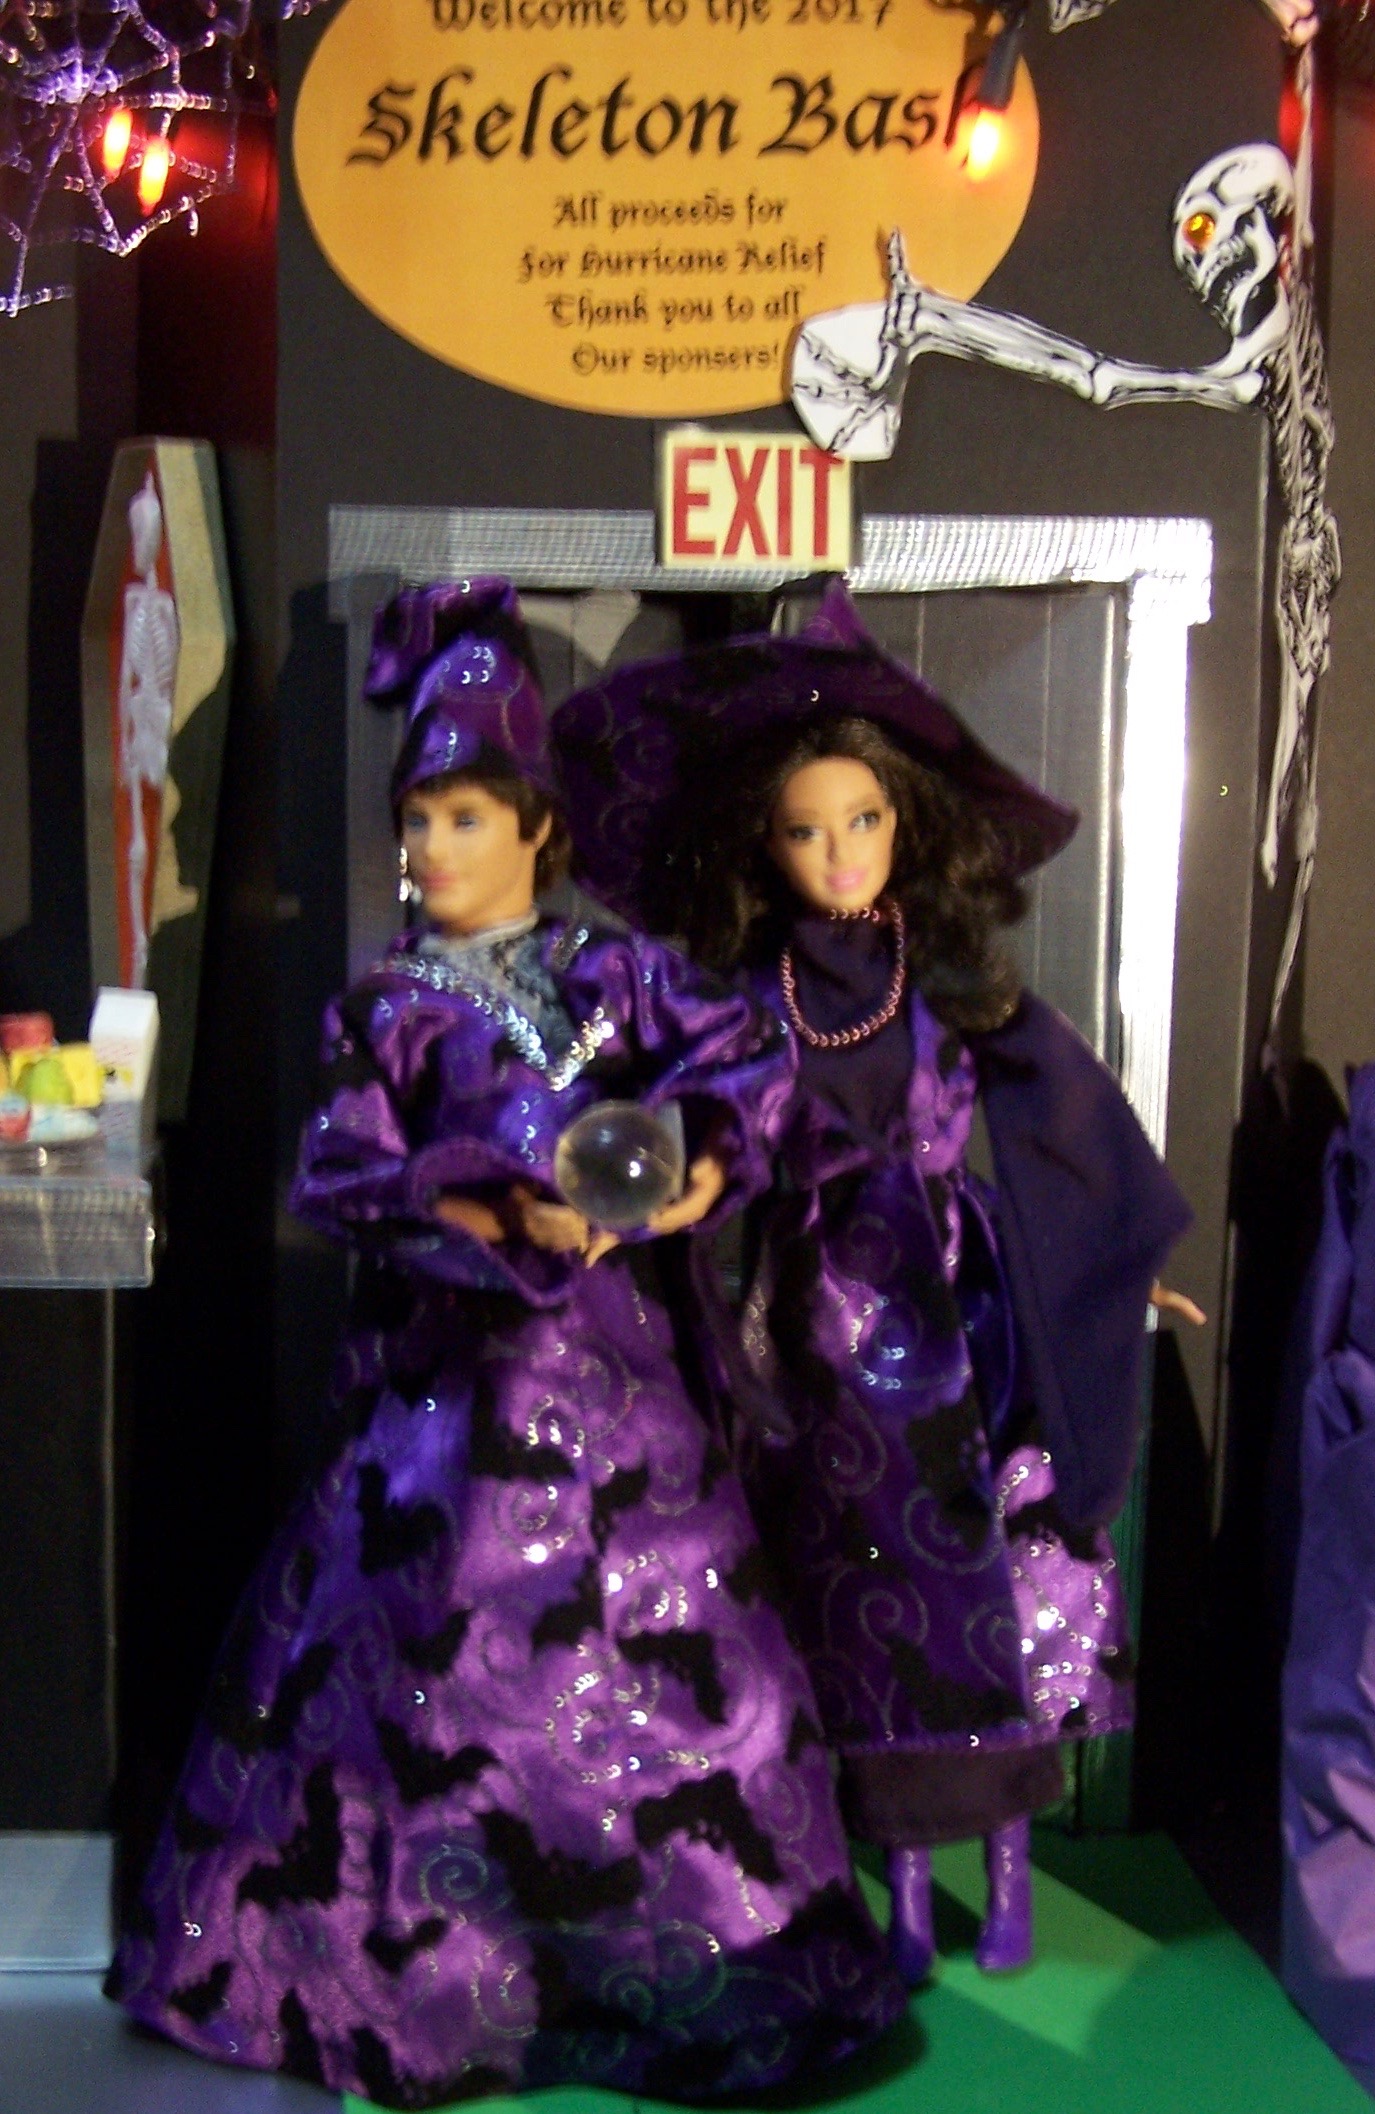
The purple dress is actually part of a witch costume. It's from a sheath pattern---I altered the sleeves by splitting the pattern piece from cuff to top of shoulder, open the bottom as wide as you want the sleeve bottom to be, keeping the shoulder seam the same---basically adding a long triangle insert to the sleeve.
Then I added length for the long drop on the cuff---faced the sleeve inside. It's really a simple pattern and easy to sew, using stretchy fabric which will work for all doll shapes. Her waist jewelry is actually a plastic doll necklace enhanced.
 |
| barbieoldnewgreenredo |
Here's the same purple dress with an over skirt and bodice from a Chellywood pattern made from Wide Halloween Ribbon bought at 80% off.
Perfect for dolls---this was 6" wide ribbon. Four lengths made the wizard costume for Ryan....Edges were trimmed with rick-rack or silver Christmas trim.
Crystal ball is really a bouncy ball from a kid's bag of Halloween stuff from $$$store.
His hat is just a cone made from a circle. I used the wired edge for one of the side seams...making the hat shapeable. Ryan has an old tee-shirt on underneath...just like Real Life,
 |
| barbieoldnewgreenredo |
Here you can see the back and simple design of these costumes.
 |
| barbieoldnewgreenredo |
Esmeralda was a $$store spider with trim and a hat added...something spooky becomes a cute mascot!
 |
| barbieoldnewgreenredo |
Dracula was very easy---a tuxedo---any tuxedo, add red pins as buttons. White tape fangs stuck to his mouth. Dude glasses, cause he is a HIP Dracula, and a red cape with a white taped collar! I even used a doll who already had a beard.
 |
| barbieoldnewgreenredo |
Matching costumes for couples is always a favorite. Other than a bunch of Prince and Princesses---you have Pirates.
Again, I used Chellywood for the pirate hat and guys' vest. Swords and belts are felt with cardstock covered with silver tape or kids foam covered with silver tape. Belts are felt with silver trim.
His pants are regular pants in cotton....easy make or even use tights. Shirt is open and altered from Chelly's pattern. Bandana and boots for his accessories.
 |
| barbieoldnewgreenredo |
Her hat is a tri-corner hat made from felt and a skull glued from fabric. Blouse is a knit in blood red, made from a DVD pattern. This is a little bit more sewing--and threading elastic into the sleeves and neck...big and blousy it fits anyone.
Her culottes were made from a 1970's pattern for a split skirt...remember those---perfect for a female pirate. Add boots and some jewelry a lace sash and she's ready to pillage.
 |
| barbieoldnewgreenredo |
Joe's costume was a Vest---made from a Chelly pattern with added trim, contrast stitching and painstakingly cut fringe in some thin leatherette...his headband is the same.
The rub-on hand tattoos worked super and well..he's an instant biker.
 |
| barbieoldnewgreenredo |
His chest and arms were perfect for the tattoos. Vickie's gown was found in a thrift store.
 |
| barbieoldnewgreenredo |
My favorite costumes were Ragnar and Lagertha from Vikings.
Shields and swords were made from kids foam and metal finish tape.

Ragnar actually has a Disney Top from Frozen, Kristoff. Bare armed the Viking look is enhanced with armbands and an amulet neck piece. Add some gray leggings, boots and weapons and he is ready to go. Oh, the hair tied up---is fun too.
Lagertha ---I chose a really light blonde doll for her hair, which I braided with leather pieces. She has an embossed leatherette skirt and vest---really just made by cutting from outlines of her body. The skirt is a wrap around rectangle of leather fabric. Laced together with red strings on the sides and neck, it's pretty easy-just poke with a large needle and use a tiny hook to pull string through.
Fur-piece is actually cut in animal skin shapes, added eyes and ears and stitched loosely together with a hook and eye attached to hold it. Boots were roughly cut from shoe shapes wide enough to get on and off her bare legs. Vikings were Hardy! Her shield is also from kids-foam and tape.
 |
| barbieoldnewgreenredo |
My fortune teller was made from one of the PDF patterns...puffy shirt and some eclectic fabrics, over skirt, vest and some dood-dads in her hair, hoop earrings, jewelry, potions and an eyeball and she's ready to be the hit of the party.
 |
| barbieoldnewgreenredo |
Speaking of party---let's get one going...!

These scary ghouls---took a First prize at my doll club a few years ago.
Hard to see, but shrouds are black fabric made from sewing up sides of a long rectangle---cut hole in center for head, hemming edges (this could be glued). Over gown is just that gauzy spooky net fabric cut and shredded on the the edges to drape irregularly
and look raggy.
Hoods are a smaller piece of black rectangle again with an uneven gauze shape over it, Sew up the back and tie or pin it on neck of doll.
Face masks are $Store plastic skulls cut in half ear over skull to ear, hole drilled/poked for elastic on sides and they are perfect for over the faces.
Softer plastic skulls work best!
Staffs are actually Halloween straws with skeletons attached...!
Yes, they are EEEK!
Hope this gives you a few ideas to get ready for Halloween!
If you enjoyed this post(s), please join me by email- at
FOLLOW IT---upper right hand corner.
I have not been paid or reimbursed in anyway for my opinions or products shown, or from where I shop.
Please Join me at these Fine Blog Parties!
Thank you for your cooperation, Sandi
 |
| barbieoldnewgreenredo |