Ad-Free Blog
There's always a first time for everything. I decided to build Trish's new shop from items/materials I had in the house. HA! Anyway, I'm on a few dollhouse sites---and they are all building from cardboard, so I thought I would give it a try.
TOOLS: needed for Foldable Diorama Shop for 1:6 scale
SQUARE---absolutely necessary for 90 degree corners and straight lines.
Exacto knife or box cutter
Mitre box
Saw
Scissors (for paper cutting)
Heavy scissors for cutting plastic channel
Paint brushes
MATERIALS:
Cardboard box the size of your desired shop or cut
walls from foam-core/or plywood, and tape together.
Acetate sheets or clear packaging/box lids for windows
Thick foam core or wood for the floor
Contact paper (I personally like being able to foam stick decor and papers to contact paper walls, also cleanable--I use satin white contact paper the most.)
Decorative papers for floor or a paintable surface.
Decorative scrapbook or wrapping paper for inside or outside of the shop.
Wood pieces desired thickness and width for windows and door frames, (you can certainly used cut foam core for this-covered in paper or contact paper)
Decorative wood trims for accents
Acrylic Sealer - I use Liquitex matte sealer which I buy on sale 50% off. It is very fluid and seals quickly while also soaking into the wood, saving you paint.
Modge-podge for applying paper to surfaces. (I use satin or matte)
Acrylic paint for window trim outside
White acrylic dimensional fabric paint as caulk.
Luan plywood or wood for door 3/8" thick
Cooler: Plastic channel open enough to allow two thicknesses of acrylic plastic to pass through or two thinner channels
E-6000 glue or similar for all types of surfaces.
Double-stick tape for paper on front
Sealer for floor (optional)
CONSTRUCTION
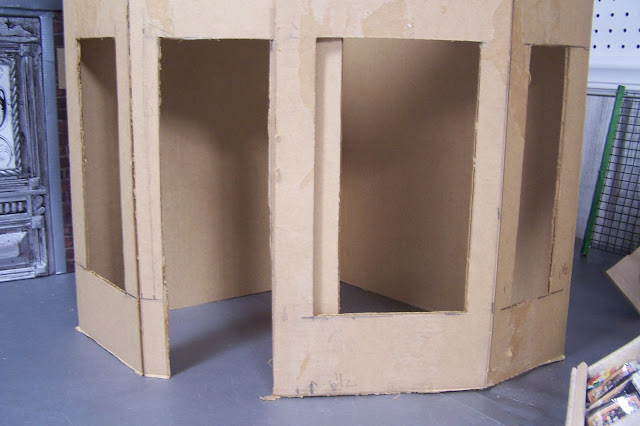
I had a very heavy 16x16 box that I figured would be a good start. Cutting thick cardboard is way harder than quality foam core. I had raggedy edges everywhere which I sanded off with a flexible sanding block
Here's the first cuts made for the windows and folding
to fit the shop into the corner of the 'garden center lot.'
I cut off the bottom flaps---as I want the shop to be foldable for storage. At this point I decided to cover the entire inside in white contact paper. I knew if I had to paint this it would take multiple coats and I wouldn't have a tight surface because of the cardboard is just paper. This is up to your own vision.
I was waiting for the floor to dry before making the last adjustment on the overlap in the front right of the door. I chose this shape as Trish really counts on her garden center grounds to display all the outdoor items.
Taking a photo of the inside, you get an idea of how large this shop is going to be.
In my fictitious world--Trish will have a large workroom and storage area behind the shop in the alley. I will make a fake door in the back corner.
FLOOR
I squared the box up in the location it would be---and then drew the angles for the floor. The thick foam core floor is covered in 'planking' made from strips of scrapbook paper. Michael's has greatly reduced their paper selections---UGH---and no flooring but dark is available---and I don't shop at HL.
Joann's is 14 and 18 or 20 miles away--city driving. So, I guess I will have to get more creative in my paper selections. The strips were cut 1" and 1 1/4" wide, just to mix it up. I was able to stagger the pattern by cutting the lengths varied.
I applied Mod-Podge to the thick foam core and then placed each strip down, then immediately covering with another brushed layer of MP to smooth out the wrinkles. Carefully glue down each piece as you go. Gaps I will color in with markers after the pieces do their shrinking.
This is where the door will have a threshold-maybe...thing to think about.
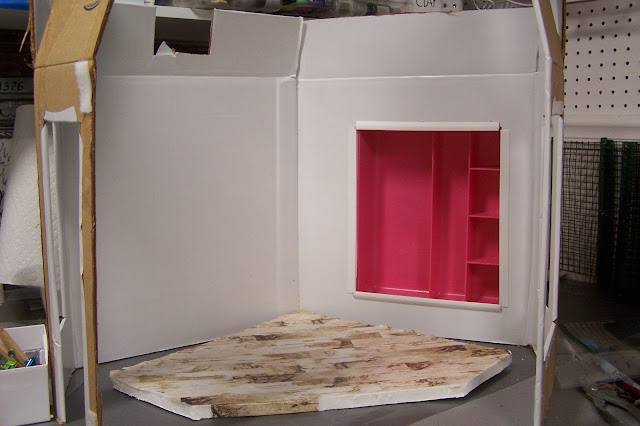
After covering the entire inside with contact paper, I tested the floor for shape and how much more I would have to cut off the one front edge.
In the back, I cheated on the cooler---I had this drawer tray for ages, and it will work for the cooler when it is warm enough to spray paint silver.
Gosh, the pink is atrocious, I will use primer paint first for sure. I'll add a couple of shelves also.
You can see the close up trim. I used some plastic channel on the bottom and top for sliding doors, and plain edging on the sides. The channel was hard to slip over the squishy cardboard edges even with the contact paper. A drop of gel glue inside the channels is enough to hold the pieces in place.
On the front overlapped pieces, I tried to use velcro to hold them together---and then had to pull them off as the cardboard bent too much when trying to open it. I'm opting for pinning the walls into the base, and something for the top for a tight fit.
Not much wants to stick to that cardboard which probably has a waxy coating on it to make it moisture resistant. This is when I decided not to Modge-podge the brick paper to the cardboard and cover it in contact paper instead.
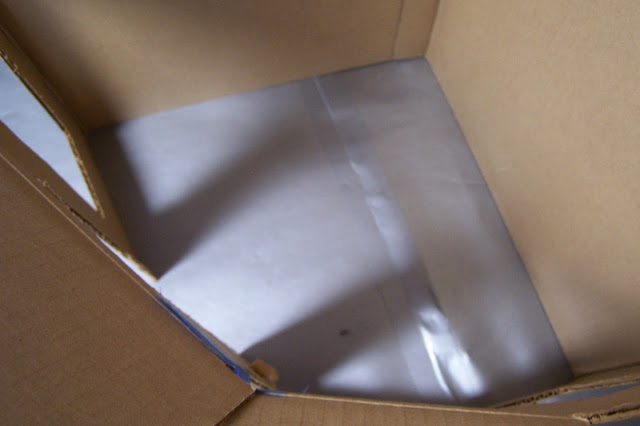
I buy the big rolls of the white. The plastic (matte) surface I can easily tack papers to, change decor, or just cover up a multitude of sins, underneath. You can see the outline of the window through the plastic.
Flipped over to the Outside: The second layer is cut right up to the edges of the window with an Exacto knife, leaving a clean edge.
Here's the finished store frame. I'm still undecided of what to do with the roof.
Luckily I had one piece of brick paper, and a bunch of scraps that matches Vickie's wall and where Trish's garden center is. The pieces are applied with double-stick tape.
I had just enough to cover the front, but that is all that shows, with a few strips left over. Next, some wood trim. All the windows were measured and the pieces cut on the diagonal in the mitre box. Craft basswood/pine cuts easily.
I used wood I had in my stash. Save your odds and ends, I used up quite a few short pieces. I used a coat of acrylic sealer on all sides of these pieces, to help with warpage, and makes good surface for glue and paint to stick to.
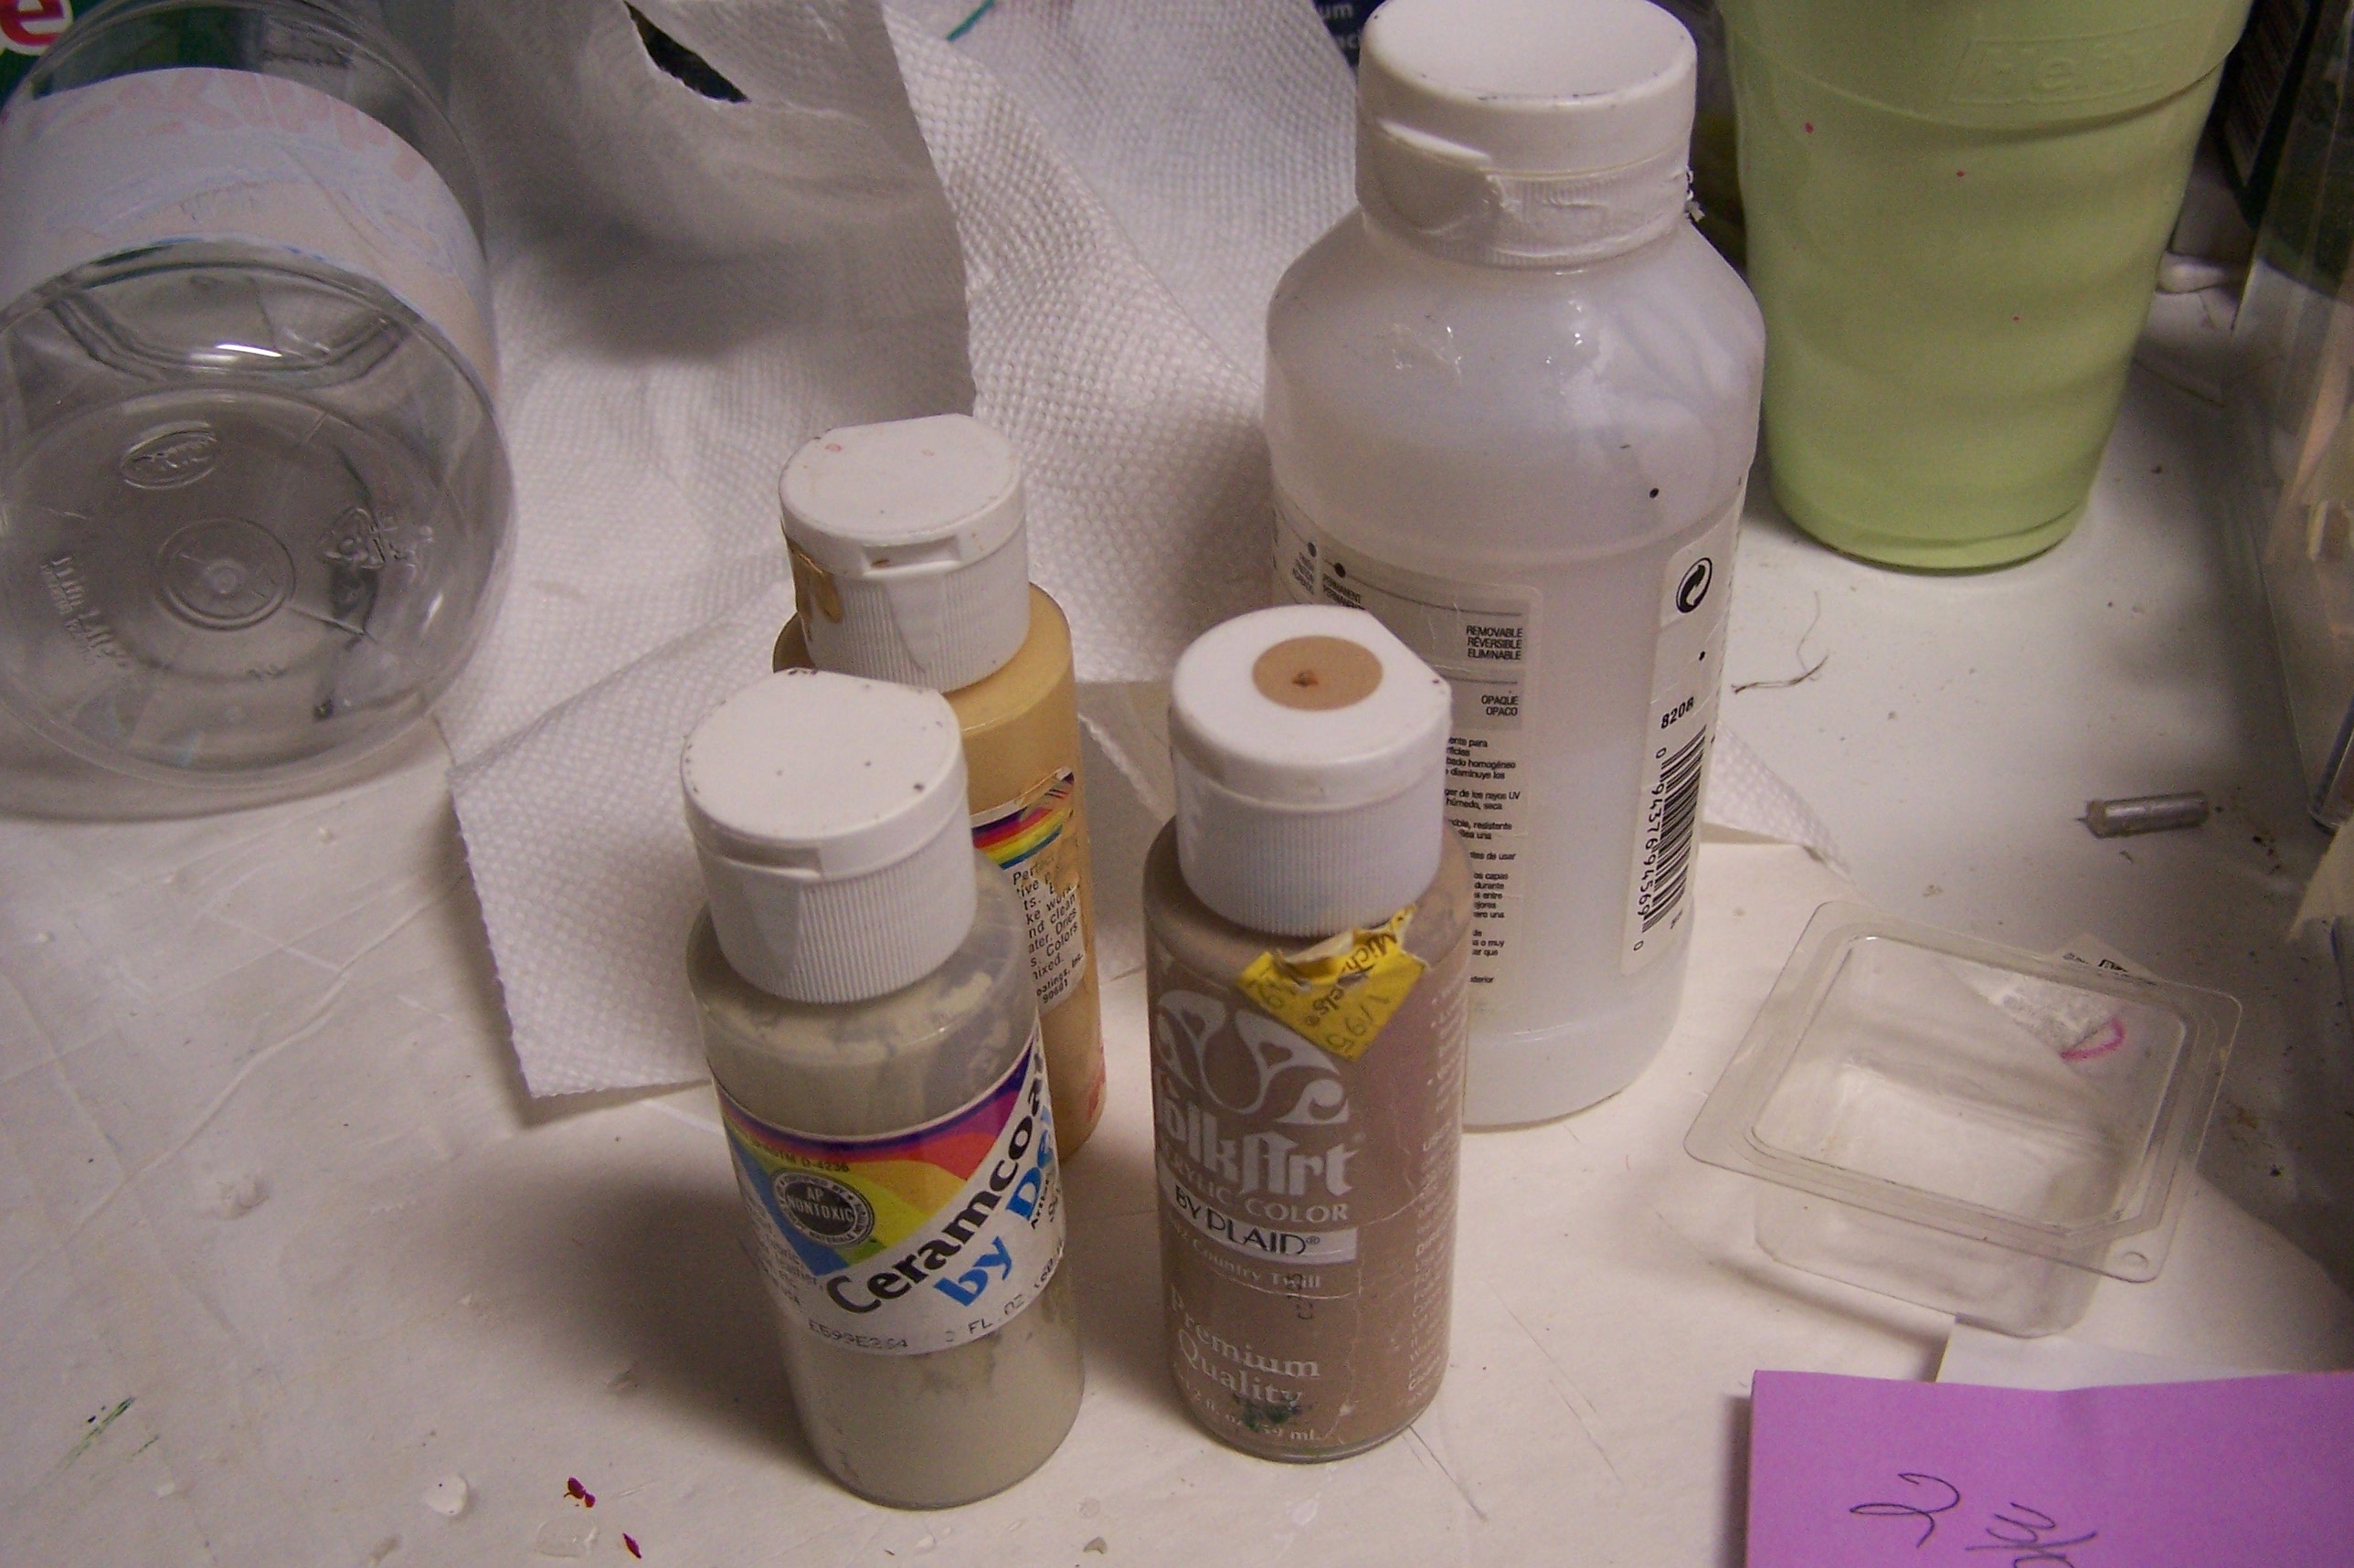
Again, I fished in my paint stash and decided the Ceramcoat beigy on the lower left was the best blend with the brick. It's ancient, so I won't give the color as I'm sure it's not available now. One coat was all that was needed on all the pieces because I had pre-sealed their surfaces.
All the pieces were glued down with E-6000 and cardboard placed on top and then my paint boxes to hold everything in place, overnight.
Here is the inside moldings which are made from plastic channel that has been trimmed on one side. The plastic acetate sheets I did buy--as all my scrap packaging pieces were too short for these 10" or so windows. (Next time---I'll measure my scraps before I cut windows. )
More on channel moldings HERE on my OldNewGreenRedo blog.
First cut your Acetate sheets a bit short of the inside measurement of your channel from edge to edge. I put a dab of glue inside the center of each channel and on the ends.
Fit your window frames together with the window inserted on a flat surface. Let set a few minutes. E-6000 gets tacky pretty quickly, add a small amount on the back side of your now assembled window all around the edge and then place on your holes in the walls. You have time to wiggle and adjust and make it all square. Weight down everything and let set over night. The gaps on the corners of the window frame can be filled in with acrylic dimensional fabric paint for caulk, squeeze some in the cracks and wipe excess off. (Plastic channels are paintable, (wipe with alcohol first) if you wish to change the white).
Phew well that was four days worth....!
NEXT DOOR, and ROOF
(weather is finally getting nice to be outside, so this may be awhile as my yard and garden NEEDS WORK).
Links on the Floral Shop
WHAT HAVE YOU AND YOUR DOLLS BEEN DOING/BUILDING???
If you enjoyed this post(s), please join me by email- at
FOLLOW IT---upper right hand corner.
I have not been paid or reimbursed in anyway for my opinions or products shown, or from where I shop.
Please Join me at these Fine Blog Parties!
Thank you for your cooperation, Sandi


I love the shape of the new store! And the floor looks really cool, looking forward to seeing the finished project:@)
ReplyDeleteWell, thanks, now I'm having issues working things inside. I guess I will end up building everything to fit. Meanwhile, the outside has beckoned me to get the yard and garden finally cleared and planted -which will take all week. Thanks for stopping by, hugs, Sandi
DeleteToday will be 88, ..which is insane considering we were below freezing 8 days ago. Actually, too hot to garden. The lesson will be, I'm not working in cardboard again, mostly because of it not withstanding narrow bits or big windows holes. But, then we should always try something new. Thanks for following along, and have a great week. Sandi
ReplyDeleteI just love this shop! You did a wonderful job! How long was the planning staged? I have ideas in my for years and don't move on them. For me it takes finding enough stuff or feeling like a have enough for a diorama before I start it.
ReplyDeleteThank you on the shop---This was from scratch, I made 90% of everything as I went along. There are some things I pick at thrift stores up whether I have plans for them or not---mini vases....I actually have to sell some, and any kind of divided box, tray from plastic or wood, as well as any kind of doll closet, or any small trashed foldable take house (to use for parts). The planning was really what would fit, in the small place I have to put the shop===I had a very thick shipping box, and that also dictated the space---imagination wise she has a large workroom in the back as well as an office for clients (I'll do a foldable wall mock up ---if I ever need it for a story line. I did fiddle a lot with the angles and the cabinetry which were made from I phone boxes, as well as the desk, they were just the perfect size. I hope that helps. I probably won't work with cardboard again---especially with lots of windows---the strength isn't there for the narrow bits between. I just did a post on double thick foam core for walls, which would probably be better! Thanks for stopping by. Sandi
Delete