Ad-Free Blog
Once I am the throes of creating, I literally forget to take photos. So I'm going to do some closeups with explanations and materials of how I completed this diorama.
 |
| barbieoldnewgreenredo |
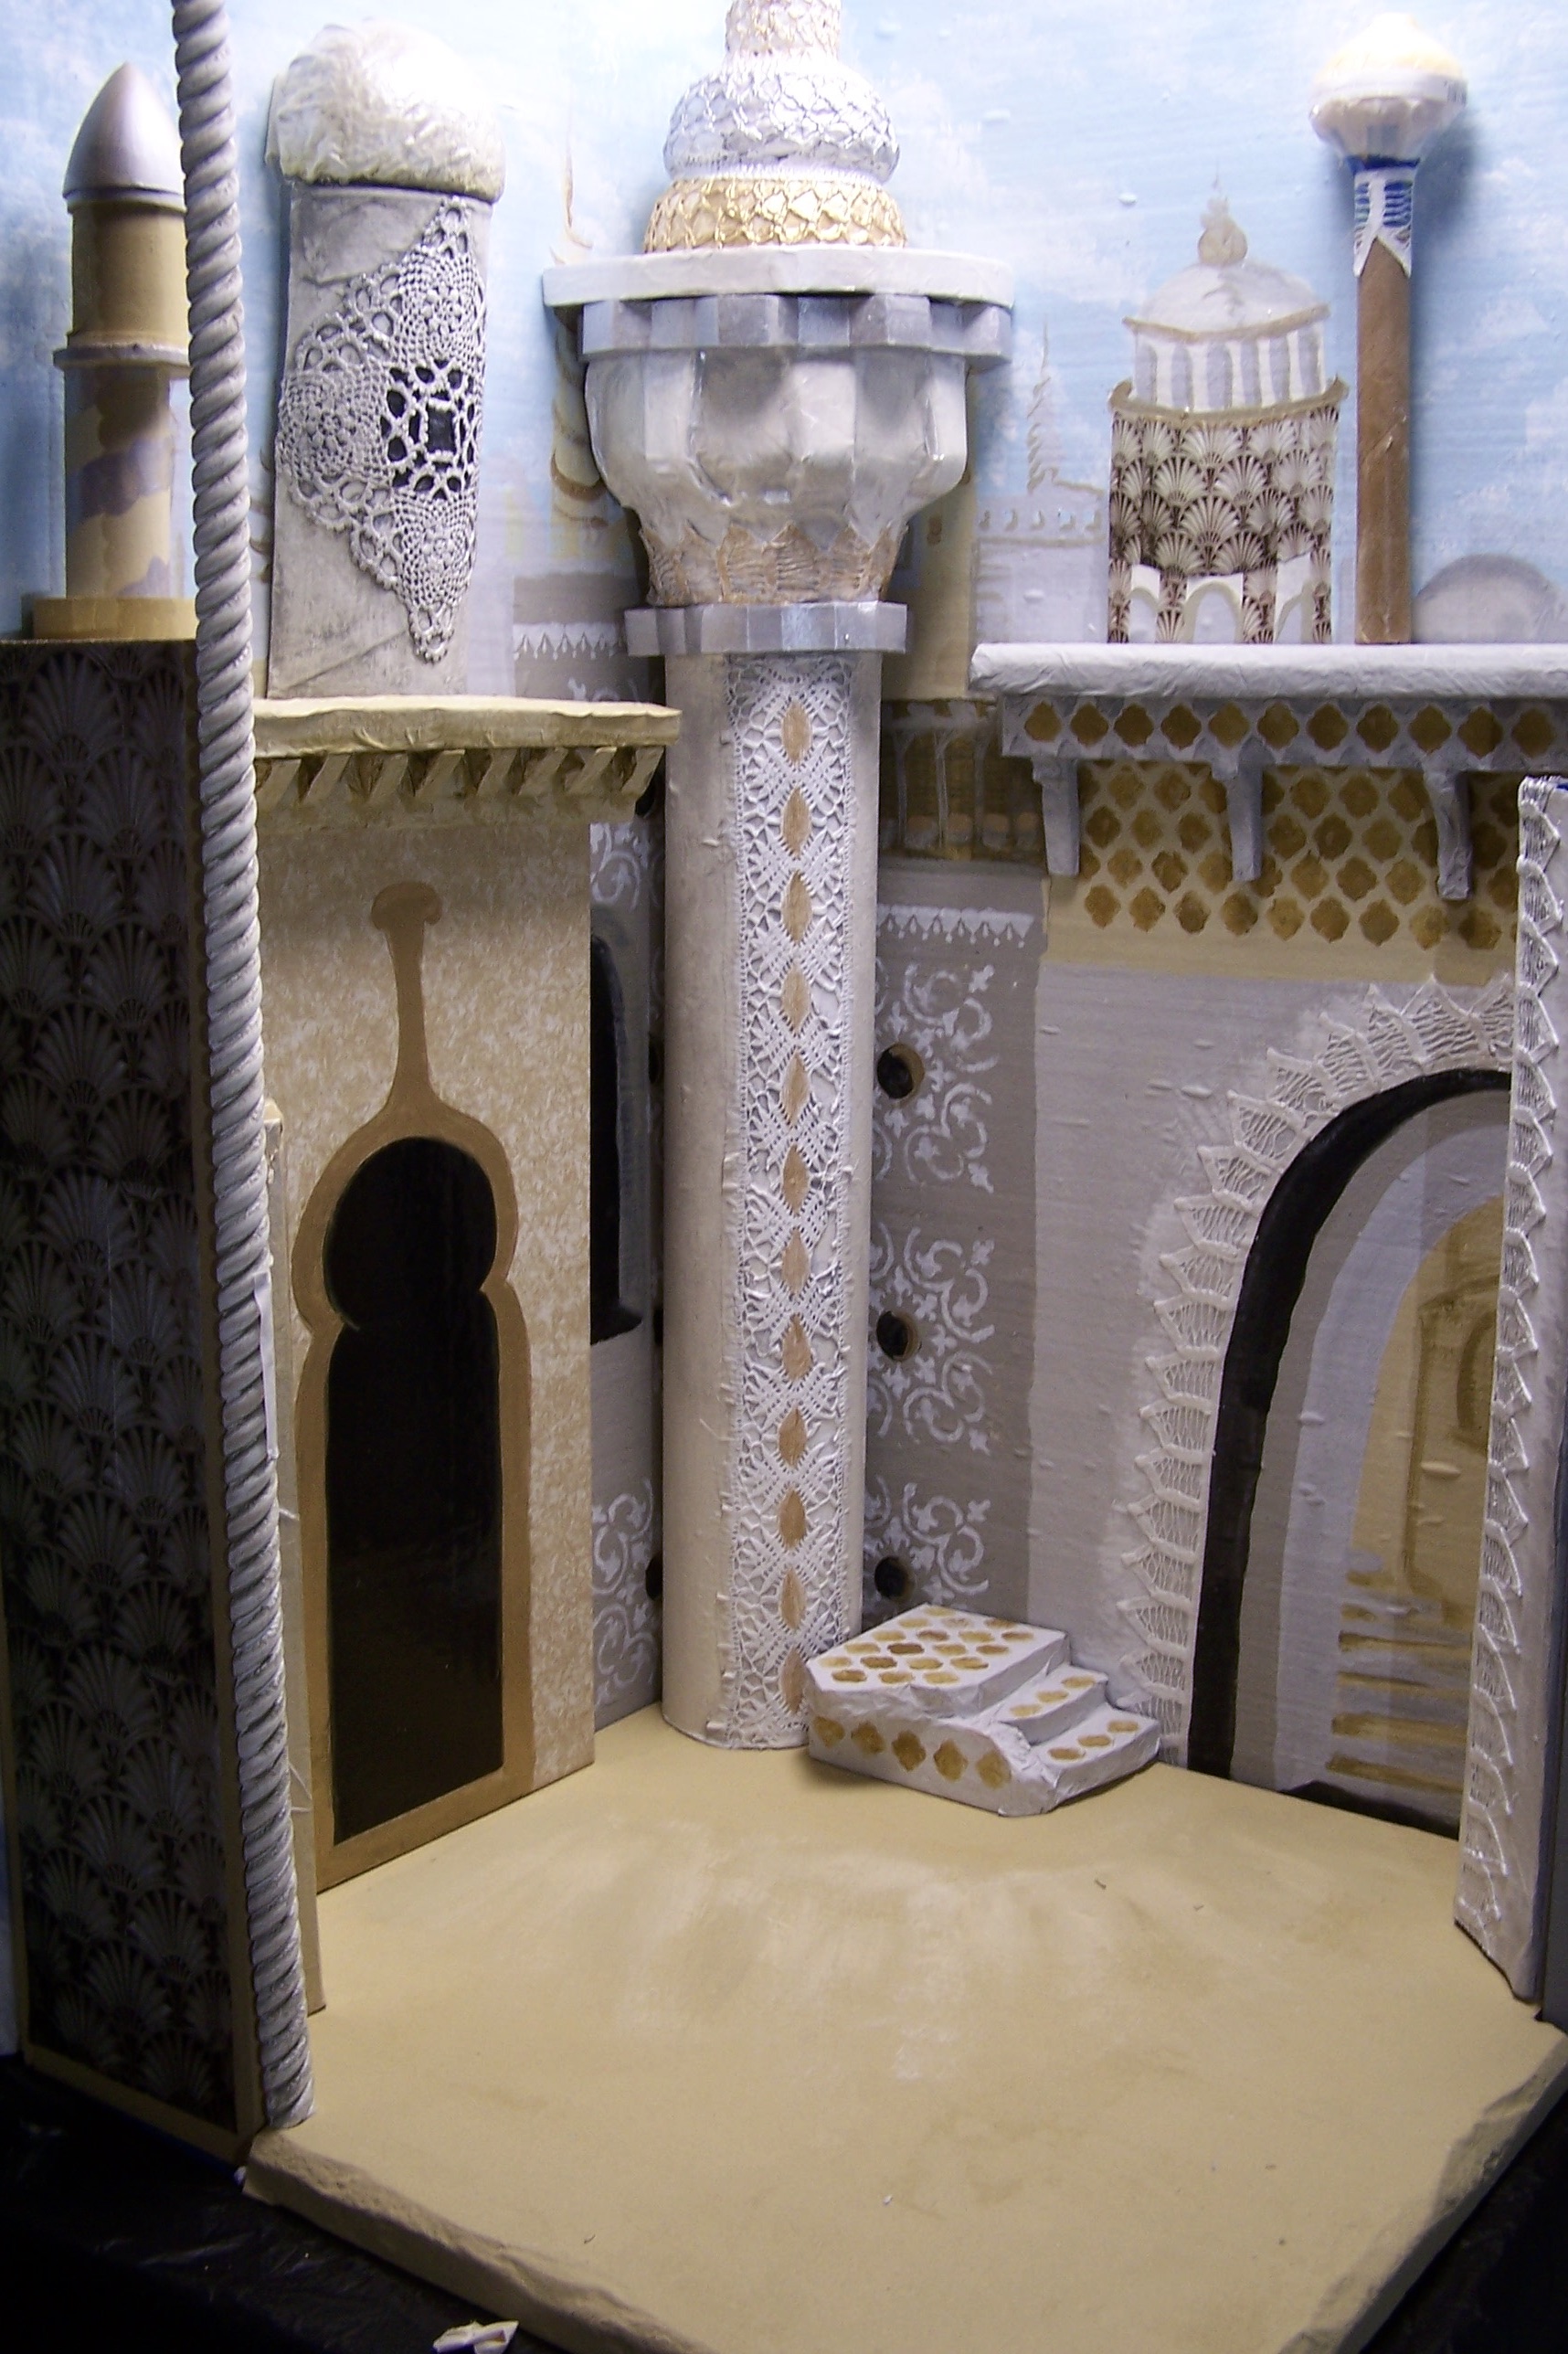
When I reached this point, I knew I was on a 'good' track for completing a cohesive look paying homage to Menzies' original sketches. A certain amount of simplicity mixed with some memorable details and textures became the goal.
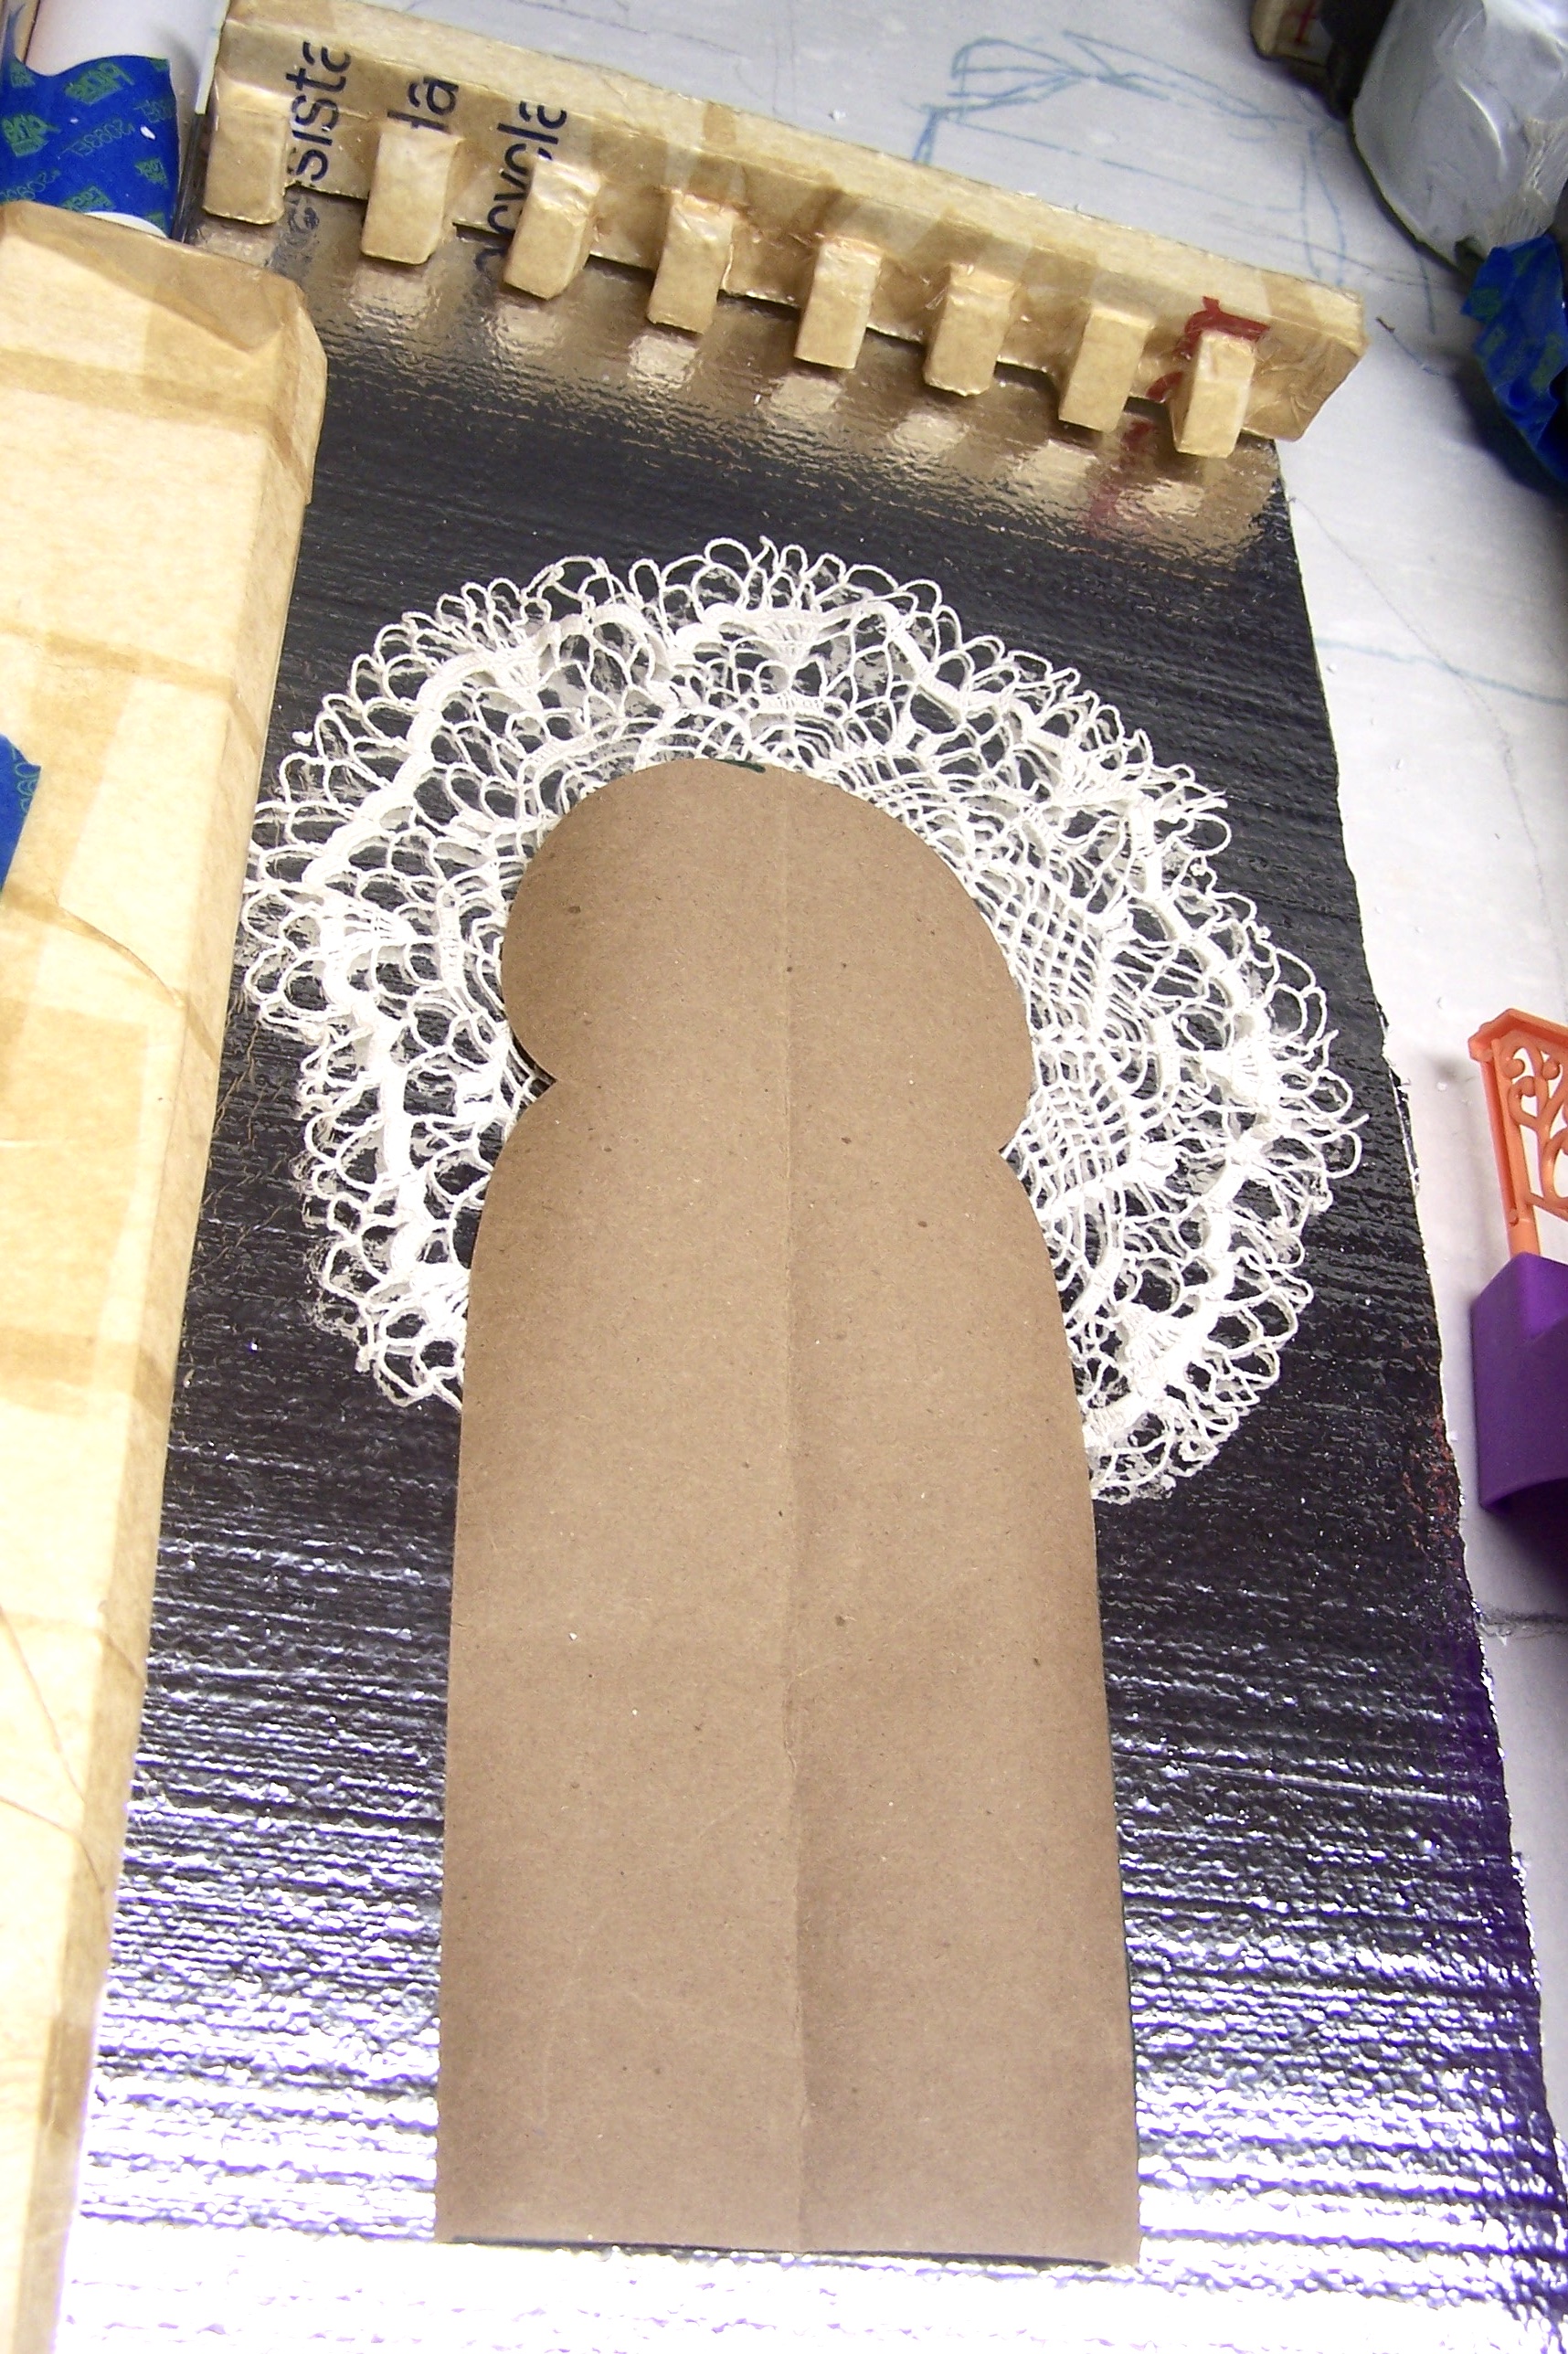
The entrance panel with the 'black doorway' was fashioned from a 1" thick scrap of foam covered in mustard mottled contact paper. With the deep contrast of the black entrance---this would become a defining feature to the story diorama's story and showing there was a city beyond this walls.
 |
| barbieoldnewgreenredo |
I counted on overhead lighting at the convention to help create shadows and depth from all the textural elements I created. A last minute addition was the rope wood trim--shown on the left which was painted white, then glazed in gray and silver and wiped off, leaving the grooves darker. This was from warped long lengths of wood trim we had purchased for the basement and didn't use.
The plan was to apply all the extra pieces and trims with double stick tape to the edge of the board and also as another piece in the diorama. I also planned on using long pins to secure anything that wavered stuck into the foam parts of the construction.
I do have to say I used all my painting tricks and treatments in each of the many elements in the city. I stenciled, stamped, glazed and dry brushed layers again and again to create the finishes.
Surprisingly my list of paints was very short, I'm giving specific brands on products I've found successful---not selling or promoting any item, nor am I reimbursed for my opinions.
White satin acrylic wall paint (I use leftover home project paints whenever I can)
Black acrylic craft paint and Artist grade acrylic tube paint.
White acrylic craft paint for mixing with other colors of the same (I do buy this by the pint).
Yellow Ochre (artist tube acrylic) Perk: artist tube acrylics are more intense than craft paints and go farther.
Blue craft acrylic mixed with white and bit of black for a slightly grayed blue
Grays were made from White and black (a bit of ochre or blue added)
Concrete Gray craft paint
Delta/Ceramacoat Gleams acrylic craft paints---Gold, Silver, and Pearl (Mine are ancient(over 10 years old), I believe Michael's still carries them-excellent coverage and quality)
I also used computer printed papers for the wood side panels in gold tones and grayed tones, these I printed/altered from the computer and of course MP'd onto the painted wood.
 |
| barbieoldnewgreenredo |
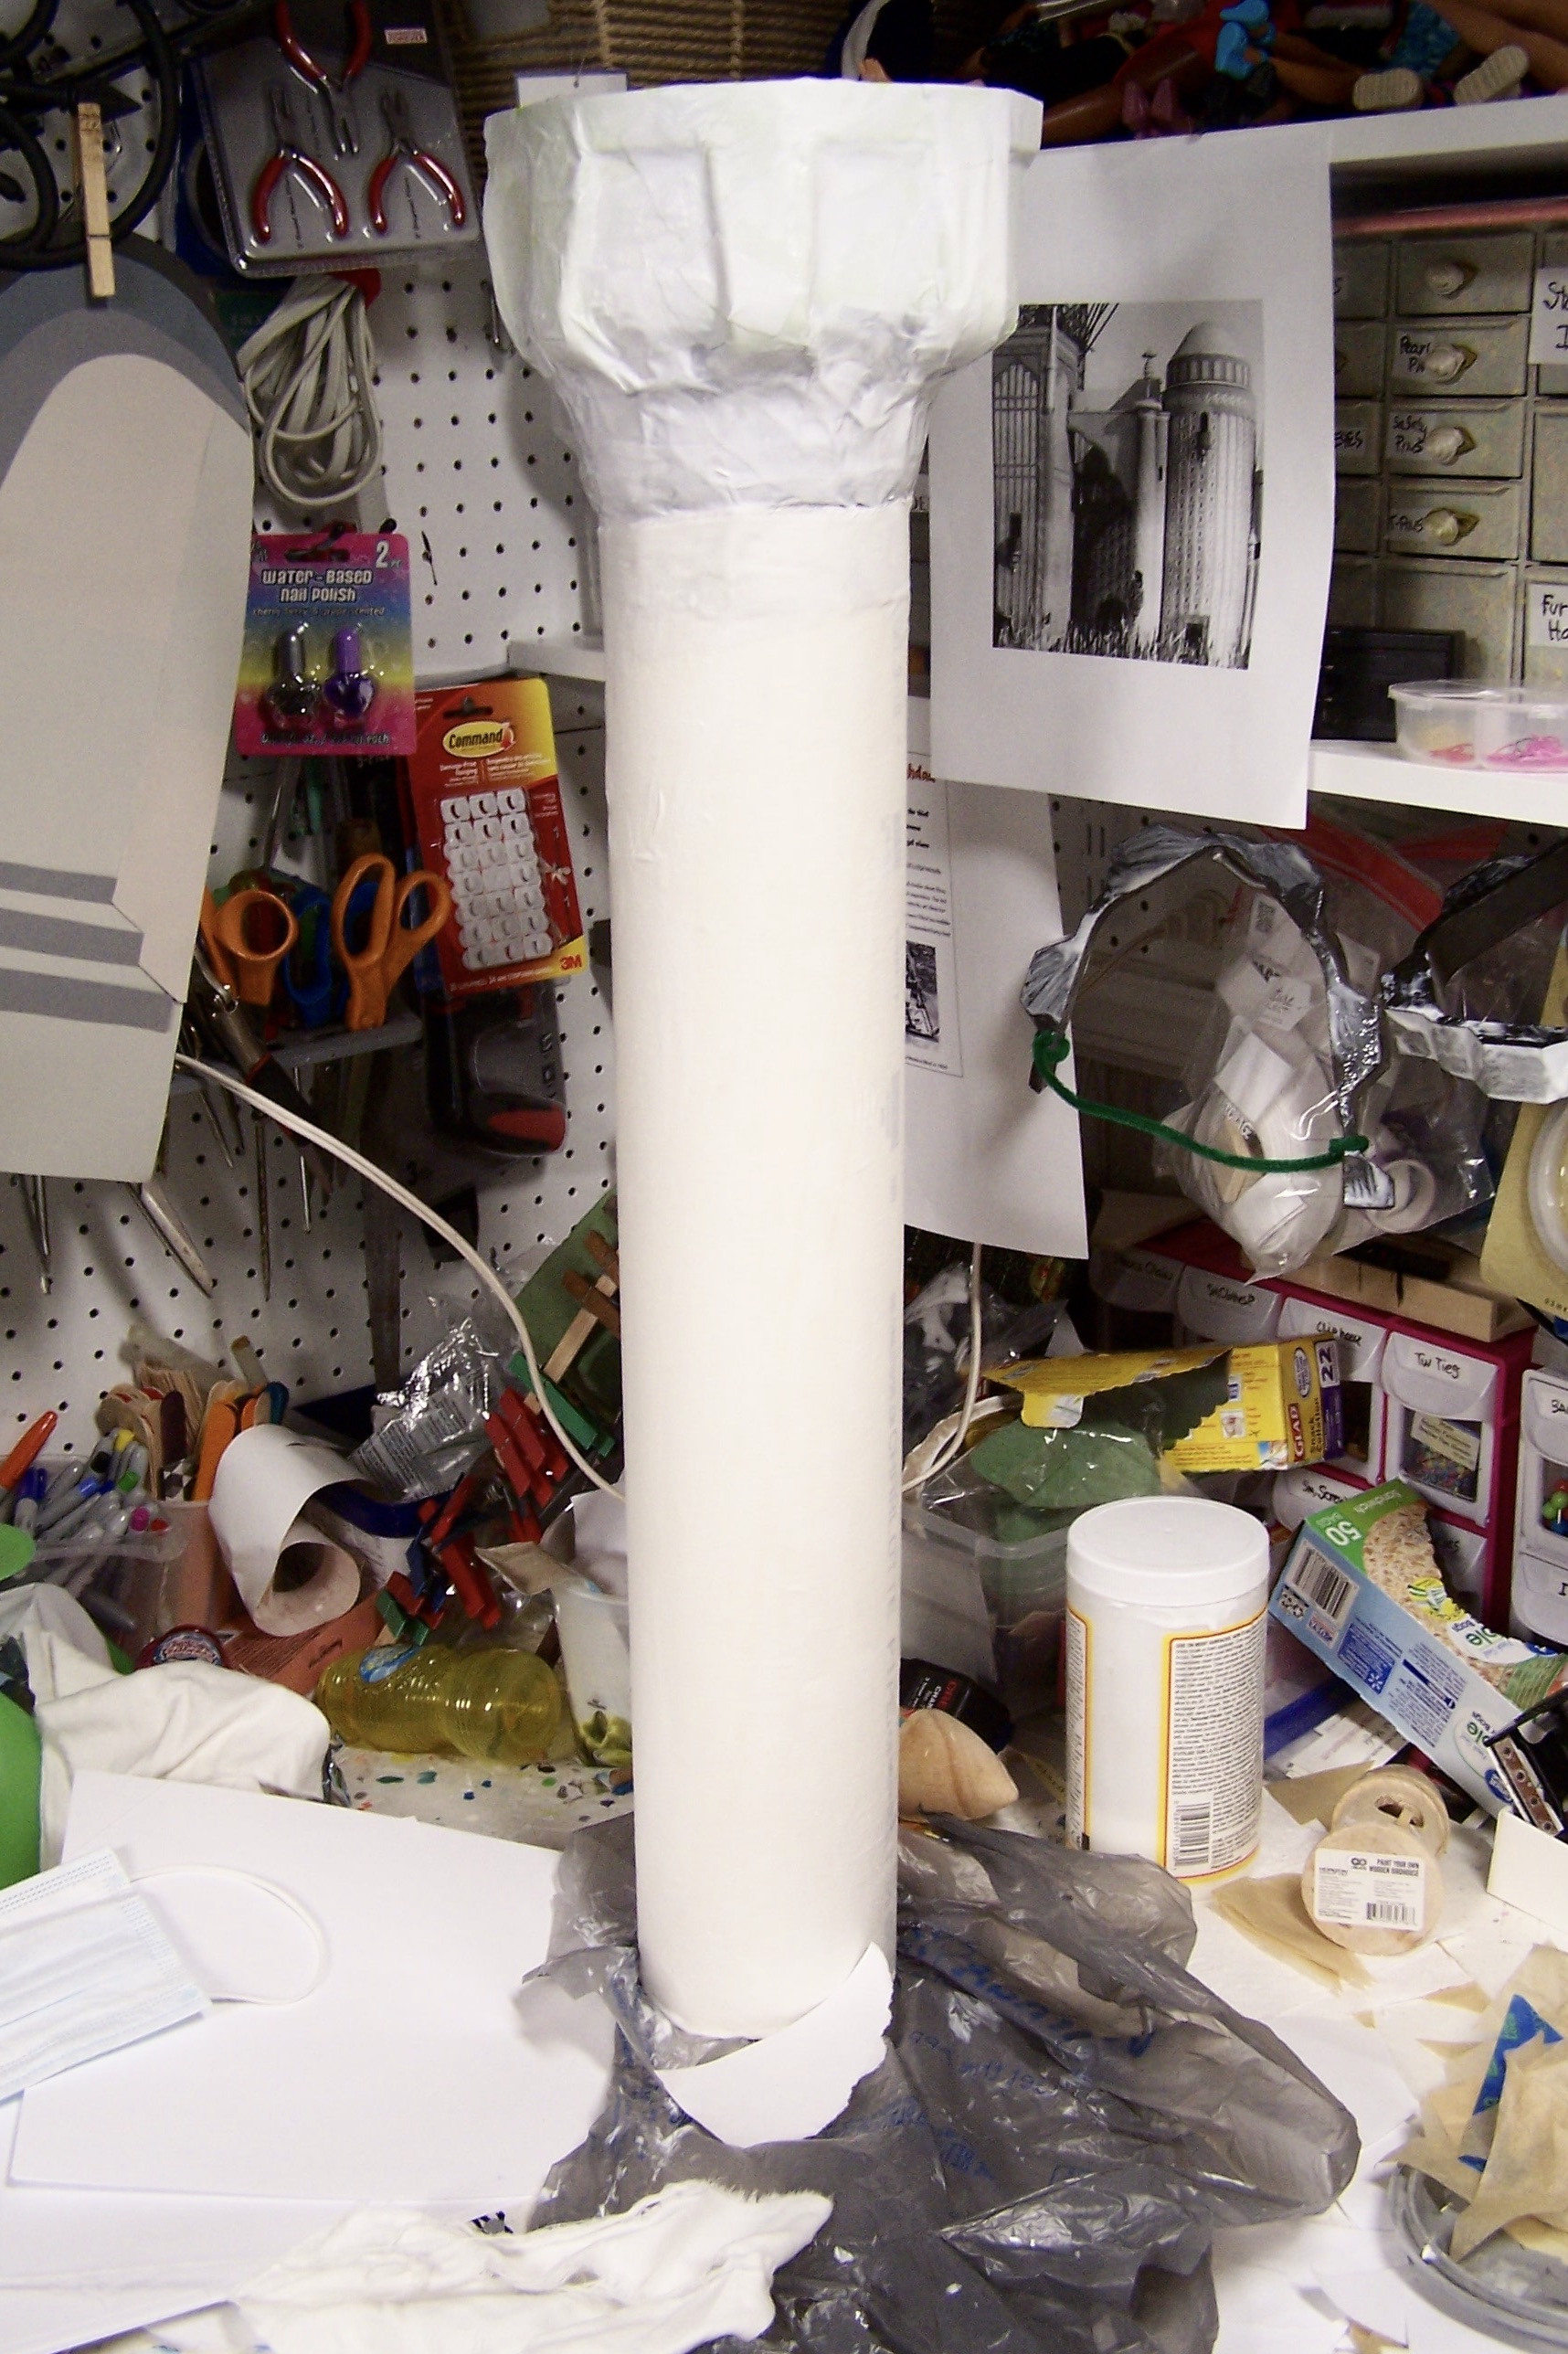
This is the first setup of the set---Here you can see the Battenberg lace treatment on the arched door...I think the MP was not yet dry on the arch lace. Old pieces of new stock lace worked well in many places and covered up seams and irregularities. I also used wedding lace trims to enhance the minaret towers and cover the seams of sticking multiple cardboard tubes together.
 |
| barbieoldnewgreenredo |
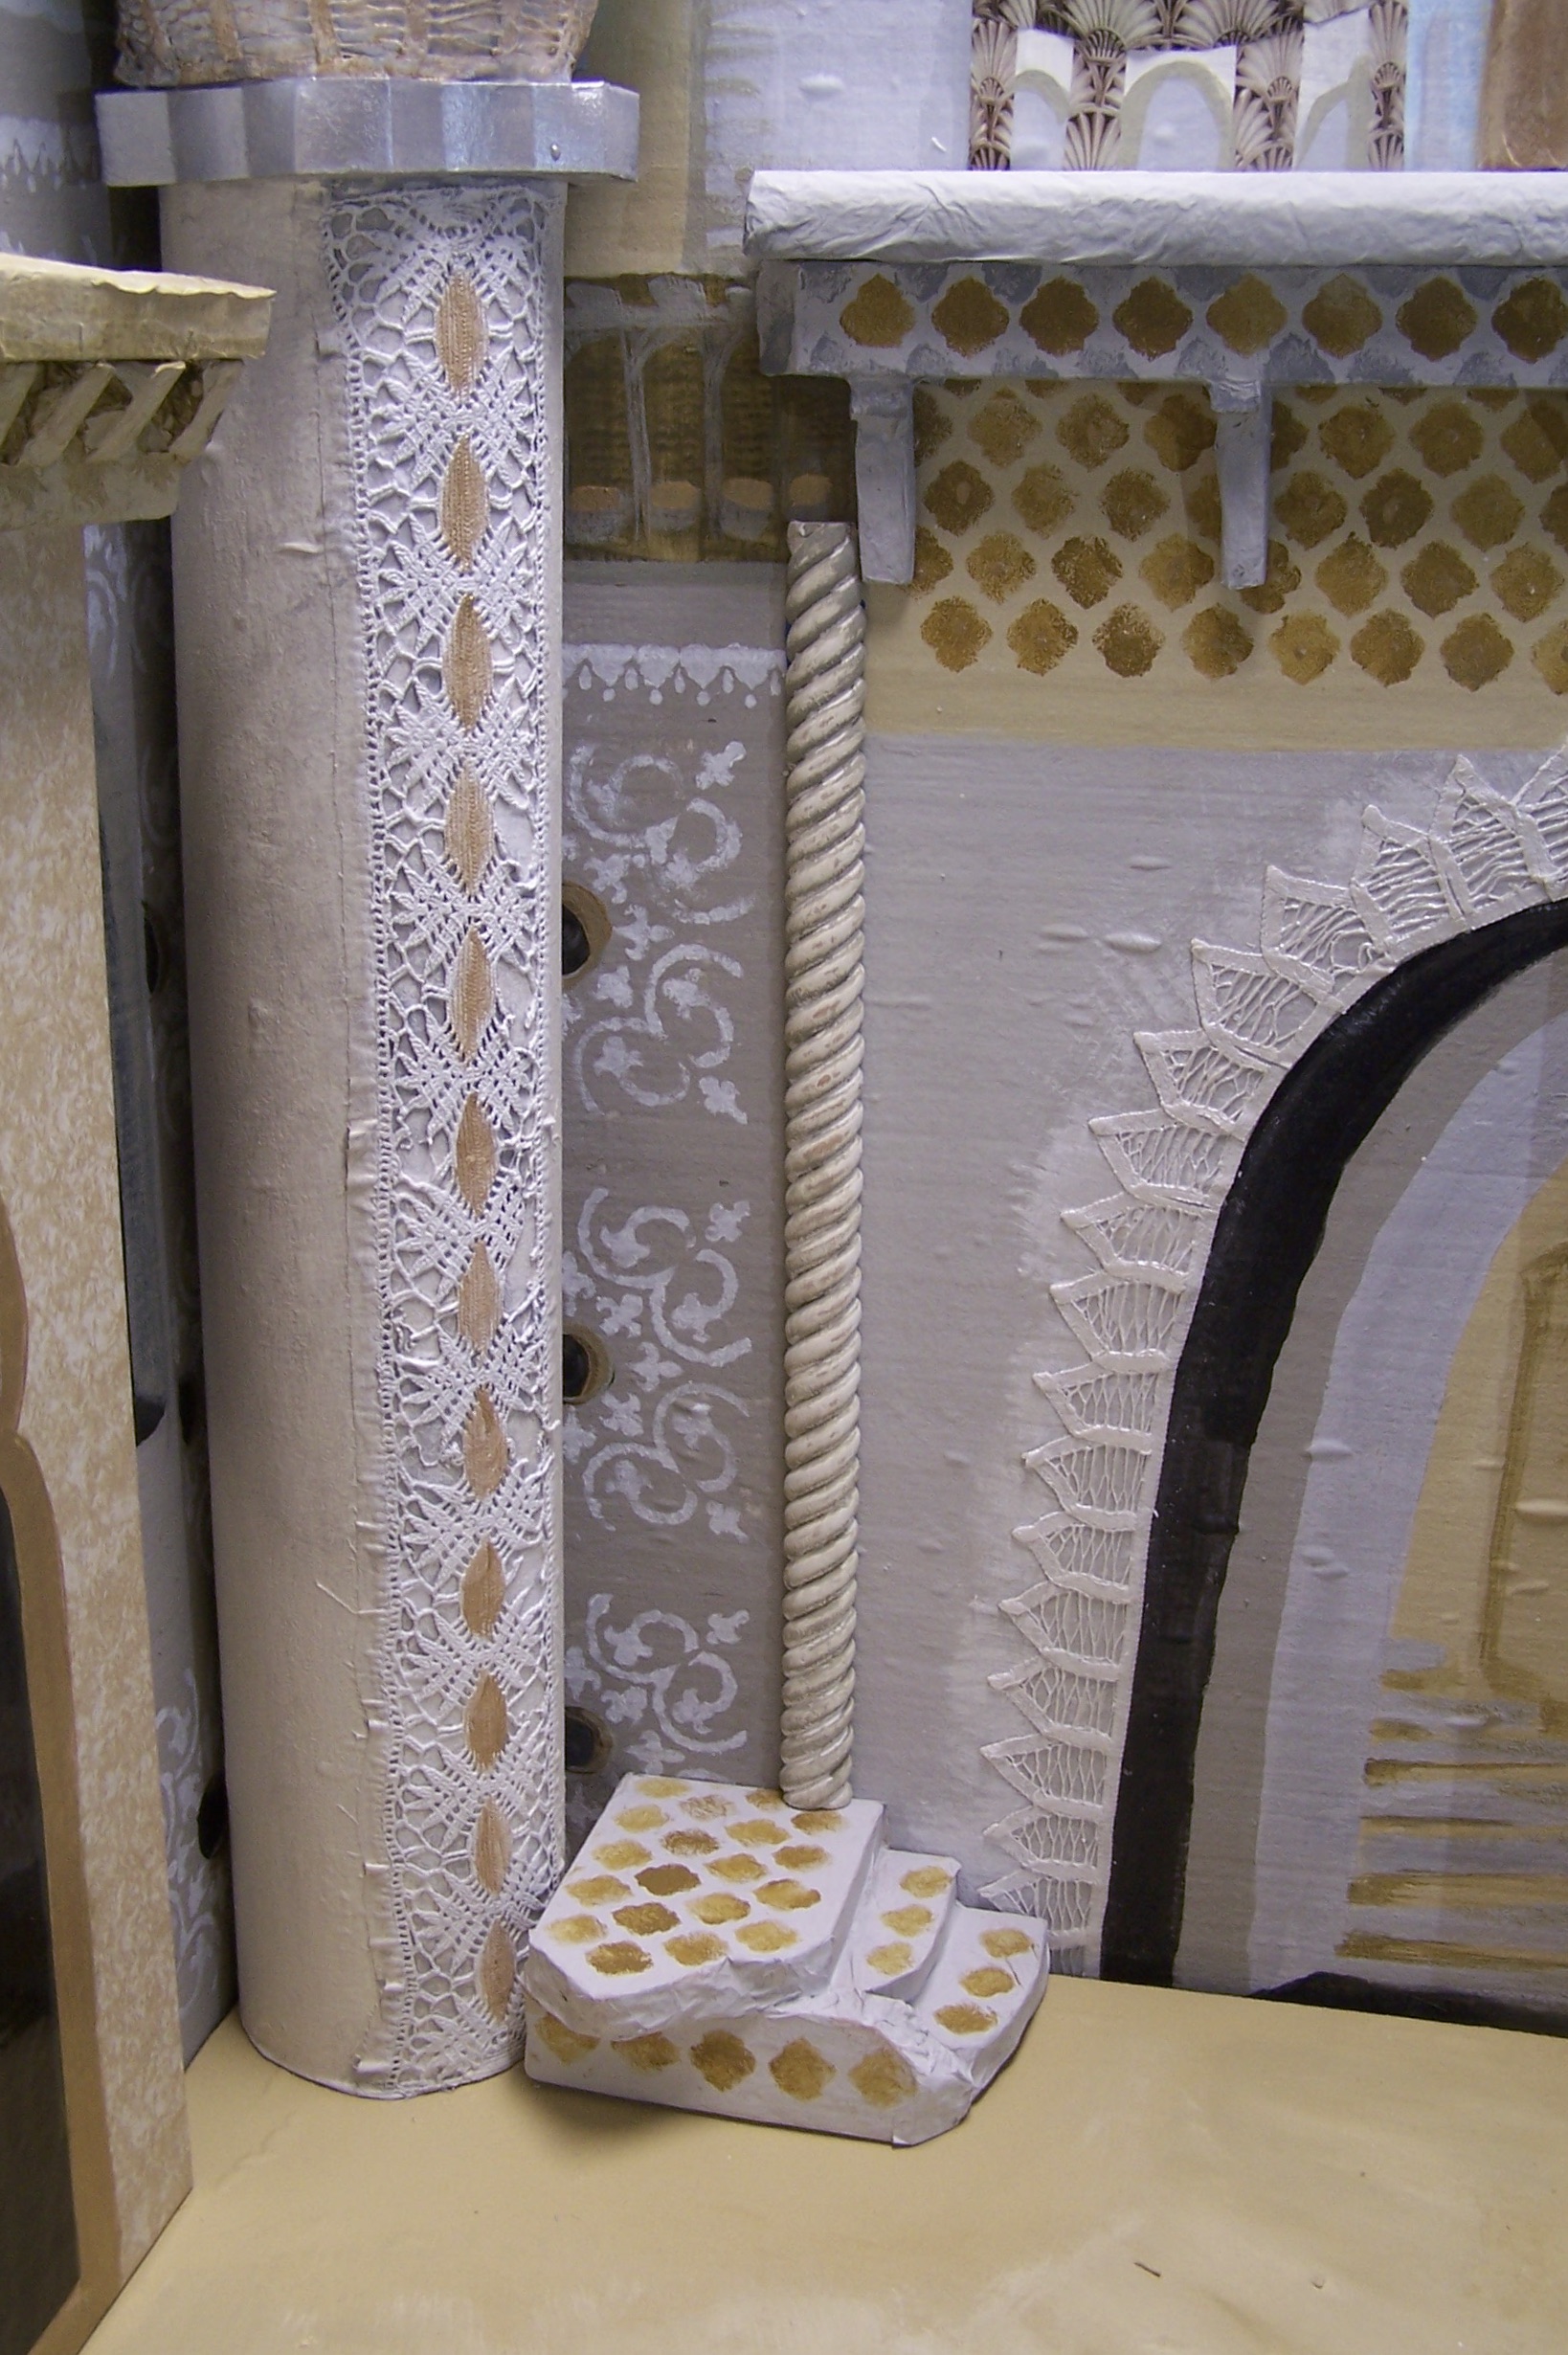
Here you can see the alternate use of the gold, silver and pearl dry brushing on the details. Upside of MP'd surfaces is they are sealed and great for receiving paint and wipe off treatments.
 |
| barbieoldnewgreenredo |
I did a glazing/wipe off on the tower in the center of the photo--with the doily that created the elaborate window. I then detailed the 'window' in black with a very small brush.
The minaret on the left has a sewer pipe fitting 'landing' one-third of the way down and a wooden $1 store birdhouse top. Background buildings are faintly suggested on the wall panels, some with a bit of stenciling or free-hand details.
 |
| barbieoldnewgreenredo |
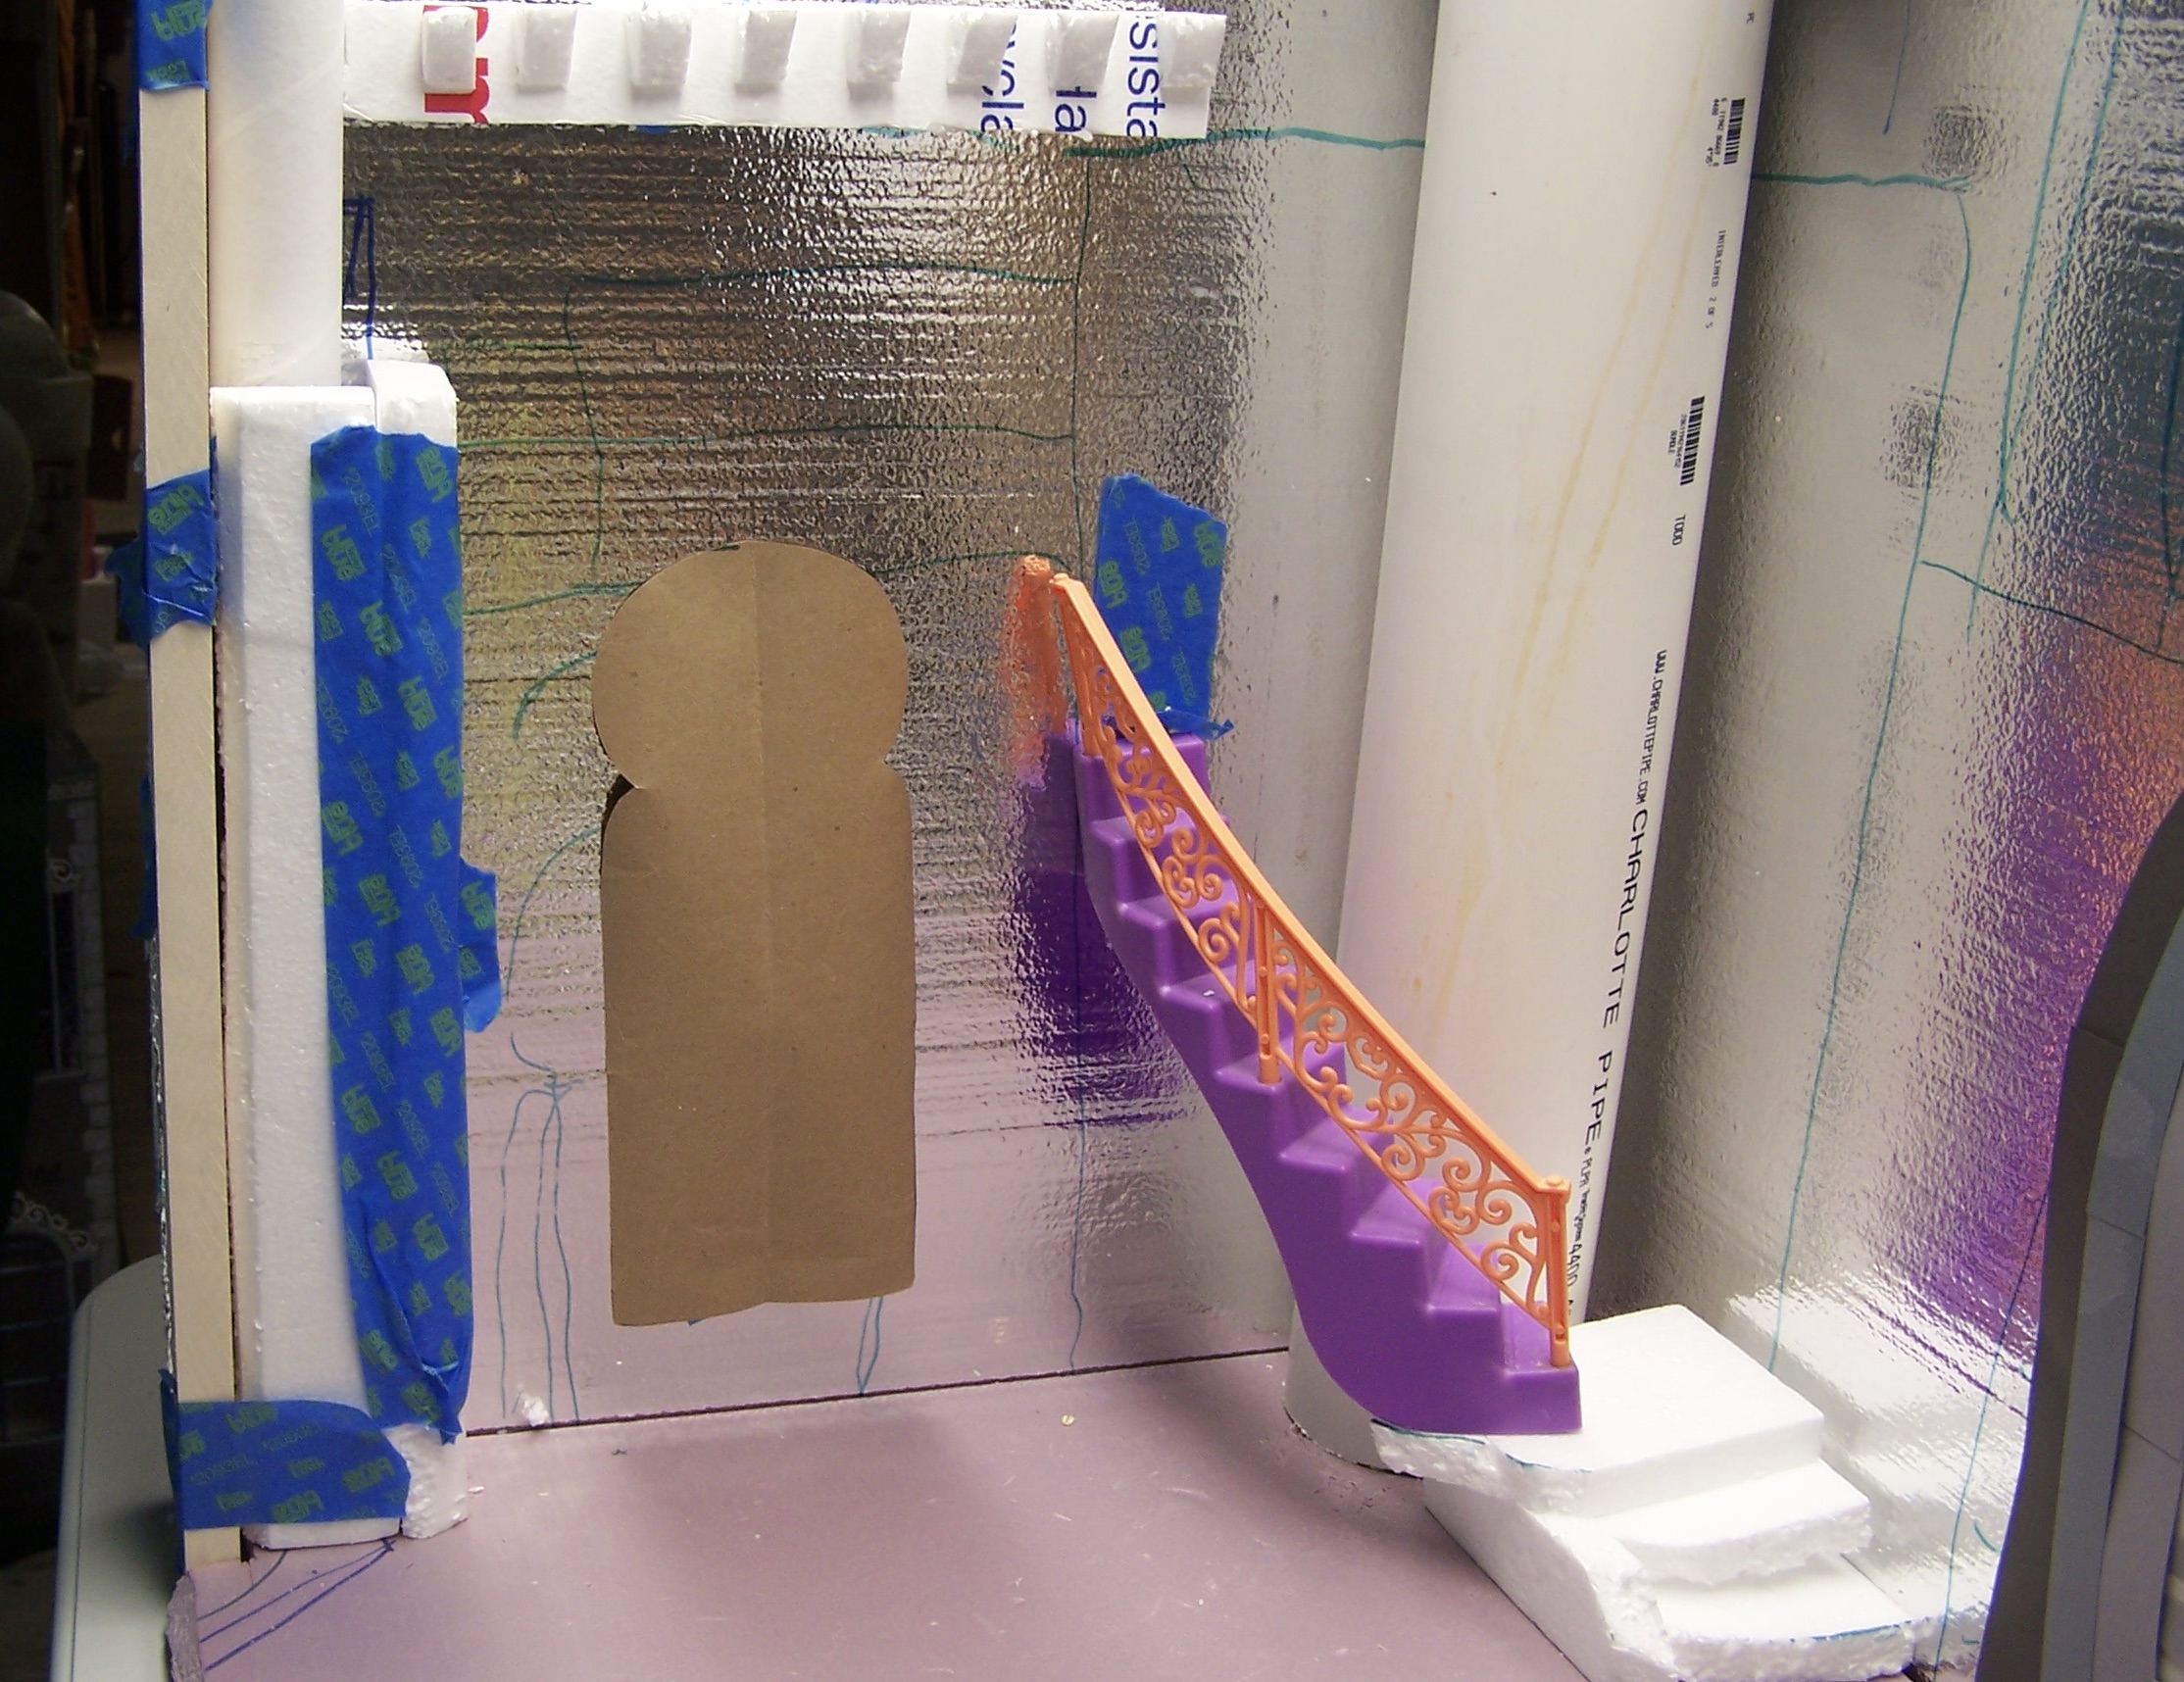
The rampart above the doorway really throws shadows which was the goal to add the illusion of depth. The small black door on the right will be the exit from the plastic stairway. Tiny bits of black were used as port-holes to a city beyond. The metallic gold around the entrance was hand painted, this accented a bridge between the light and dark as well as adding dimension.
 |
| barbieoldnewgreenredo |
The 1"x6" wood board on the left is mustard gold and treated the same as the base. The three part paper motif is MP'd on in golden tones. This is where I'm placing my information on the movie, as well as providing a solid place (at the top) to screw in a cup hook to hang the wires to the flying carpet.
 |
| barbieoldnewgreenredo |
The wood 1x6 panel on the far right outside is done in gray and silver...same print done in gray tones. On the top of this piece (4 inches higher than the other is the second cup hook for the carpet wire.)
 |
| barbieoldnewgreenredo |
I worked hard to balance out the color to make a background that would be interesting and yet not detract from the characters in the movie. The plan is to use some darker fabrics and accents in the doll's costumes to provide interest.
 |
| barbieoldnewgreenredo |
I re-used the paper print on the right from center distant tower. I added a few more accents later.
 |
| barbieoldnewgreenredo |
The stair base was stenciled in a tile pattern which was also used above the arch wall and rampart. A larger tile stencil used on the wall behind the main tower, along with some more wood rope trim. The lace accents were brushed in metallics to show the details.
Hint: Whenever you add motifs, color or details, echo them throughout your design/room in some way.
 |
| barbieoldnewgreenredo |
Quitting was the hardest part.
Always quit before you think you are done...!
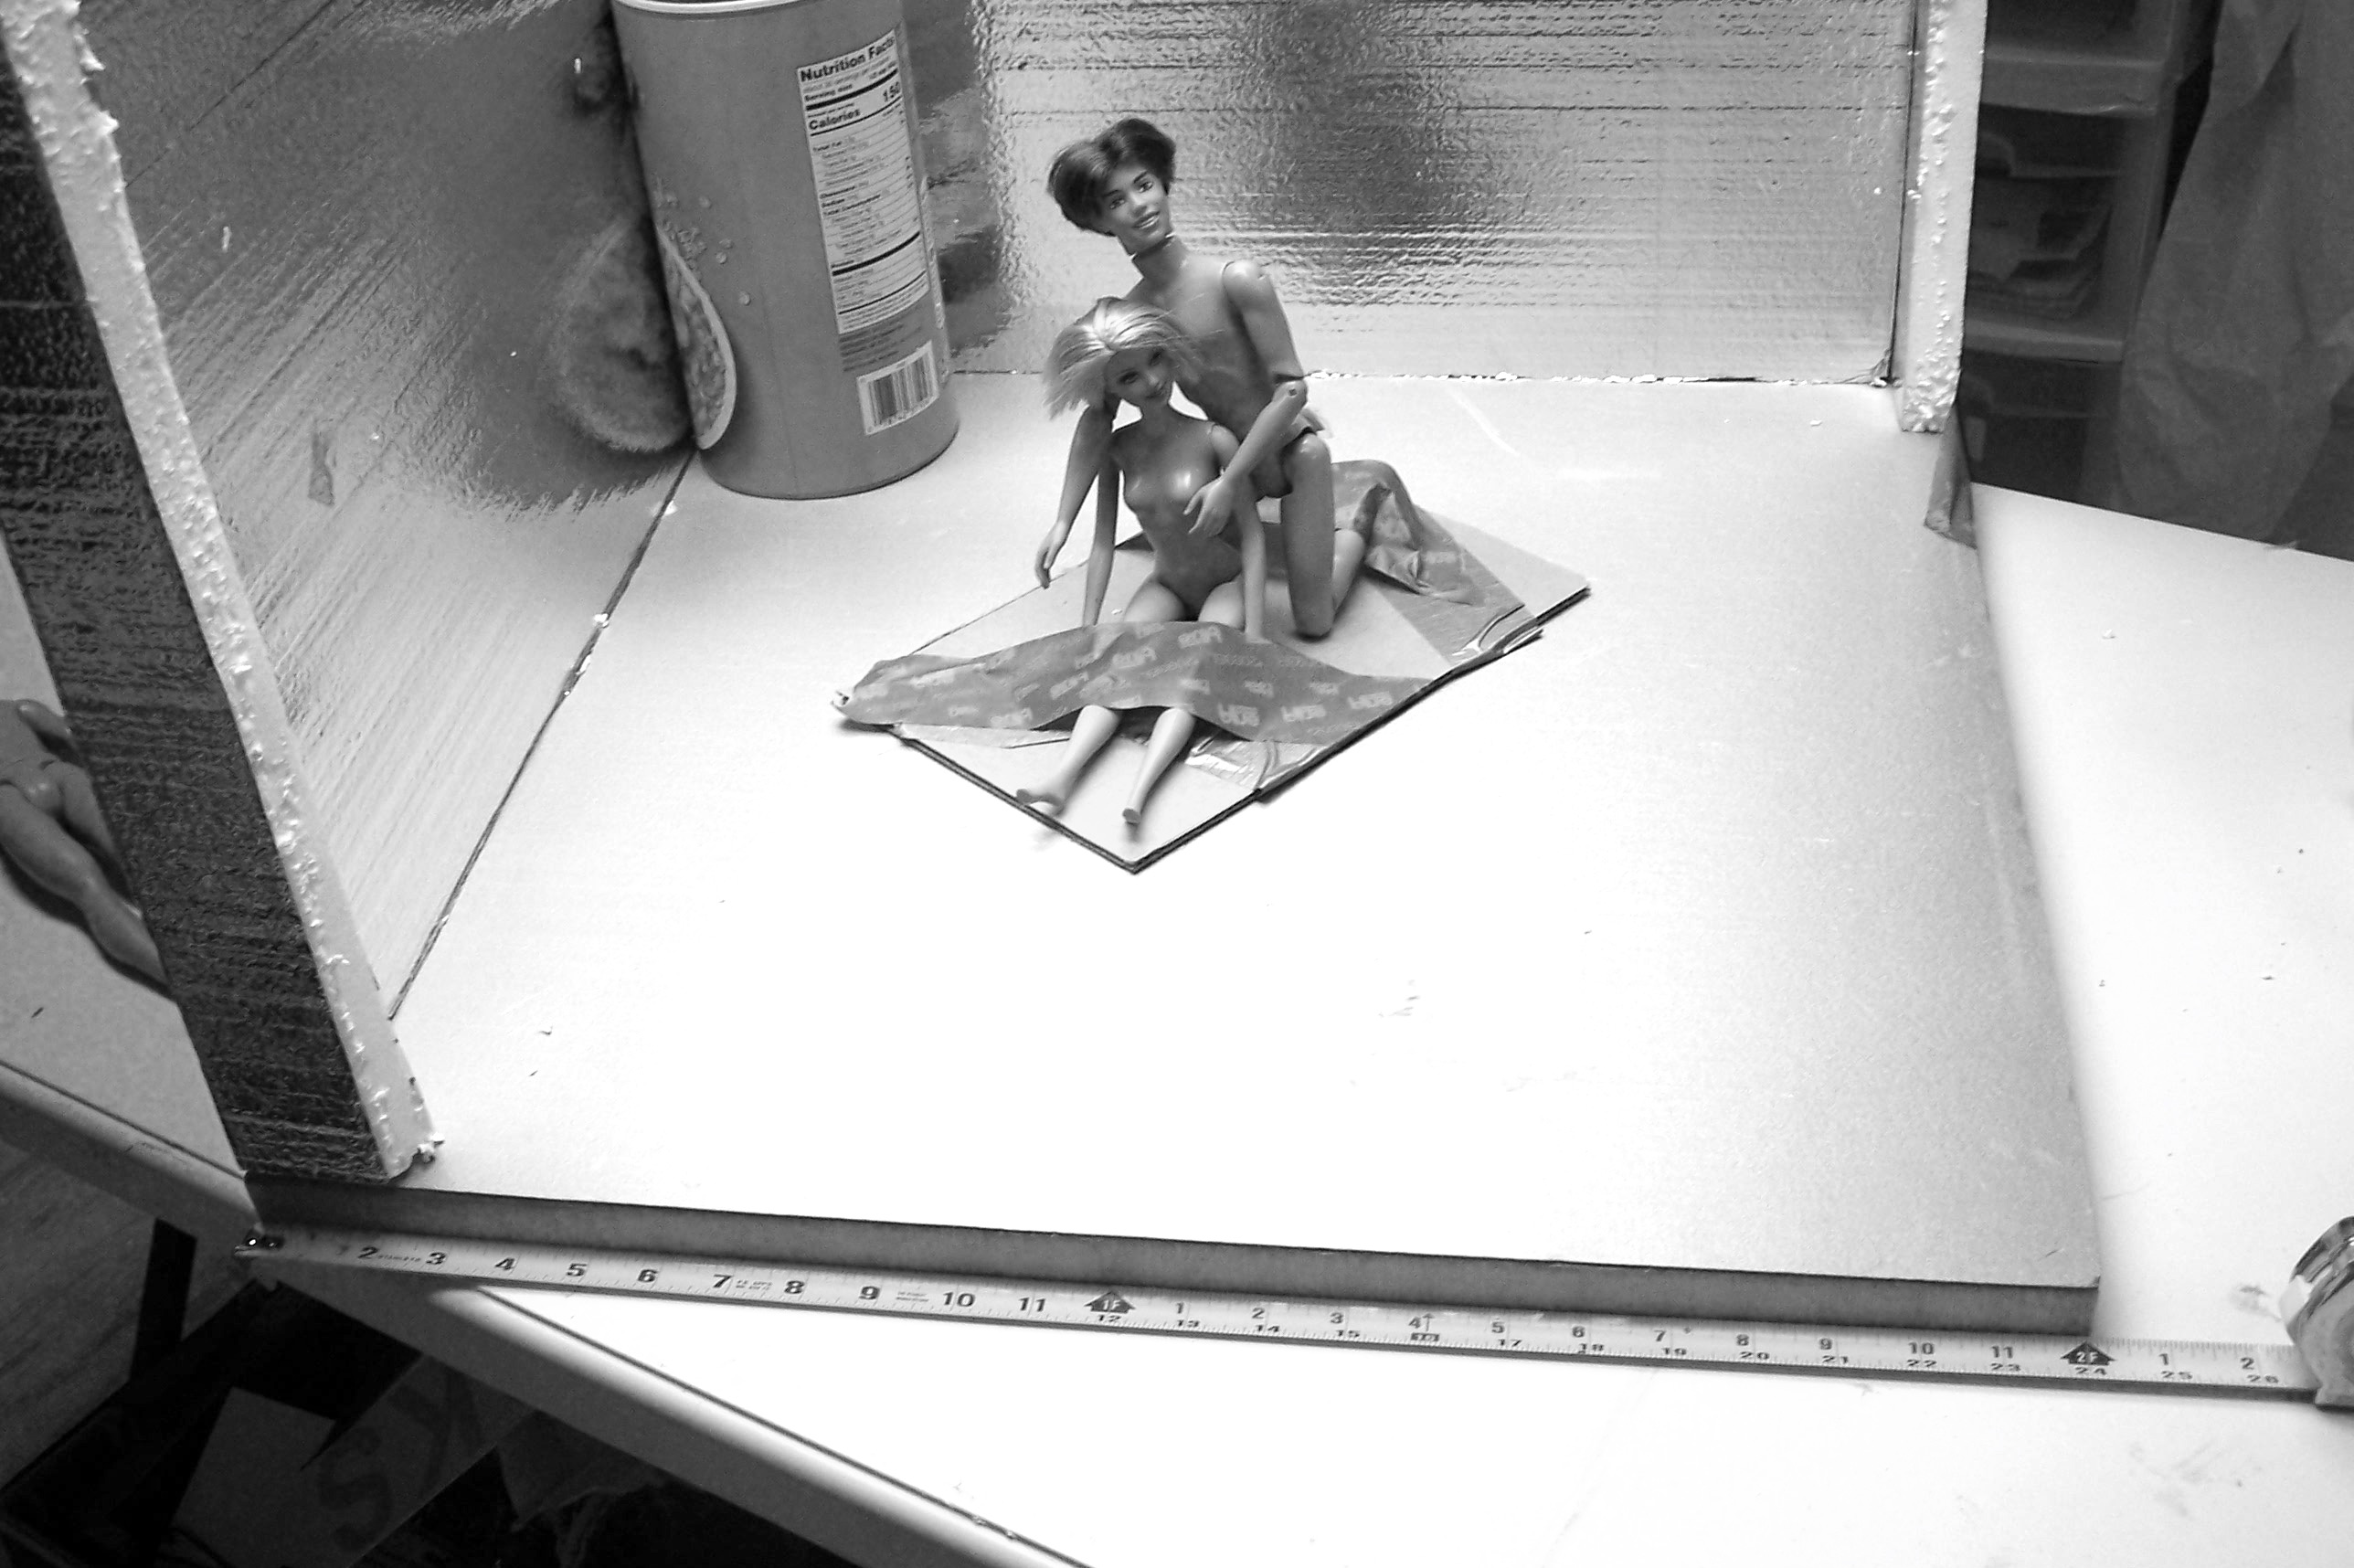
Last thing---testing for Black and White by transforming photos to black and white.
 |
| barbieoldnewgreenredo |
Here's where I decided to up the details and contrast a bit here and there! And I forgot to add the silver staircase...Laters!
Painting Techniques Used and Defined:
Stencil---to apply paint in a daubing motion with a brush or sponge through a cut out stencil. When removing the stencil (when paint is wet) completely clean before using stencil again. Less is more in this technique to keep seepage to a minimum.
Dry-Brushing---to dip a firm brush in paint and then daub into paper toweling until only a dusting of paint is left to brush back and forth. Apply to textured or grained already painted/sealed surfaces. Used to highlight textured surfaces. I used metallics to enhance surfaces and also give a sheen on the domes.
Glazing or Staining: Mix 1/3 sealer with 2/3 paint apply to a textured surface and wipe excess away--leaving accents within the texture. The sealer extends the paint and gives it a translucent quality. Used on the lace/doily finishes. Gel paints are also sold specifically for this technique.
I'll be happy to answer any questions on specifics.
Thanks for following along.
NEXT: Dolls, Characters, Costumes...oh MY!
If you enjoyed this post(s), please join me by email- at
FOLLOW IT---upper right hand corner.
I have not been paid or reimbursed in anyway for my opinions or products shown, or from where I shop.
Please Join me at these Fine Blog Parties!
Thank you for your cooperation, Sandi
 |
| barbieoldnewgreenredo |