AD-Free Blog
Where does all this bakery get BAKED?

 |
| barbieoldnewgreenredo |
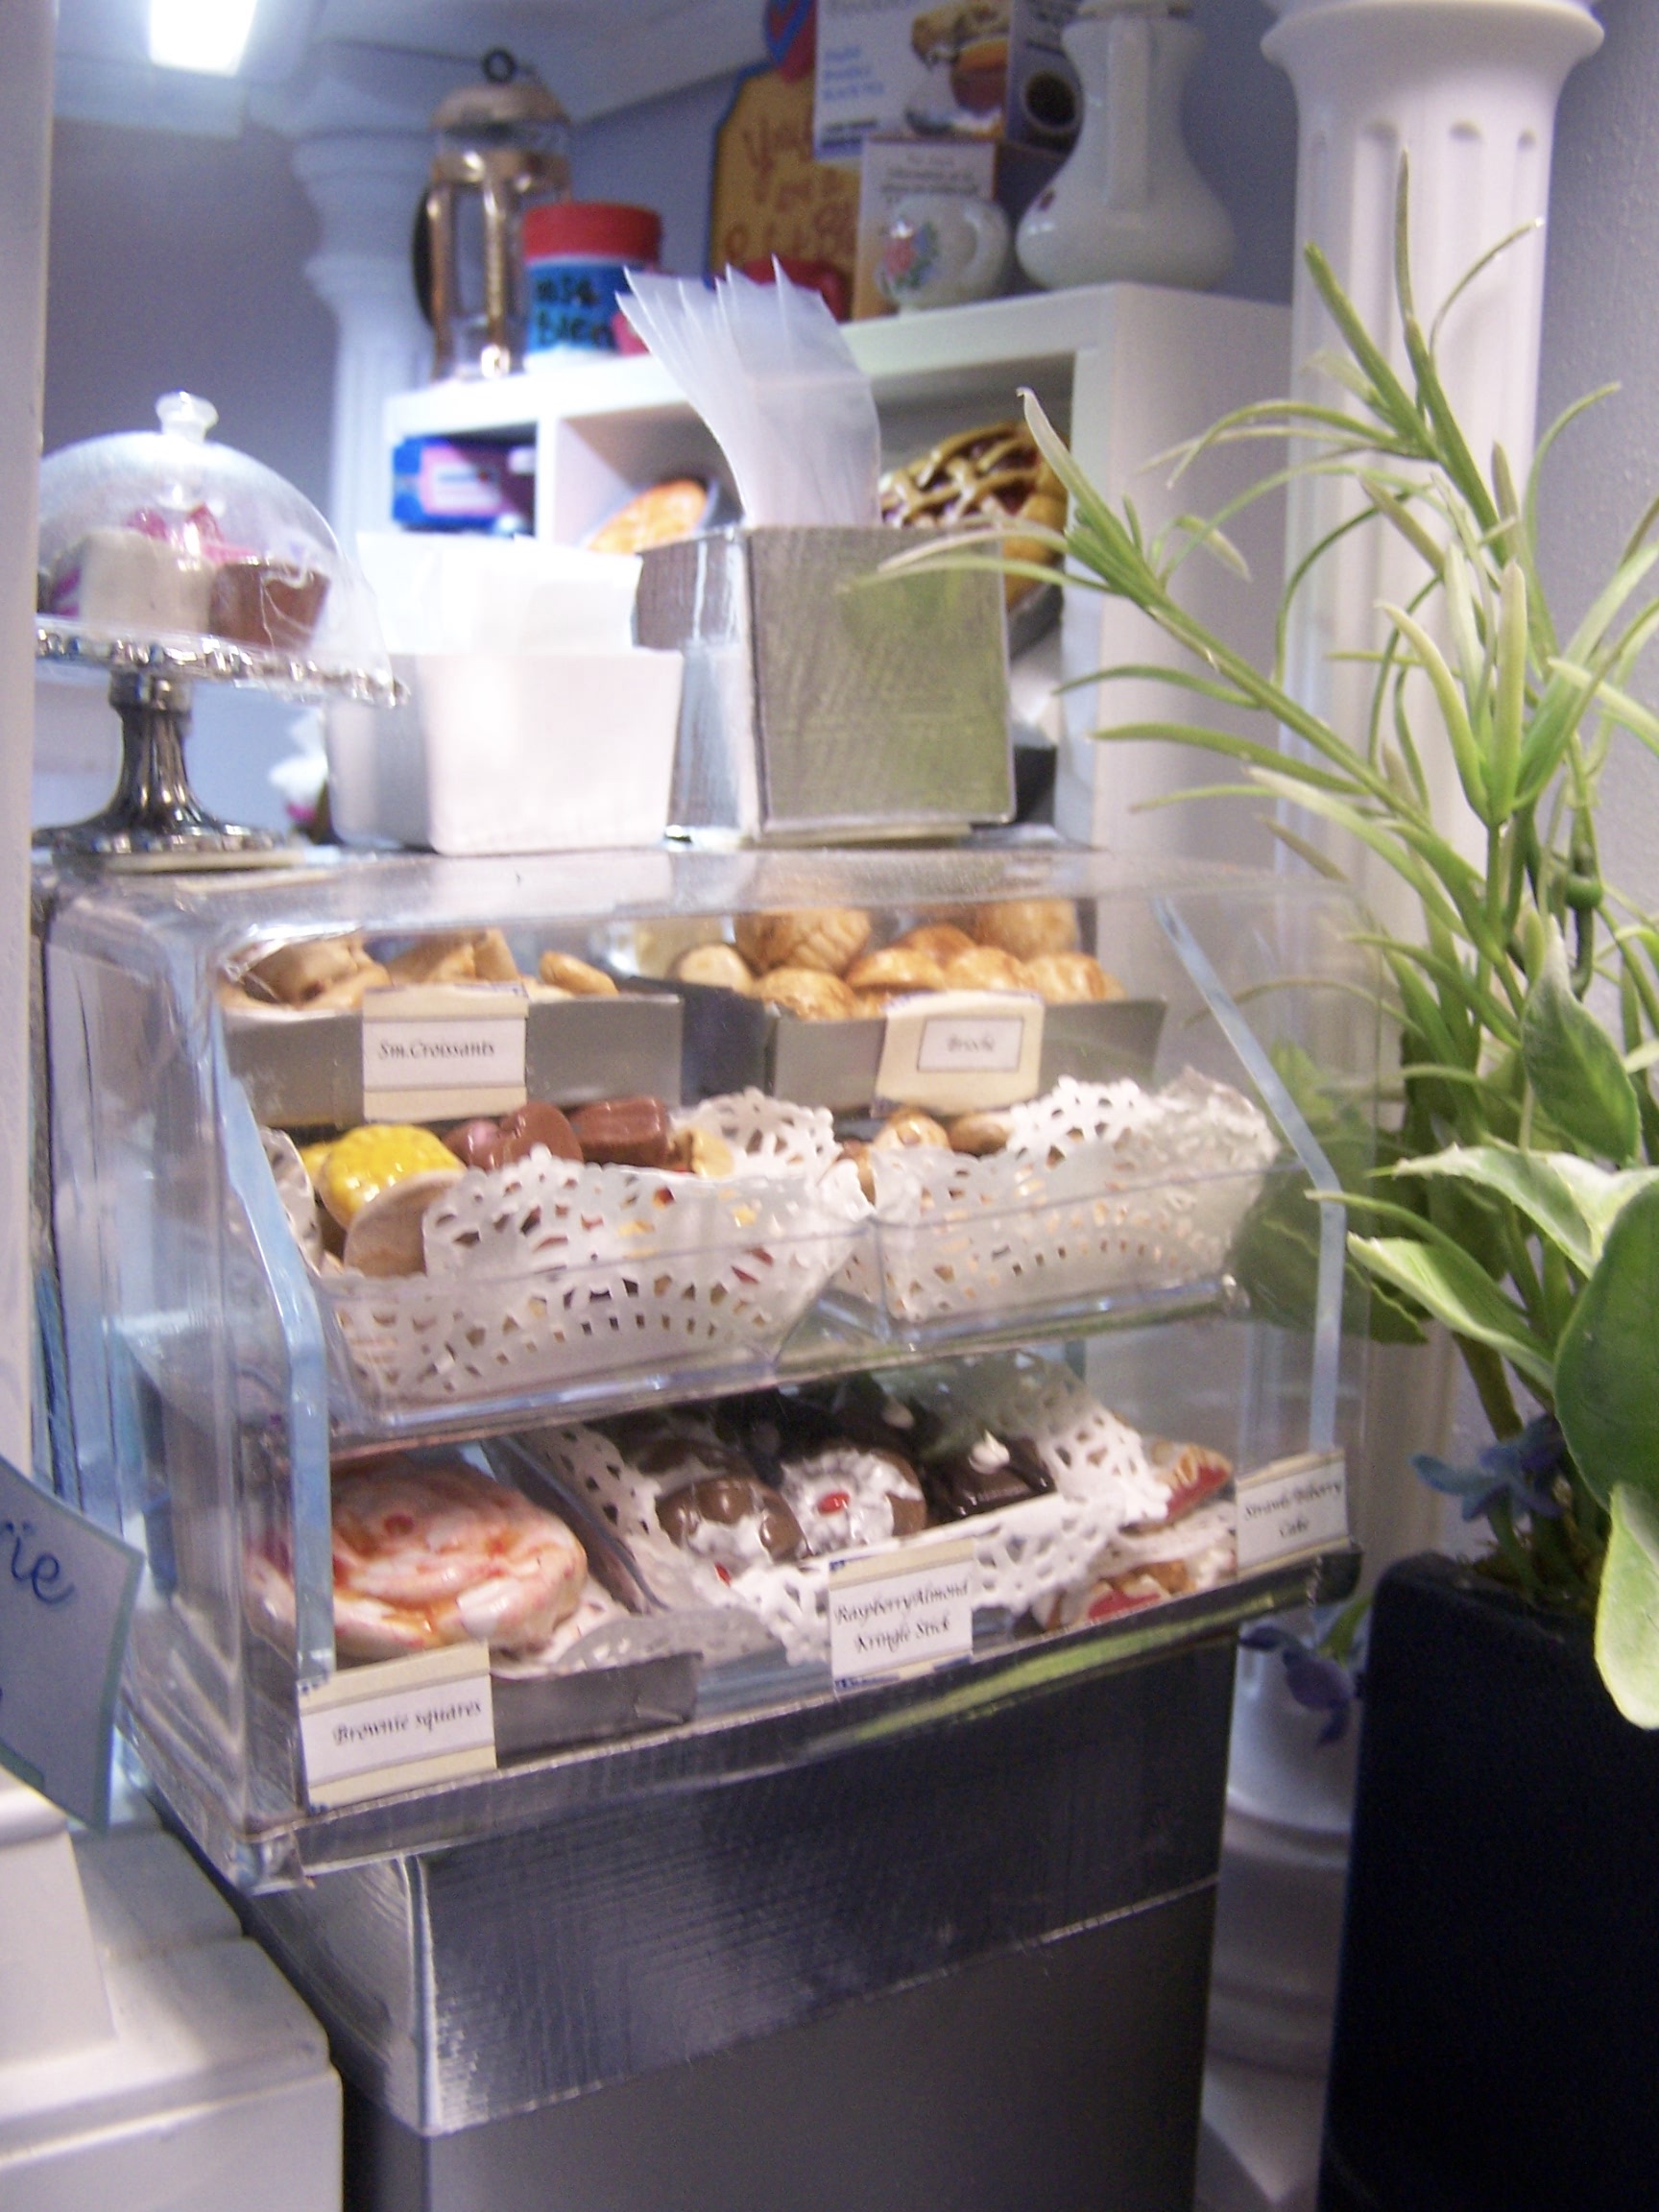
You have seen Sindy's Patisserie from all sorts of angles.
 |
| barbieoldnewgreenreod |
The counters are always full of seasonal and everyday delights. Everyone in my doll world enjoys all the nummies...but where do they come from?
 |
| barbieoldnewgreenredo |
So much deliciousness...
 |
| barbieoldnewgreenredo |
and variety...but where is the kitchen?
 |
| barbieoldnewgreenredo |
Well through this magic door was supposed to be the kitchen. Tape is on the refrigerator to keep the goodies inside during construction.
 |
| barbieoldnewgreenredo |
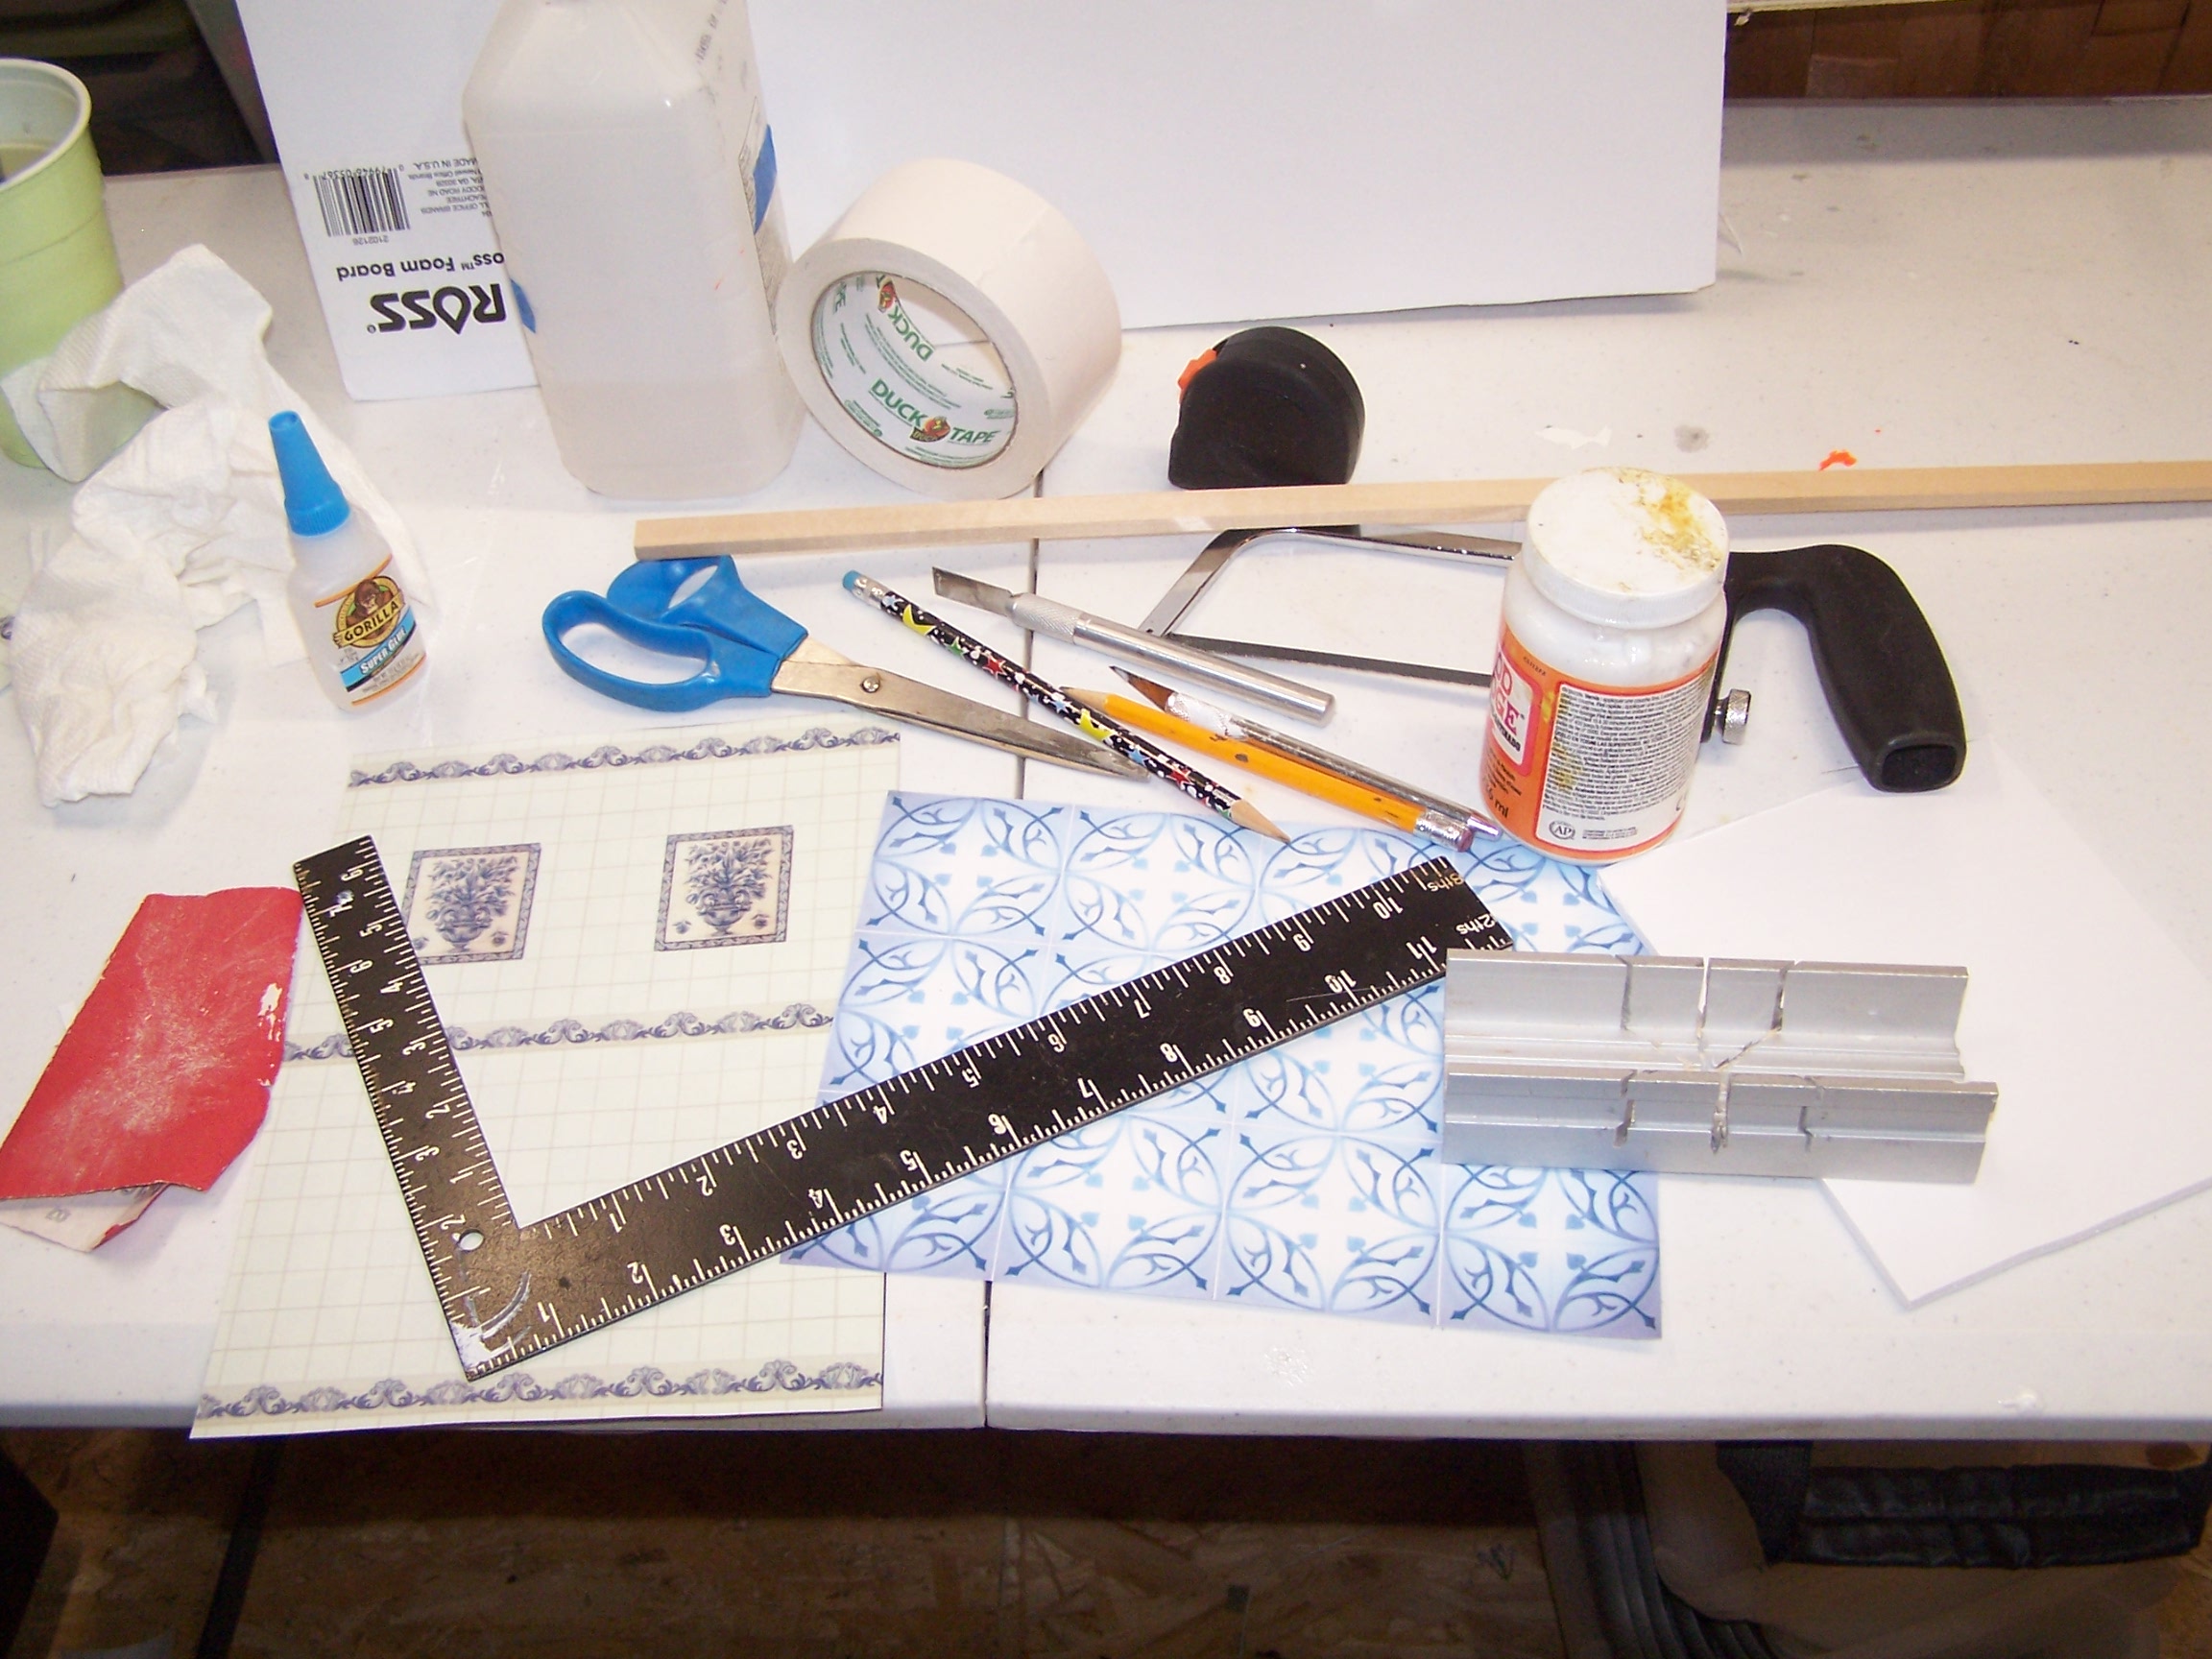
Here are all the tools and supplies I needed for this project.
Tools:
Square/measure
pencil
saw
mitre box
sandpaper
brushes
Alcohol for cleaning surfaces to accept paint/modgepodge)
Materials needed:
Foam core for walls cut to fit your desired dimensions (3 sides)
1/4" plywood or wood for the floor (prime this)
Super glue for moldings
Wood trim for around windows (I used scraps and leftovers)
White duct tape for hinging the panels
Alcohol for cleaning surfaces to accept paint/modgepodge)
Modge Podge...I haven't found anything as versatile as this product.
Prints or scrapbook paper of wall tiles and trim
Print of floor tiles or scrapbook paper
I used the same flooring print that was used in the hotel.
The Hotel was supposedly built in the 1890's so I keep this in mind when designing the hard surfaces. The kitchen will have hard surfaces of 1890's, but fixtures and furniture of a contemporary kitchen. We have to meet codes of course!
 |
| barbieoldnewgreenredo |
The hotel was so large, I took it down after the lighting was fixed so I could use my large work surface for new projects. I can put it up again in about 20 minutes, when I want to do shoots or stories.
So this is the 'kitchen annex'. The gray will be a sidewalk addition to the front of the hotel walk. Room enough for more outdoor dining. The white is priming the plywood for the flooring in the actual kitchen
 |
| barbieoldnewgreenredo |
Here you can see the clean lines you get from taping an area off.
 |
| barbieoldnewgreenredo |
I buy Barbie structures that are trashed for parts: doors, windows, builtins and use them in my rooms and structures. I sawed off the projections on the sides of this window with the hacksaw and then filed them smooth.
 |
| barbieoldnewgreenredo |
Placed into the foam core and framed out...it will look like a real window. The plastic is thoroughly cleaned with 90% alcohol to accept glue and paint.
 |
| barbieoldnewgreenredo |
Here you can see the inside with the still wet Modge-podged paper/tiles. Most of the wrinkles smooth out when dried.
I used white Duct Tape on the corners, be sure to allow some ease so the panels open and close easily. The tile pattern was matched in the corners.
 |
| barbieoldnewgreenredo |
My Three walls of the kitchen all the tiling applied, while drying. This took lots of measuring and splicing of the designs. Even though I painted the outside of the panels, I still had some curving (shrinkage) of the panels. I have them weighted down now to straighten.
Reveal in next post!
Another project I needed to do, was a large work table covered in stainless steel...a must for rolling out large quantities of dough. I designed this for a specific space in the kitchen.
Making any table. Tools needed are shown.
 |
| barbieoldnewgreenredo |
I worked with pieces and wood I already had. Measure, measure twice, cut once....and old rule...check and double check. I made sure my table leg frame measures were nice and squared...despite the top wasn't!
 |
| barbieoldnewgreenredo |
Since I will actually be rolling out dough on this table...I decided to screw my table legs in.
I used 5/8"x5/8" stock....which I hand cut all to the same length. IMPORTANT...make sure all your legs are exactly the same---sand to even out irregularities.
 |
| barbieoldnewgreenredo |
A jig on a table saw---will cut them exactly---but I didn't want to bother HUBBY..and did them by hand with my nifty mitre box!
 |
| barbieoldnewgreenredo |
Sanding off the edges of all the surfaces is important before you assemble the table. Wipe all the pieces off with a damp rag/or paper toweling. Clean surfaces you
are are going to glue with alcohol.
 |
| barbieoldnewgreenredo |
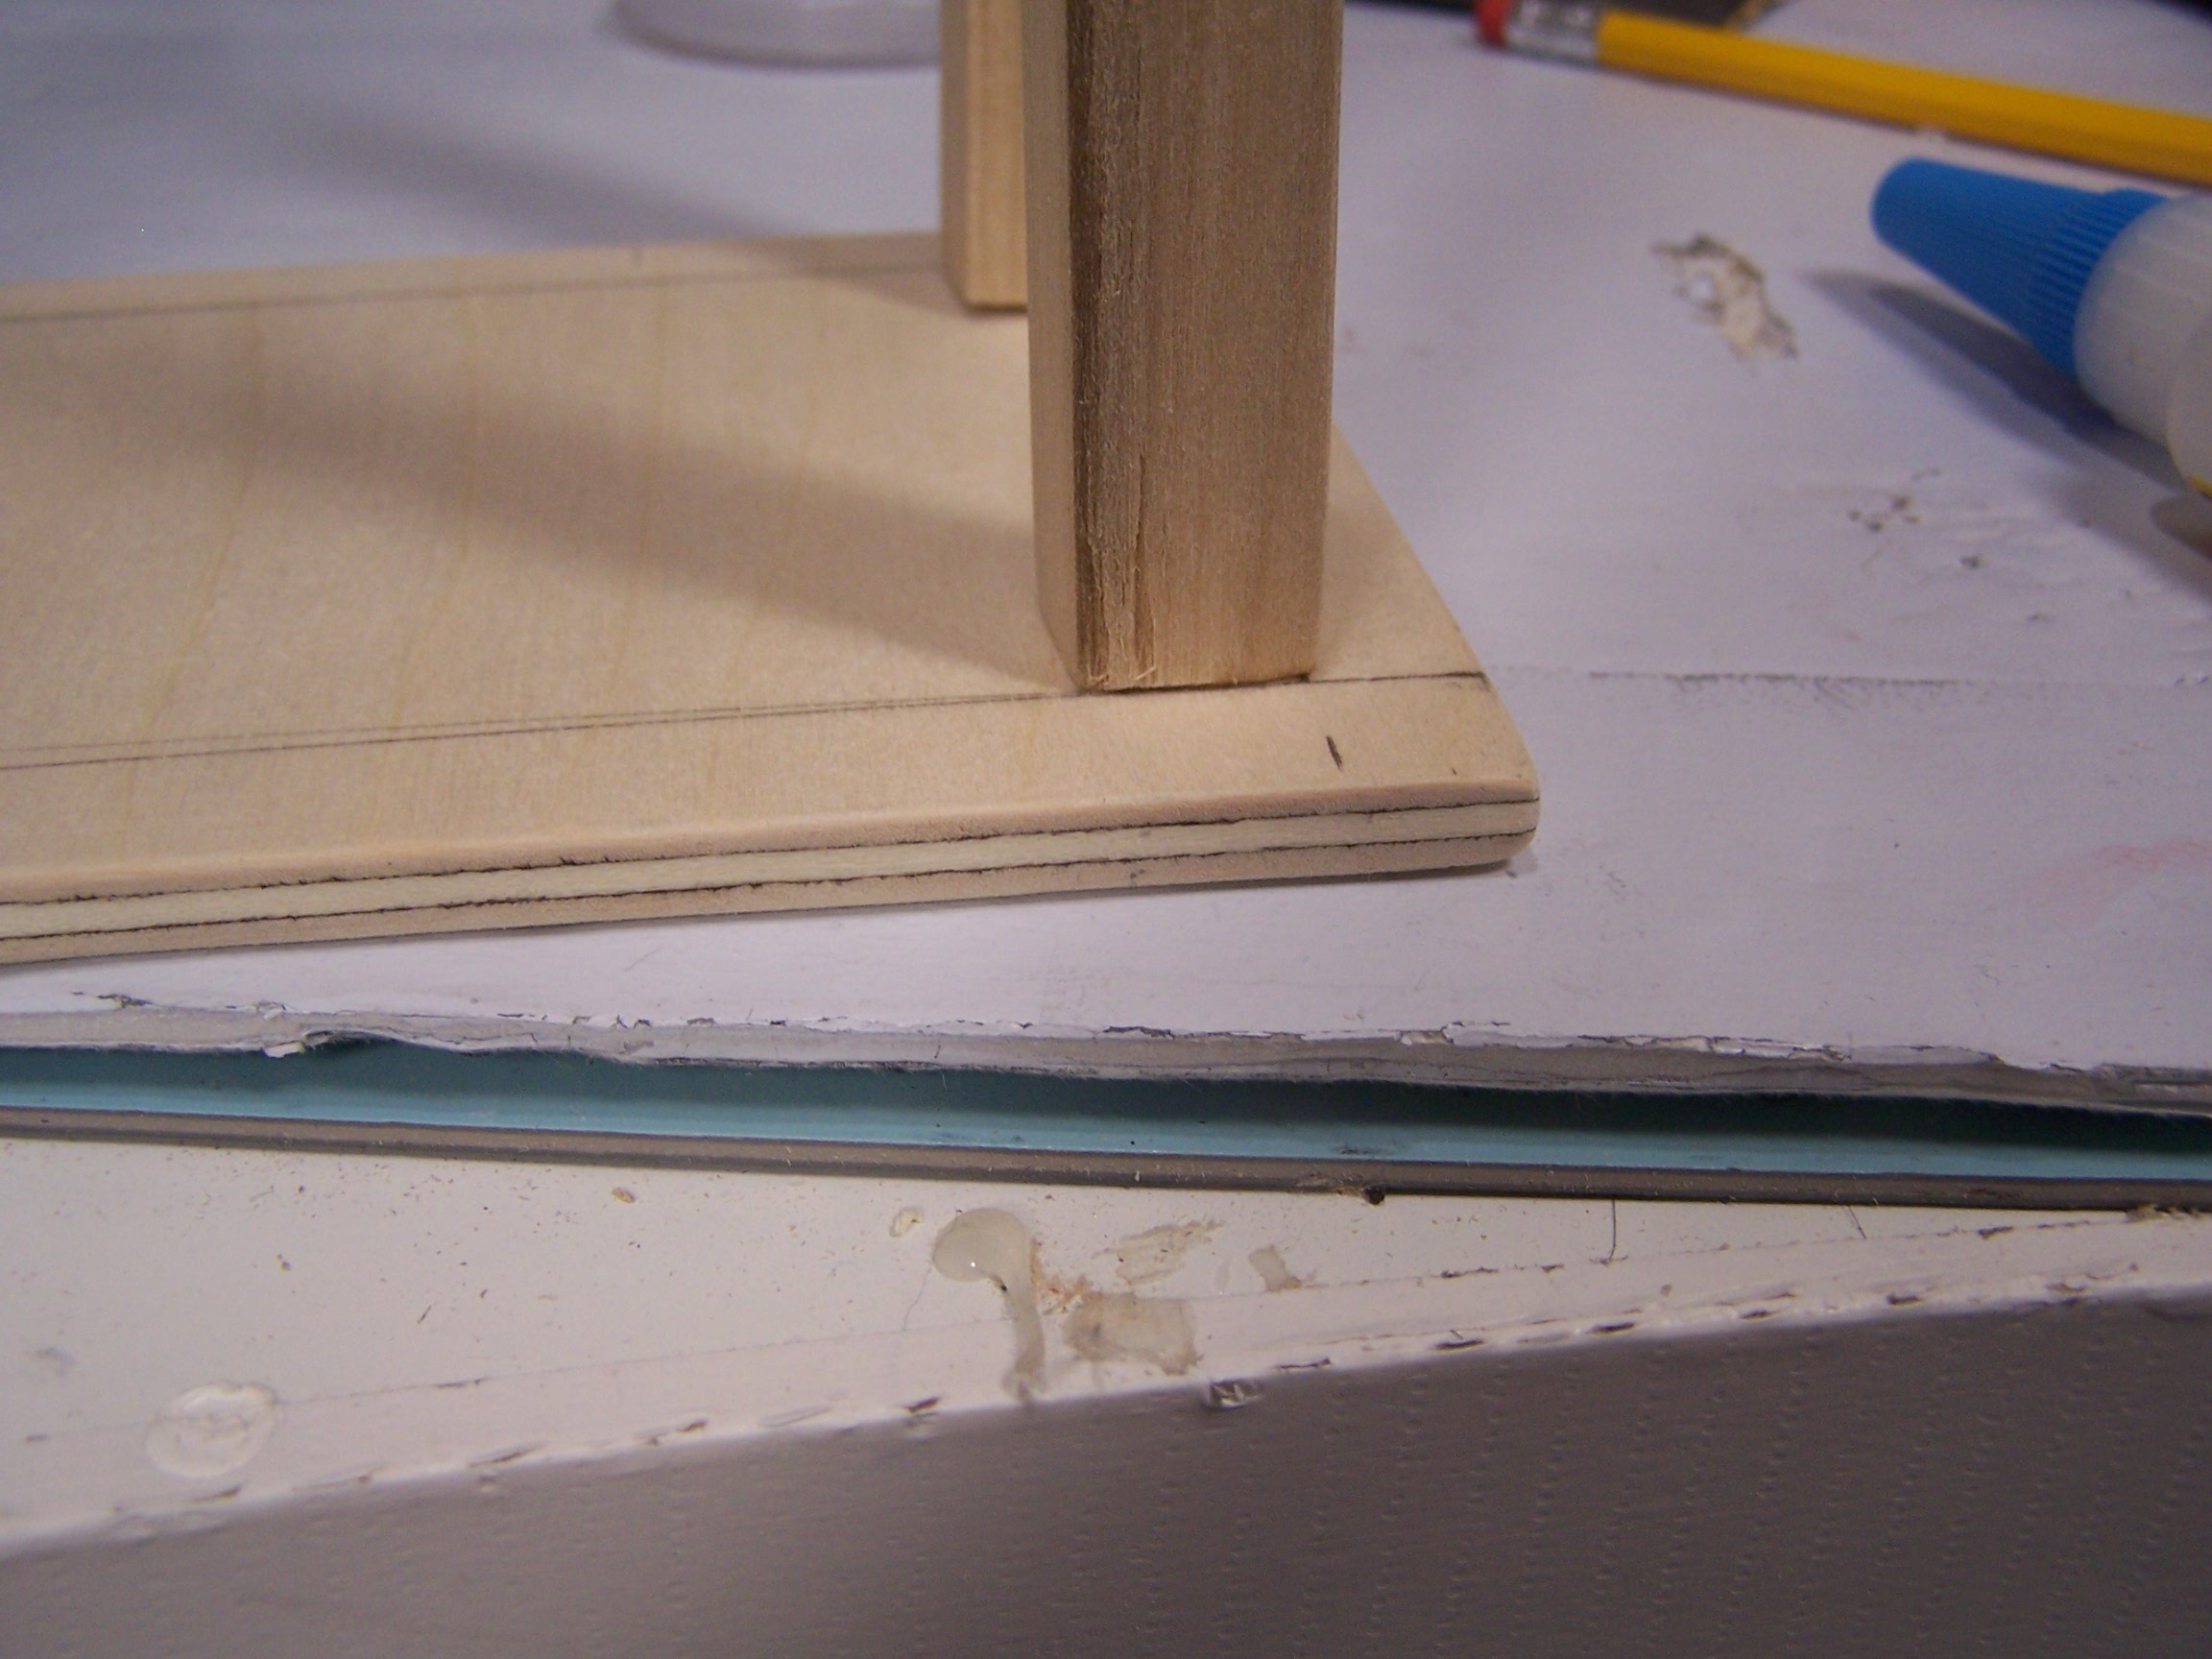
I predrilled the holes in the wood for the screws. Since I'm covering up the screws with metal stickum paper, they won't show. If you are finishing the table with paint or stain, counter sink (special drill bit) the holes for the screws and then fill the screw top with wood putty and sand excess off. OR, carefully nail through a predrilled hole to the legs.
 |
| barbieoldnewgreenredo |
So I screwed my legs on...when they were in the right place, I unscrewed them a bit to squirt in some super glue, then quickly twisted the legs back in place along my measured lines. This technique worked very well, hold in place for 20 seconds.
 |
| barbieoldnewgreenredo |
This worked great, but do one at a time and turn fast.
 |
| barbieoldnewgreenredo |
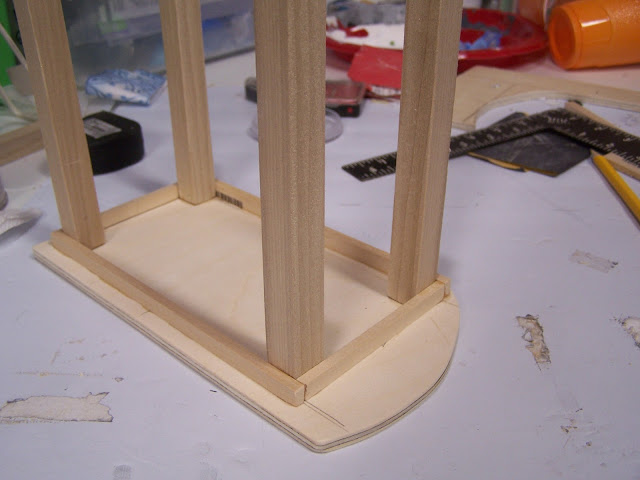
Next I used strips of wood for the apron. These were all cleaned and then glued on and simply butted together. These could be nailed. Make sure the printing is on the inside.
 |
| barbieoldnewgreenredo |
 |
| barbieoldnewgreenredo |
 |
| barbieoldnewgreenredo |
Here are Jamie and Sindy measuring the height of the table. Perfect working height.
It looks really sturdy.
 |
| barbieoldnewgreenredo |
A coat of primer on the all the wood, legs then painted silver...and shiny metal stickum paper applied.
 |
| barbieoldnewgreenredo |
Sindy thinks it looks great.....and is custom built for her space. Customers can look through the window and watch the magic happen!
and show how some 'deliciousness ' is made.
PS. I am not advertising the products I use, I simply state a name brand because I actually like and use the product. I have not received any payment, gratuity, or product for using the products shown.
Thanks for viewing and feel free to ask me any questions or inquiries, and I will get back to you.
Please Join me at these Fine Blog Parties!