Ad-Free Blog
Making a Seed Rack or any other Shelf
1:6 Scale Easy Project with minimal tools.
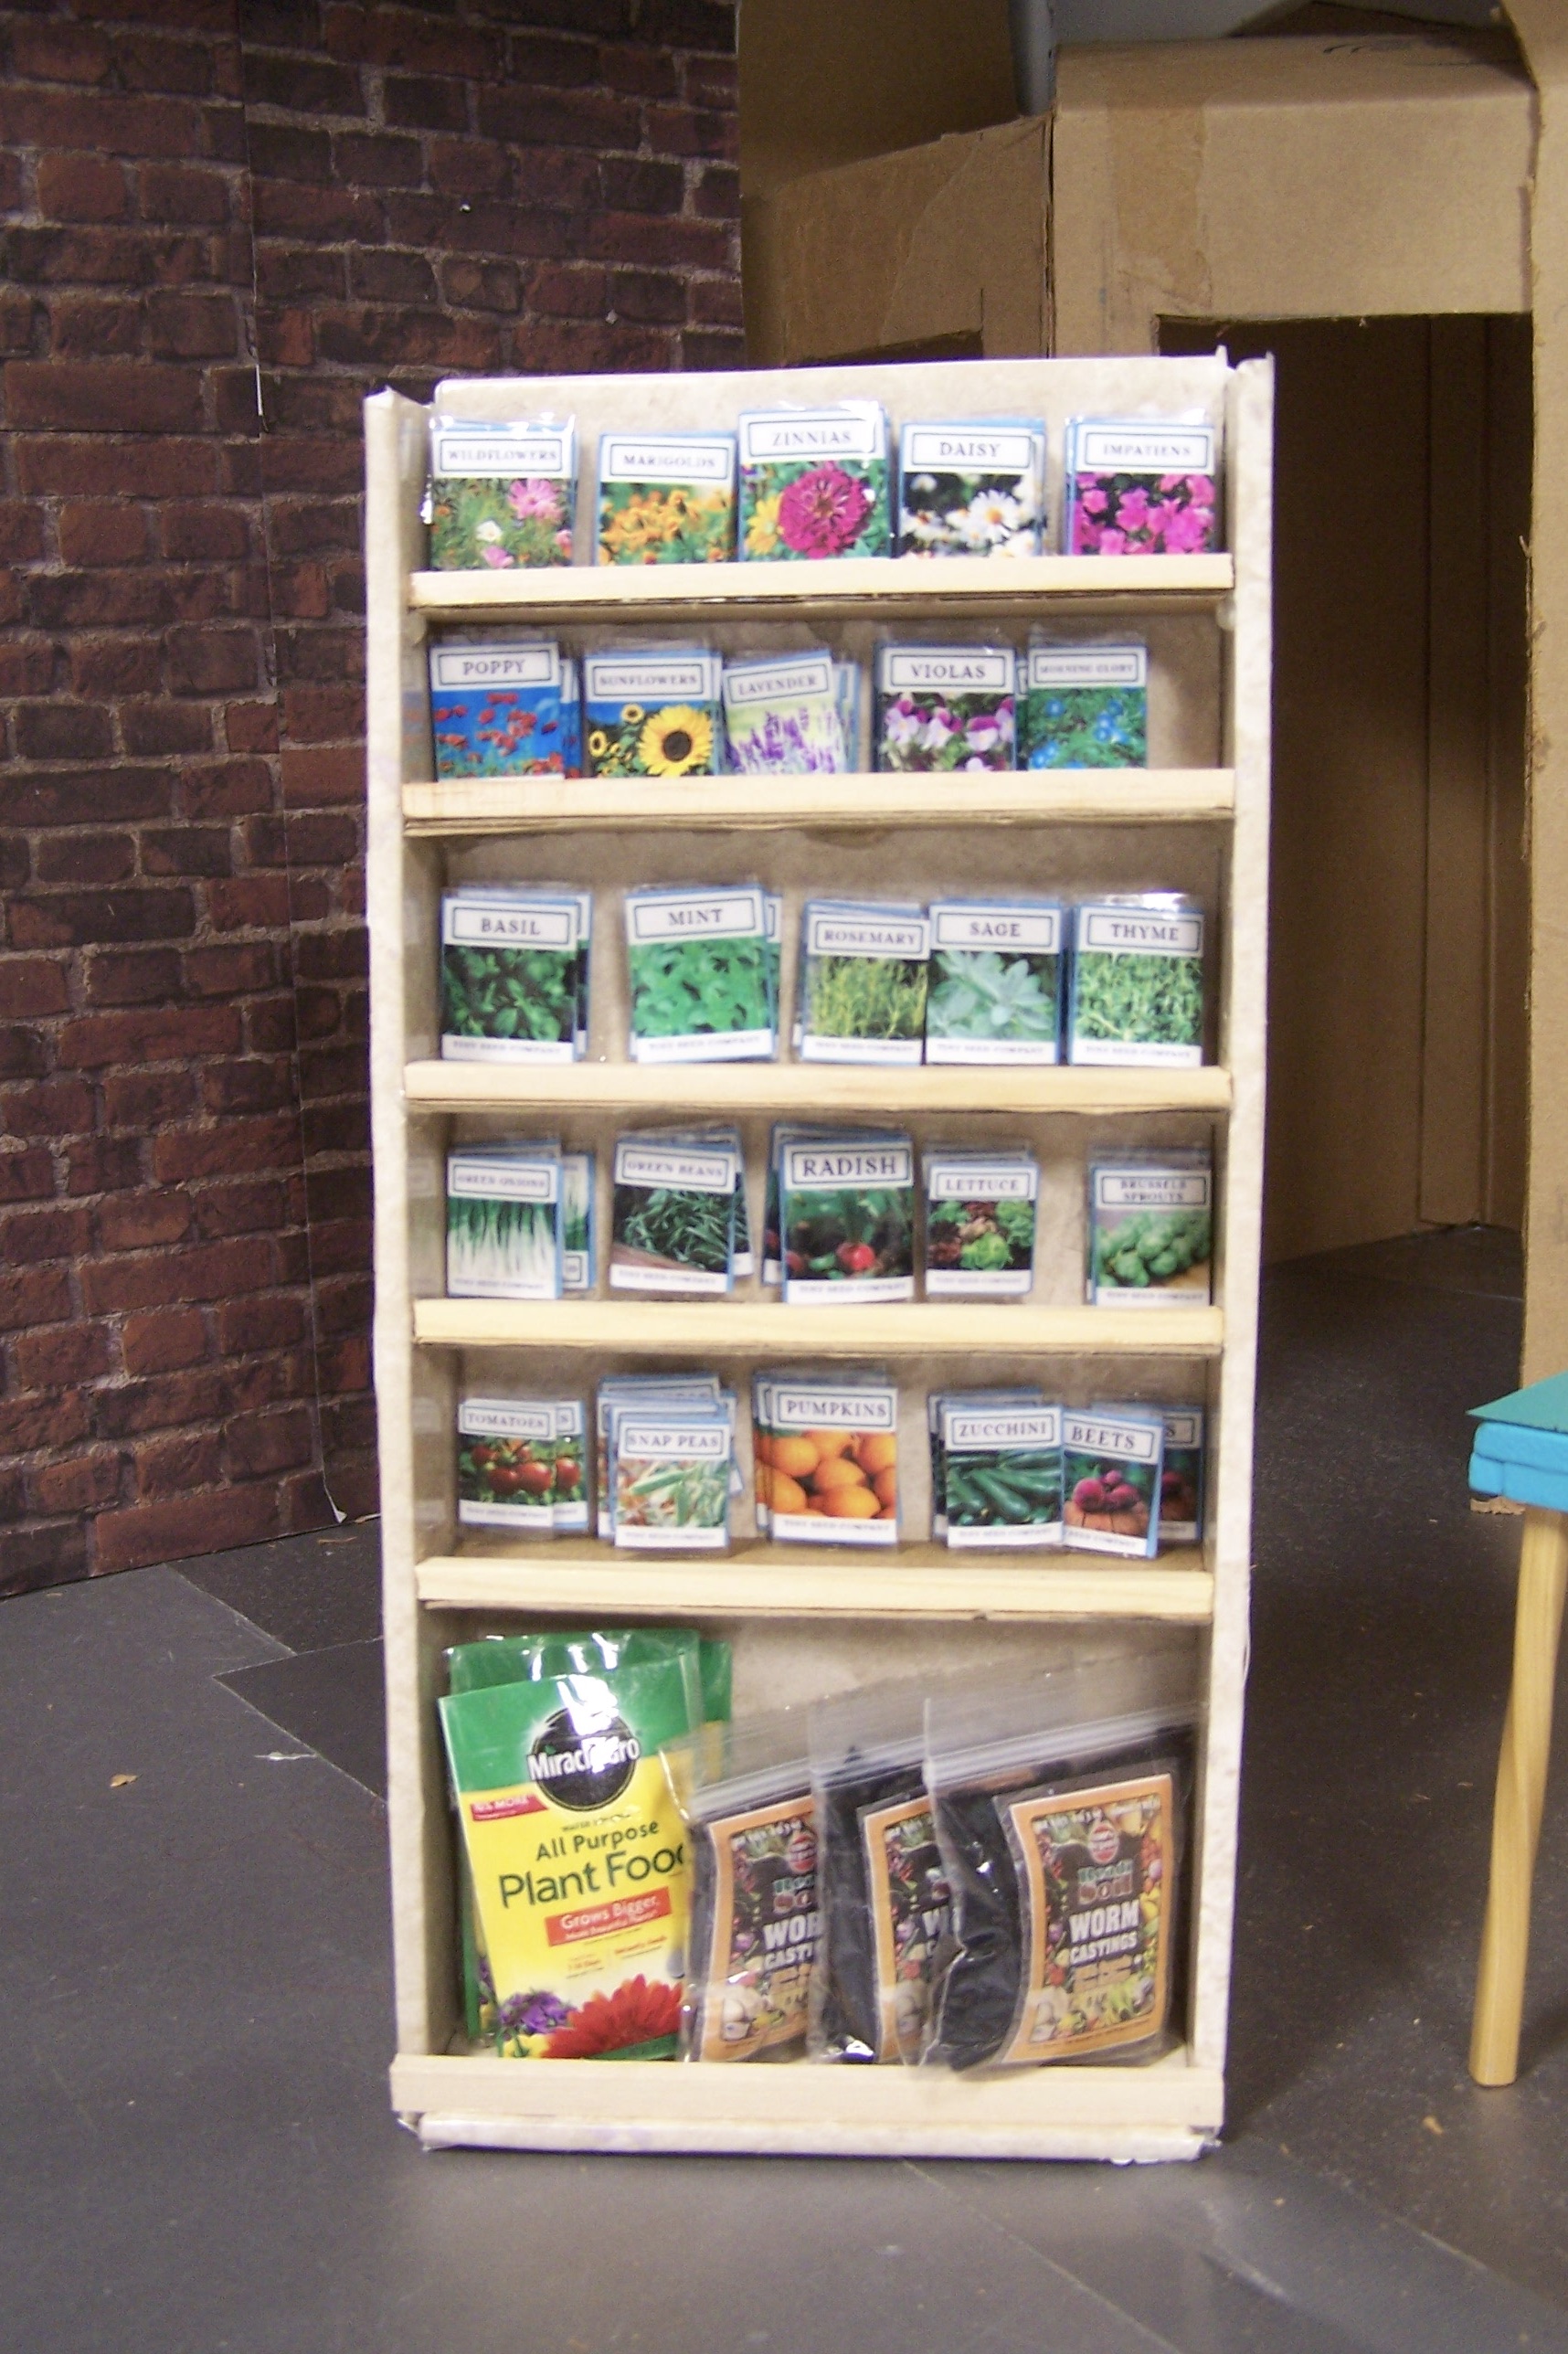
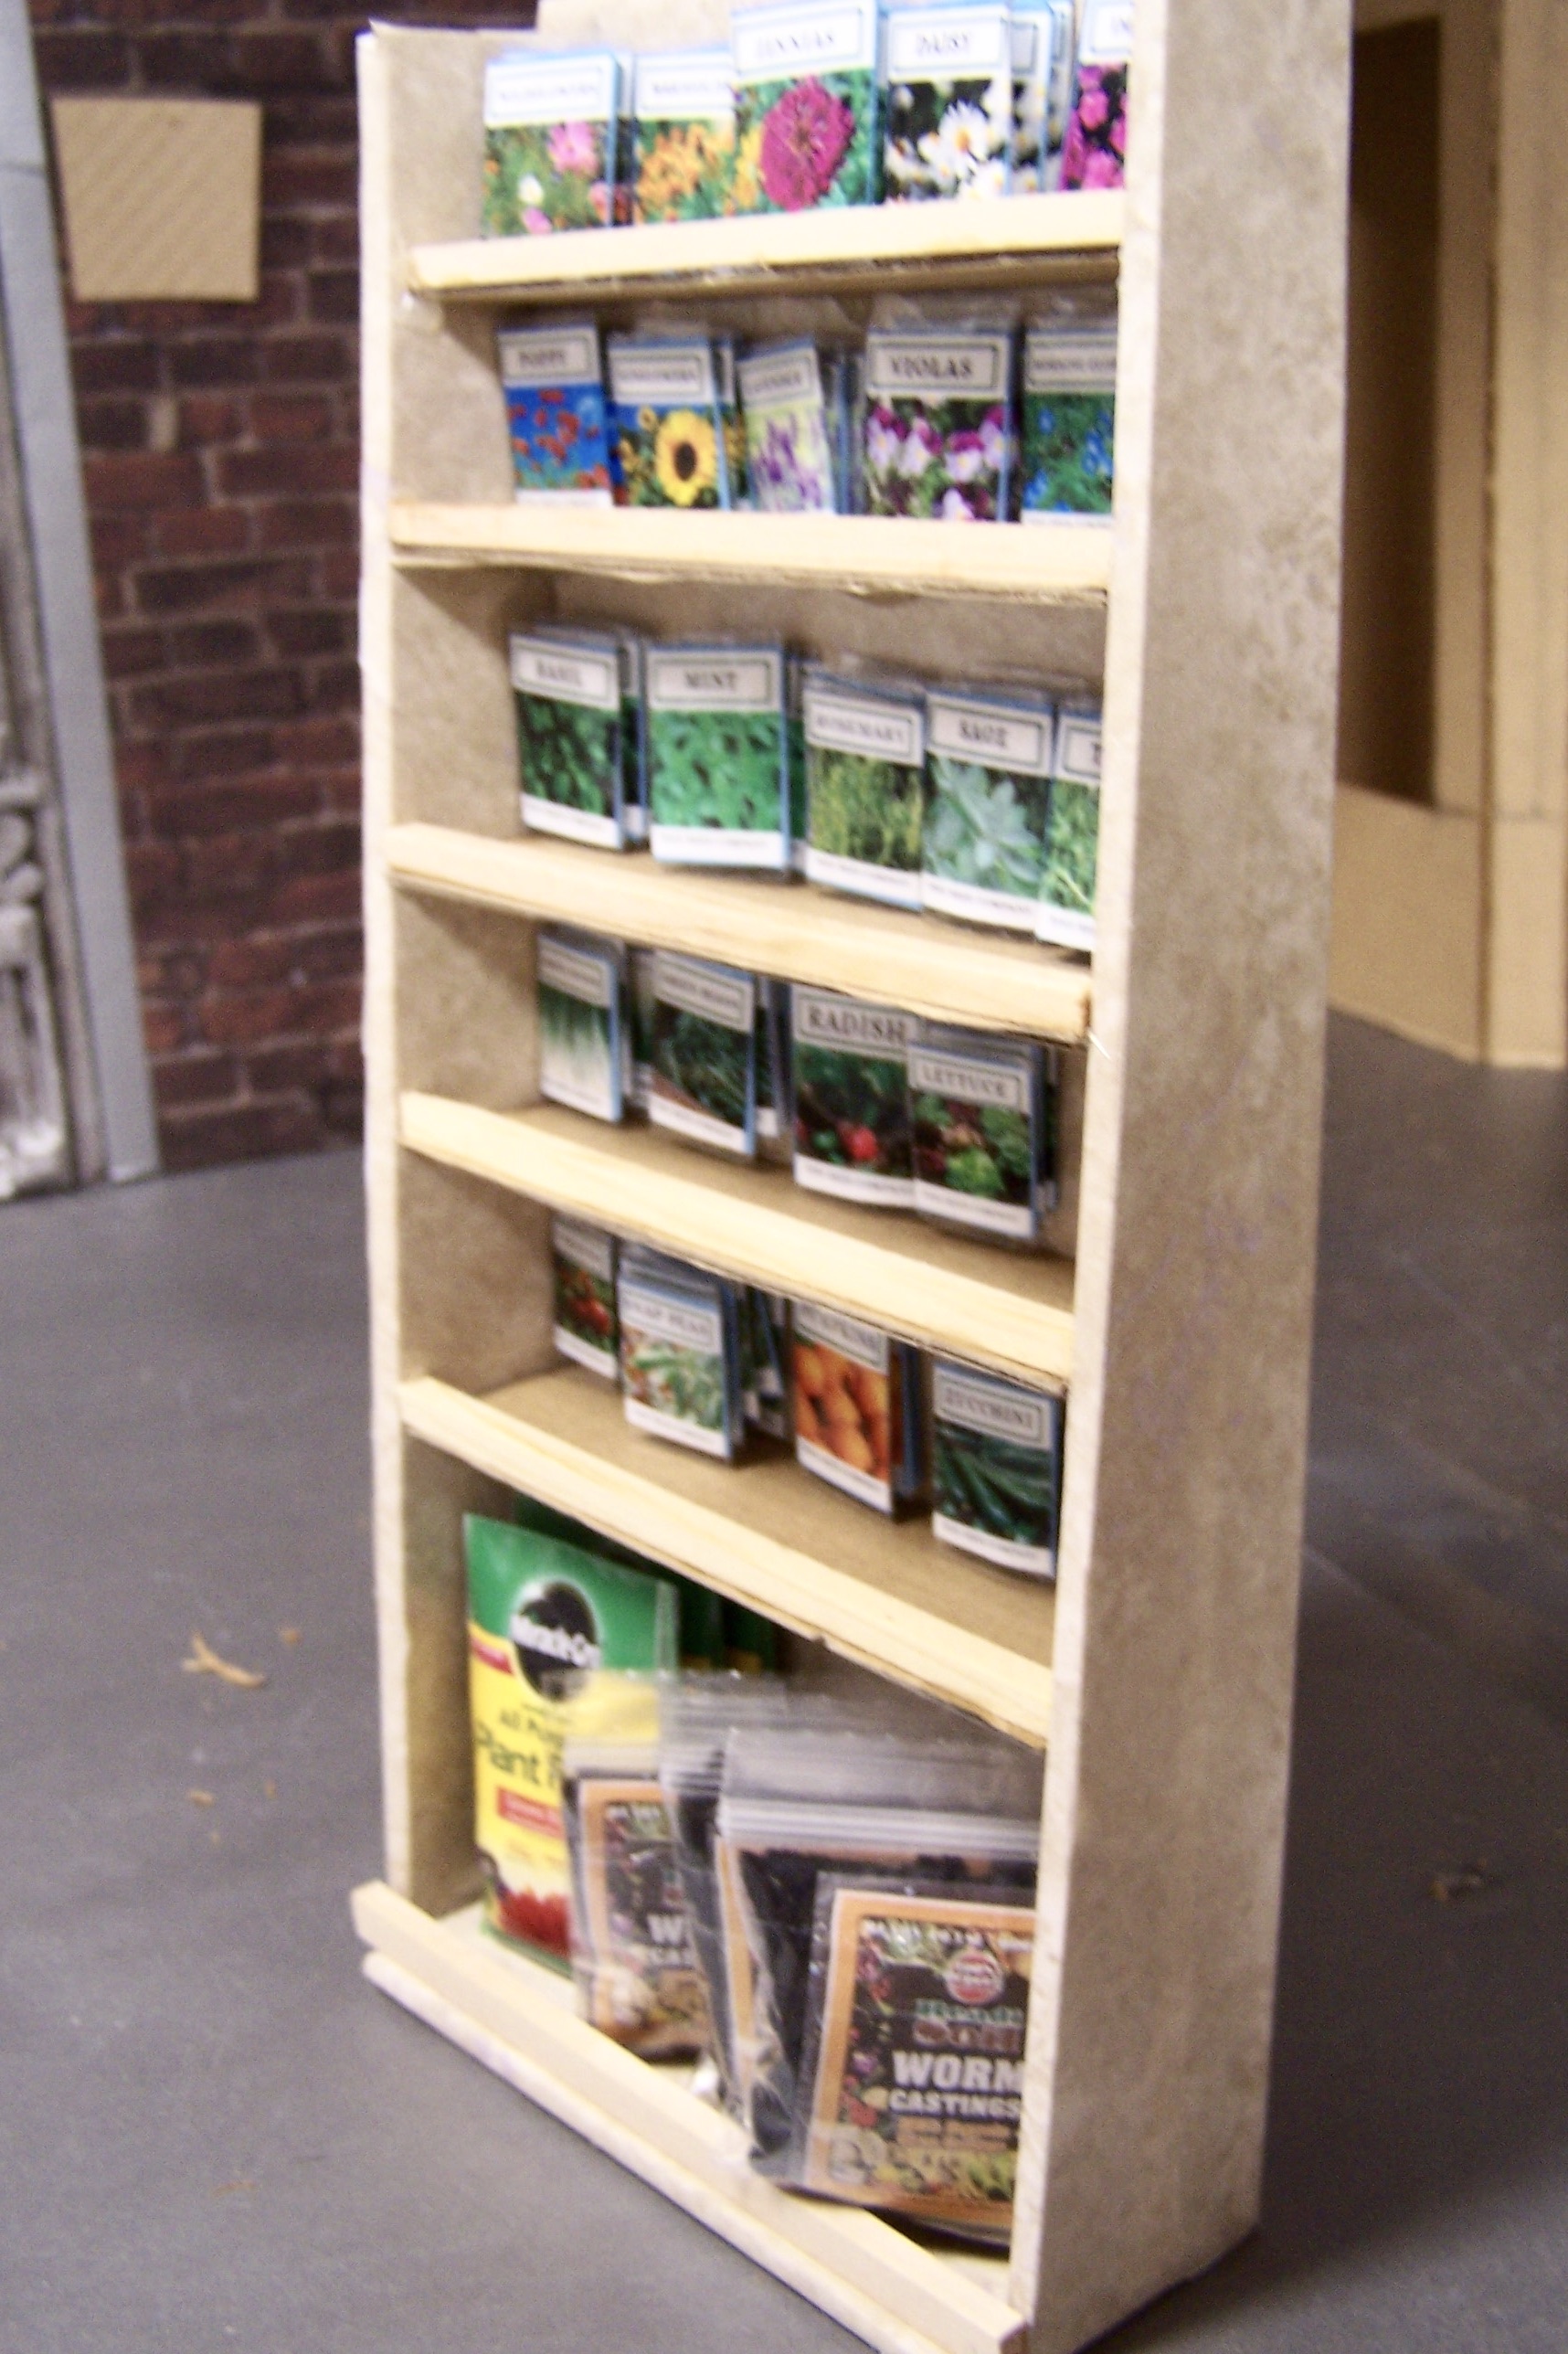
Now that you have made all your seed packs...it's time for a proper rack to display them. The packs I gave you in the last DIY post were 25, so I designed this rack for 25 slots. 5 across and 5 rows down.
Materials Needed
Minimum for 10" x 13 1/8" of Foam Core
5 Scraps of thin cardboard or wide popsicle sticks 5" x 1 1/4-1/2" deep
30" of 1/4x1/4 wood or foam core strips cut to length and covered.
hot glue gun or quick dry sticky glue for paper
12 or so straight pins
contact paper or print paper (+glue)
Sticky glue, I used E-6000 because it will stick to contact paper, and is tacky and needs to set overnight.
Tools:
Marker or pencil
Exacto knife or straight blade cutter
Ruler or a Square for cutting straight lines
Since I was starting from scratch, I made patterns, to adjust and see how this baby was going to go together. Here are my final measurements. The shelves to the right, I cut from thin cardboard a little larger than 5" across, and I wanted a more rustic look. The rack sides to the left are to be cut from a 3"x11" piece of foam core also.
Here are the foam core cutouts. I actually marked the two side pieces inside and out...to keep them straight in my head.
I covered the small bottom piece with contact paper leaving one long side bare and covering the others, bringing the edges underneath. The bare long side is then hot glued to the bottom of the back piece.
Then cover the front of the back piece with contact paper/or paper leaving the side edges bare (for accepting the glue better). Glue the bottom edge of the back to the bottom bare side edge as shown.
Already you can see how it will stand.
Reinforce the joint with three straight pins inserted from the back into the bottom.
Lay out the sides (inside of the side pieces on the contact paper/paper and apply, trimming the edges around to the outside to cover the edges.
Here you can see how the pieces will go together.
The back will be a bit higher than the sides. (I'm planning on using that edge to attach a sign.)
Side pieces: Glue the bottom edge of the side to the outside bottom edge and over the back edge of the back piece. Work quickly with hot glue, or use a sticky glue.
Again three pins into the bottom, here I angled one pin for improved stability.
And 4 pins across the back edge. Press in hard. Complete the other side also.
Face the outside of the side pieces with contact paper and trim the edges right up to the edge. I also faced the back of the unit with contact paper/paper, in case I want to ever use the back as a display also. Unless something is a 'built-in' I always finish the backs
One side done, then do the other, and then the back.
Final steps insert shelves, cut and trim to fit tightly. Hot glue and sticky glue in place. A drop of hot glue will hold them evenly as the sticky glue dries. The shelf fronts I faced with a 1/4" piece of mini-wood to keep the seed packets from sliding out. You could use wood, or cut 1/4" pieces of foam core and cover with paper to match. These I sticky glued in place and left the whole thing stand over night.
I plan to make a half circle sign for the top of the seed rack, but this design would make a great toy/book case for any room.
This was easier than I thought, and I may try and do some bookshelves or storage shelves myself, from now on. It's quite sturdy and perfect for older children and adult use.
The Rack is 11" high, the doorway behind is 12" high, the desk is 4" high, just to give you an idea of scale!
Next project the CHOPSTICK Desk!
And what is that lurking behind?
If you enjoyed this post(s), please join me by email- at
FOLLOW IT---upper right hand corner.
I have not been paid or reimbursed in anyway for my opinions or products shown, or from where I shop.
Please Join me at these Fine Blog Parties!
Thank you for your cooperation, Sandi


Oh I love this ❤️❤️❤️ I'm off to look at your seed packet post.... :) x
ReplyDeleteHi, Lulu. Thanks for visiting, and have fun...they are very cute!
DeleteYour seed case turned out great! Love the little bag of Miracle Grow too:@)
ReplyDeleteHi, Lynn. Those bags, I lifted off of actual catalog pages from somewhere???---so I really can't post the prints of them, but easily done with tape over a print on a plastic bag. Thanks for stopping by, Sandi
DeleteHi, Linda. It was pretty easy, and very sturdy. I will definitely try some more pieces like this.Thanks for visiting! Sandi
ReplyDelete