
Ad-Free Blog
When I started this project, my goal was to try and make it all from what I had on hand. I spent a lot of time, almost two weeks playing with shapes, bits and pieces and ideas. After all, the name of the blog is old, new, green, redo.
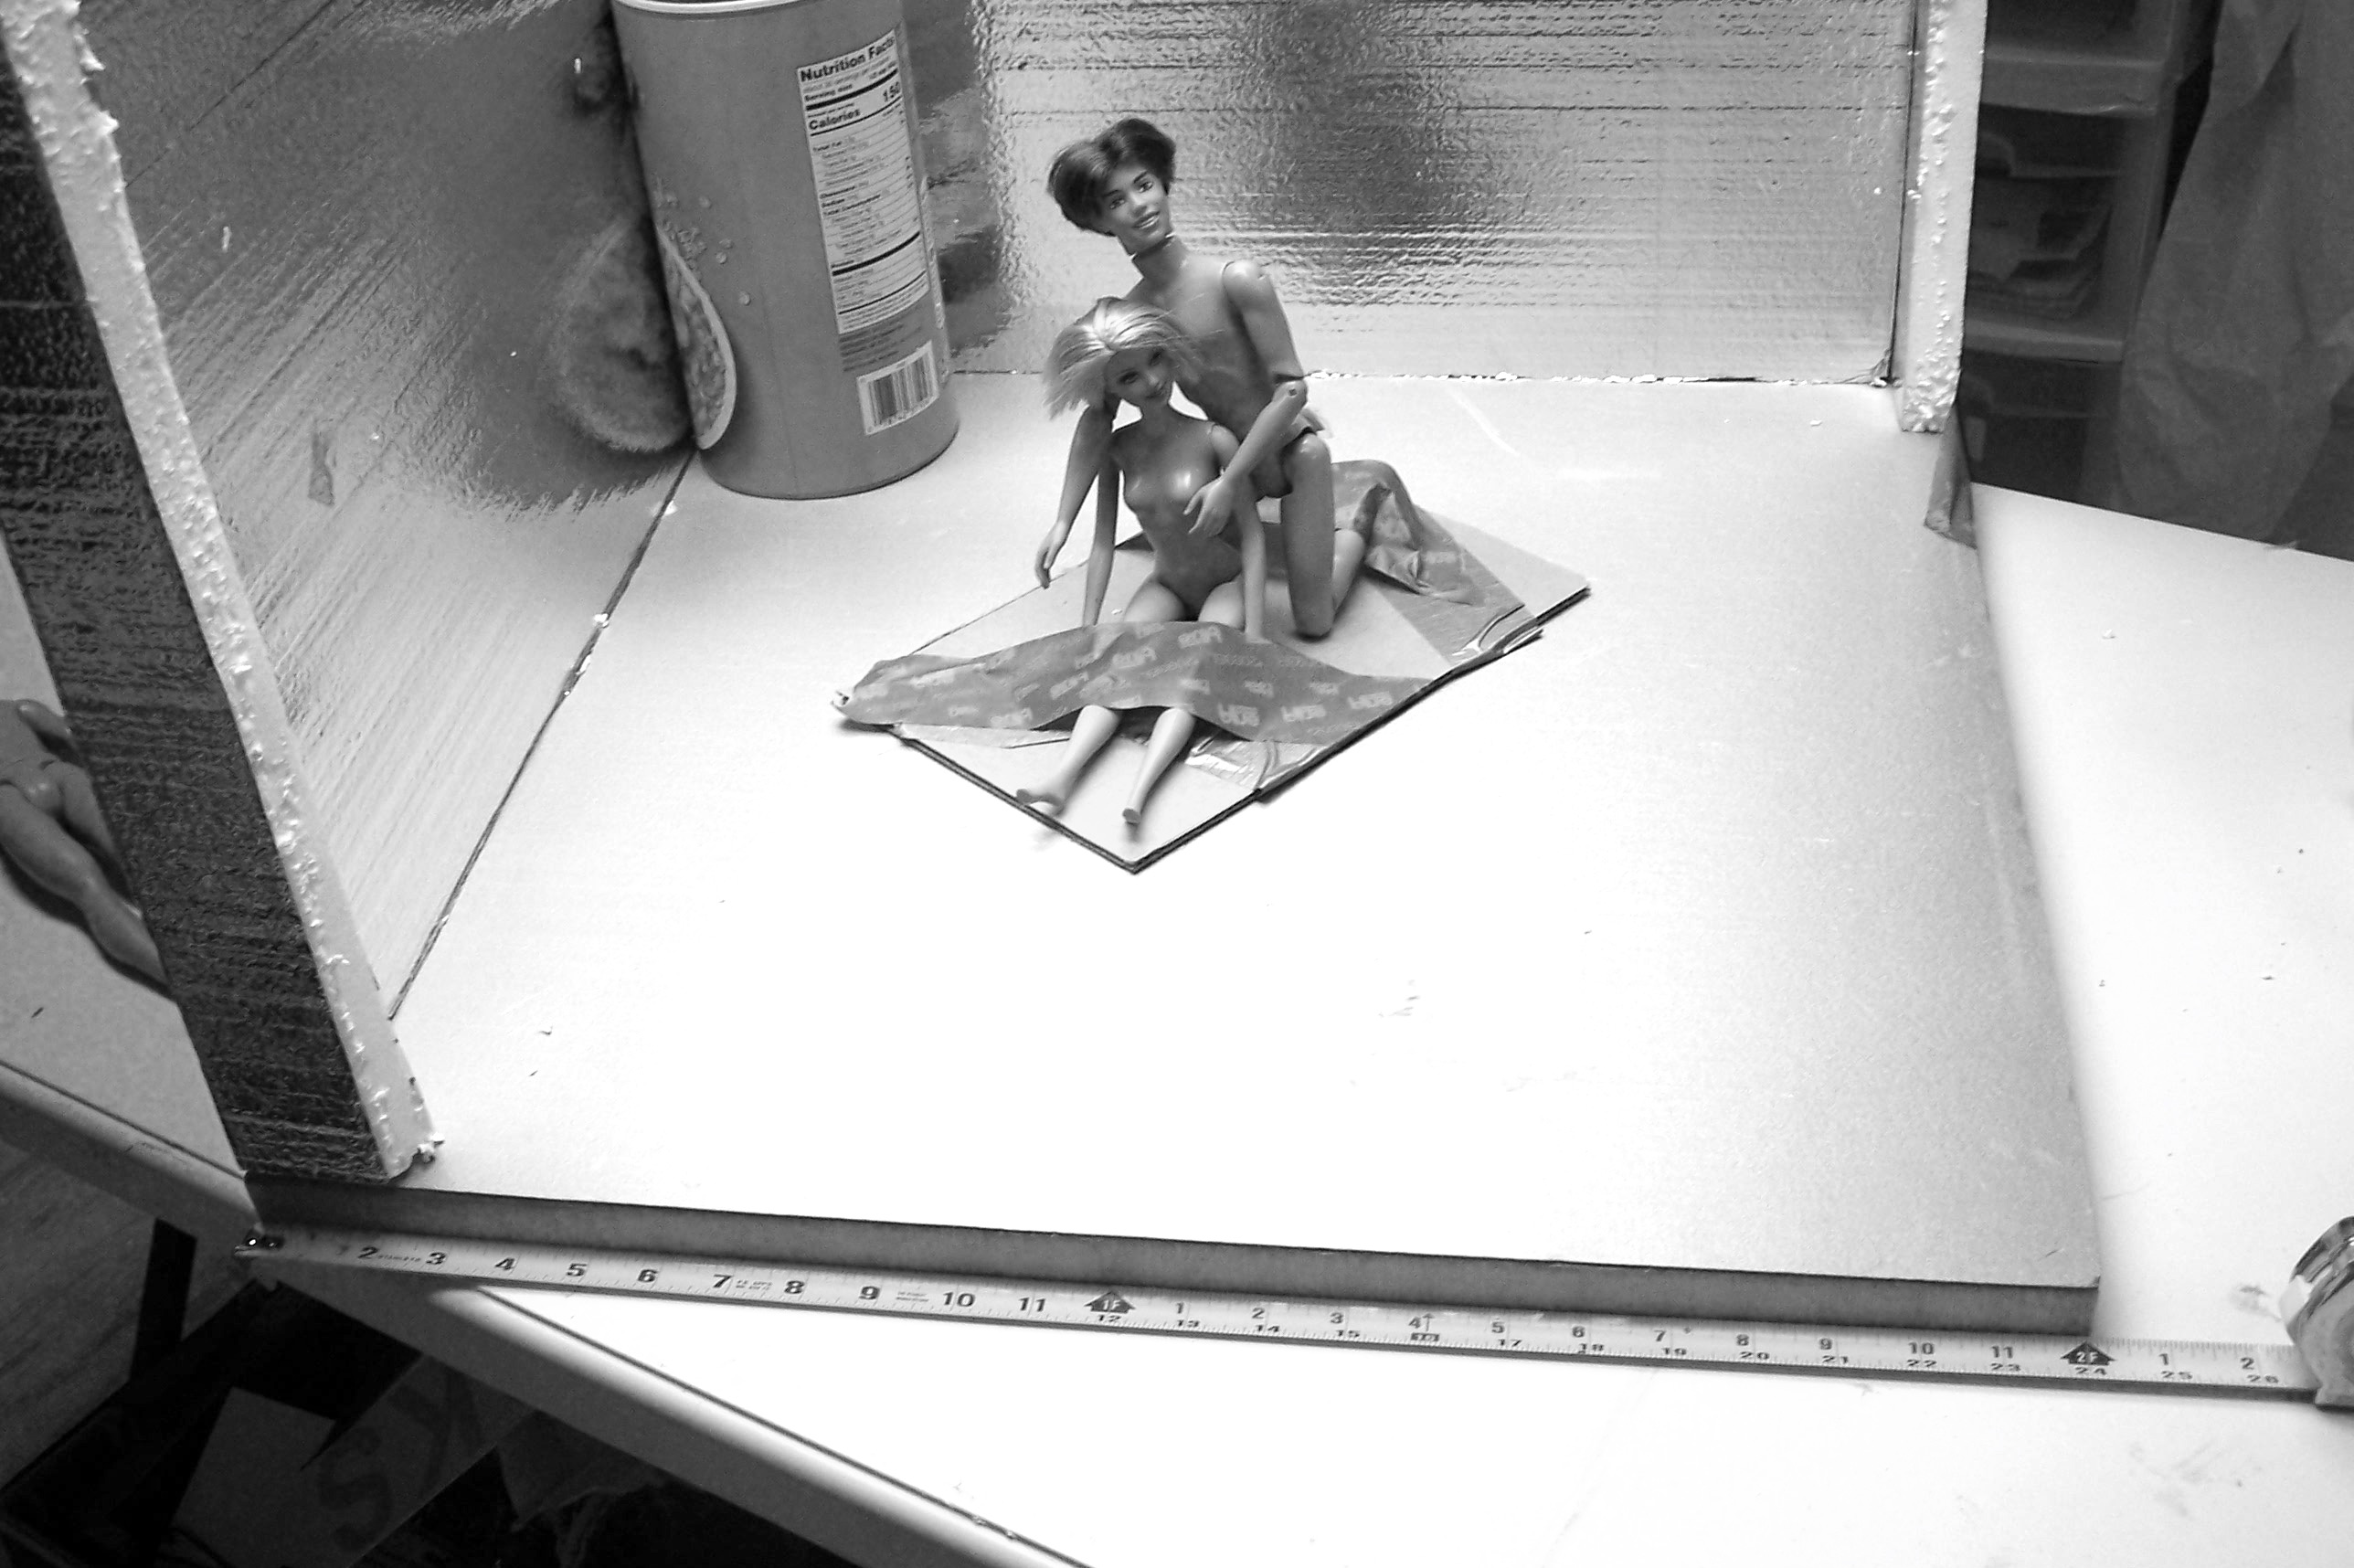
Sorry naked dolls in these photos---I was trying to figure out the pose, logistics and scale of the flying carpet compared to the 'city'.
 |
| barbieoldnewgreenredo |
We are so used to color----that to visualize in black and white became a necessary part of this process. My original layout was 24"x24" with the walls set on top of the base. Quickly I realized this would be hard to stablize the walls and support the carpet which needed to be bigger and would be heavier.
 |
| barbieoldnewgreenredo |
'
My original plan was to stack multiple oatmeal cardboard containers for a center tower post. Hubby then suggested left over sewer pipe and brought me a 4" diameter piece from the garage.
 |
| barbieoldnewgreenredo |
Into the planning process, the walls would be new, the fabric was old, reusing stuff would be green, and the 'redo' was the magic of putting it all together. The hallway at right was first made with card stock papers---experimenting with the grayed palette to create depth. I was thinking to do the entire diorama in black, white, and grays, but that would be boring for the convention viewers and the judges. So, I began to plan a color palette that would photo well in black and white!
 |
| barbieoldnewgreenredo |
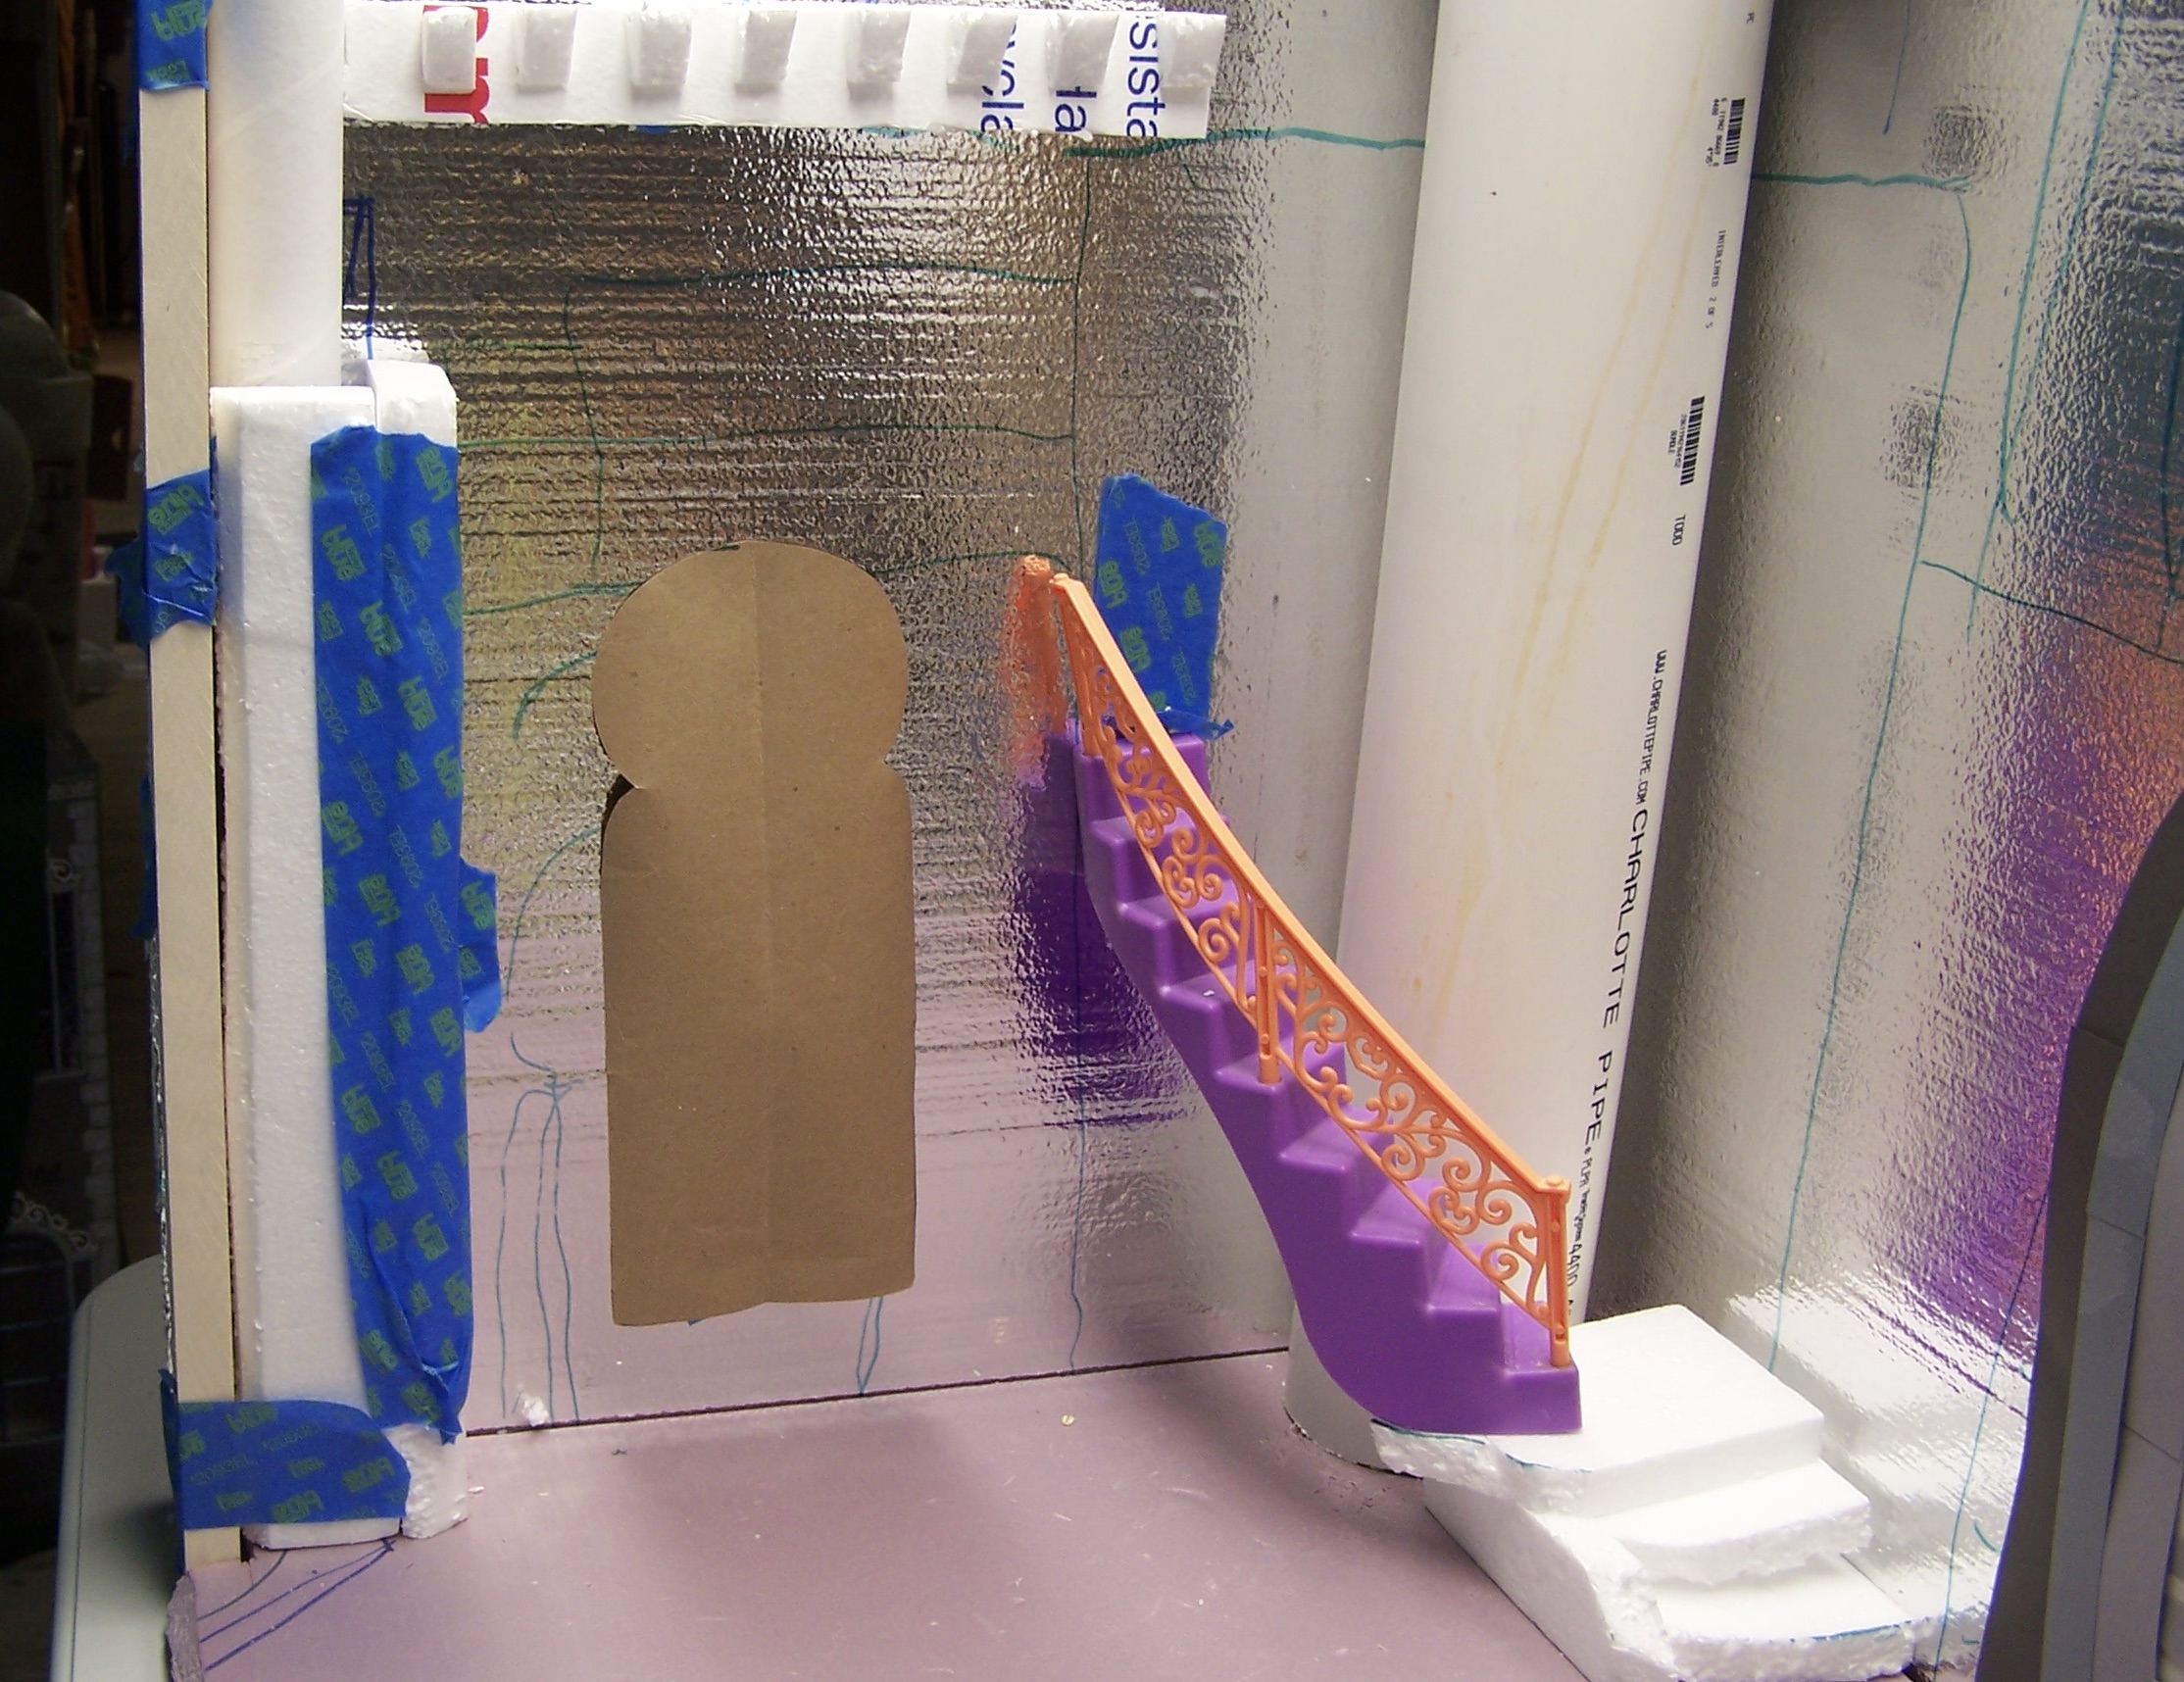
Here's another view of my mockup---notice the plastic stairway and the foam 'stone' constructed stair base. I'm not sure what that stairway was originally from (thrift store find), but it's not quite in scale with 1:6 proportions.
 |
| barbieoldnewgreenredo |
The main feature was to create a large tower in the middle of the set to help stabilize and anchor the two tall walls (by wire at the base and neck). Here you can see how I was playing with the shapes and placement on the original boards before covering them with fabric. I sketched on the shiny surface as well as sticky taped pieces in place. You can see here, the found objects I used for the towers.
 |
| barbieoldnewgreenredo |
The pink foam rampart (on the right) is some cutaways from the base. The thin towers were made from various cardboard tubes. The large tower is made from a 4" sewer pipe scrap from redoing our plumbing. The bright green pieces are bowls, the ridged light green middle part is a piece cut from an old wallpaper tray, cut, spliced and bent into shape and secured with Gorilla Tape.(Fabulous stuff--super sticks to almost everything but is still removable.) The white pieces are shaped styrofoam balls, the finials on top are game pieces from a goodie thrift store bag.
 |
| barbieoldnewgreenredo |
SURFACES
I covered the pipe and plastic pieces with fabric and/or tissue applied with Modge-Podge and then painted the entire piece in white(satin acrylic wall paint). The ridge pieces are actually gray foam insulation strips left over from our greenhouse construction. Flexible, these looked great once coated with Modge Podge and then painted white.
 |
| barbieoldnewgreenredo |
Small walls and some other details were foam scraps covered with tissue paper and Modge-Podged.(MP'd) My idea was to attach these with double stick foam tape for installation at the convention.
 |
| barbieoldnewgreenredo |
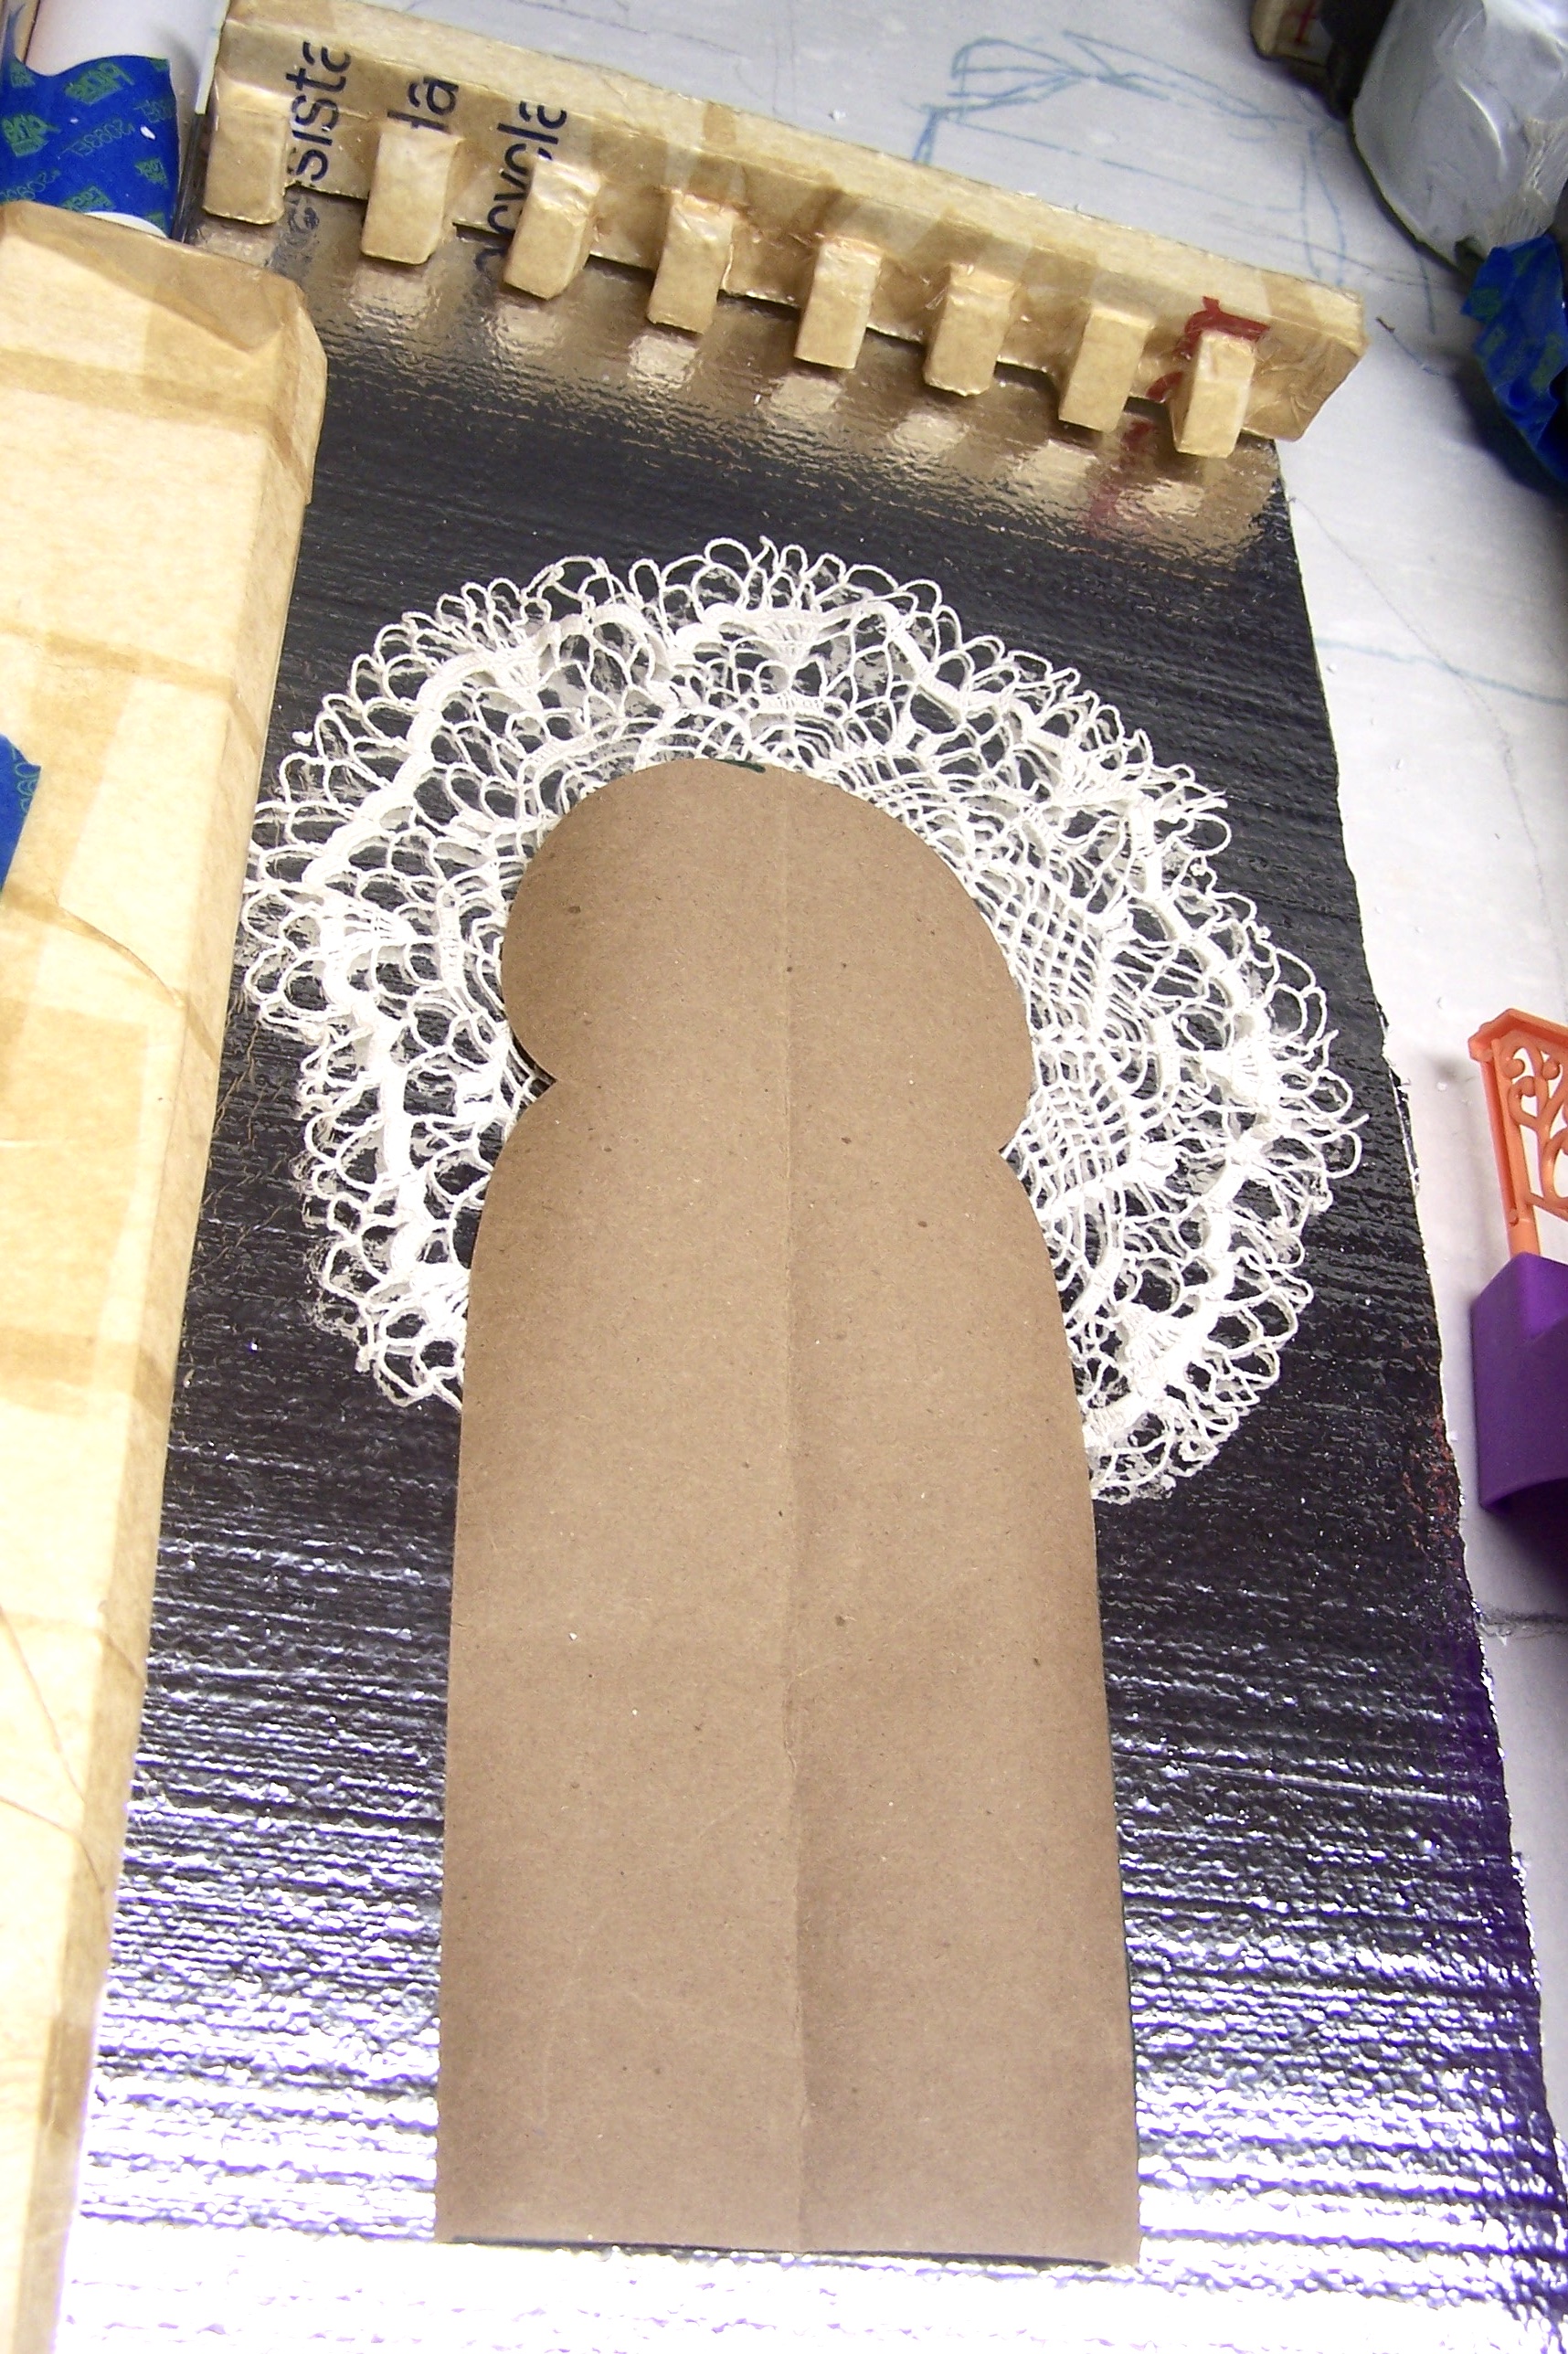
Here is a mockup of a wall face with an entrance. I thought of using a doily for some decoration around the entrance, and decided it was too busy.
 |
| barbieoldnewgreenredo |
I have a huge stash of antique/vintage linens and pulled some laces and doilies to add texture decor to the buildings. The short tower on the left was cut from an oatmeal box and the surface sealed with Modge-Podge. The wall piece with the blue is two pieces of foam core taped together and lace applied with MP again.
 |
| barbieoldnewgreenredo |
Tissue cut for applying to surfaces with MP.
 |
| barbieoldnewgreenredo |
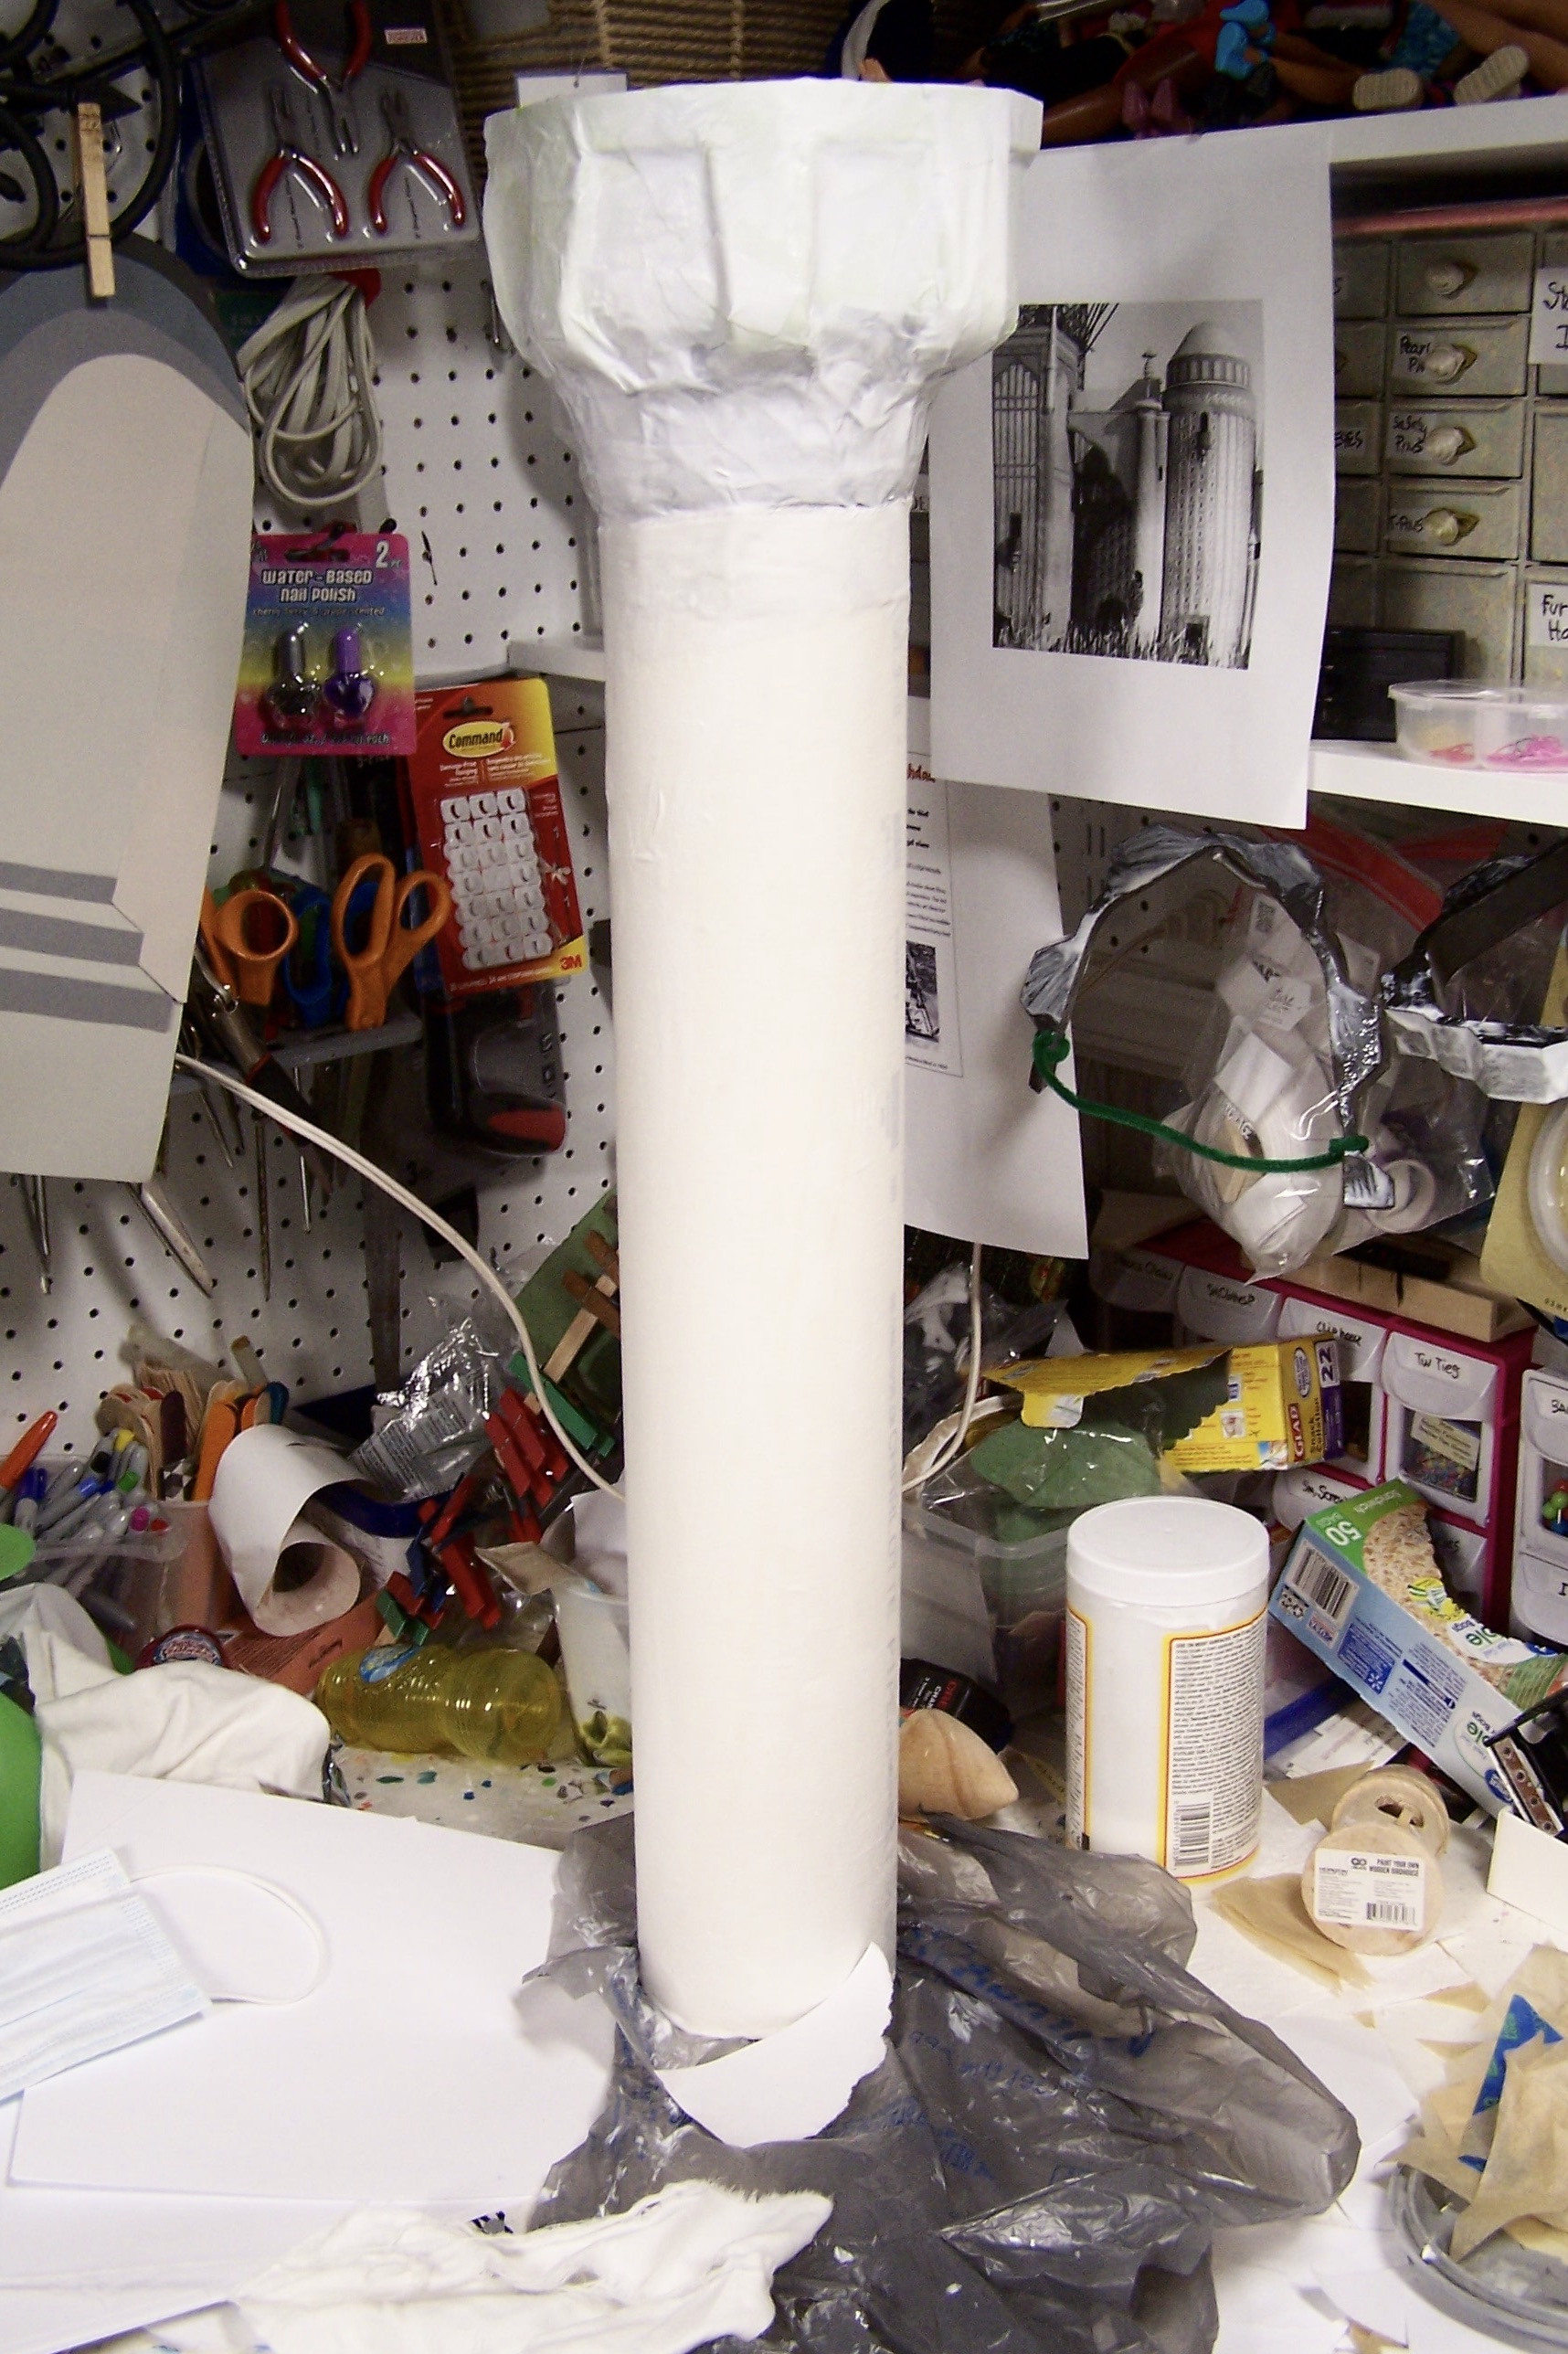
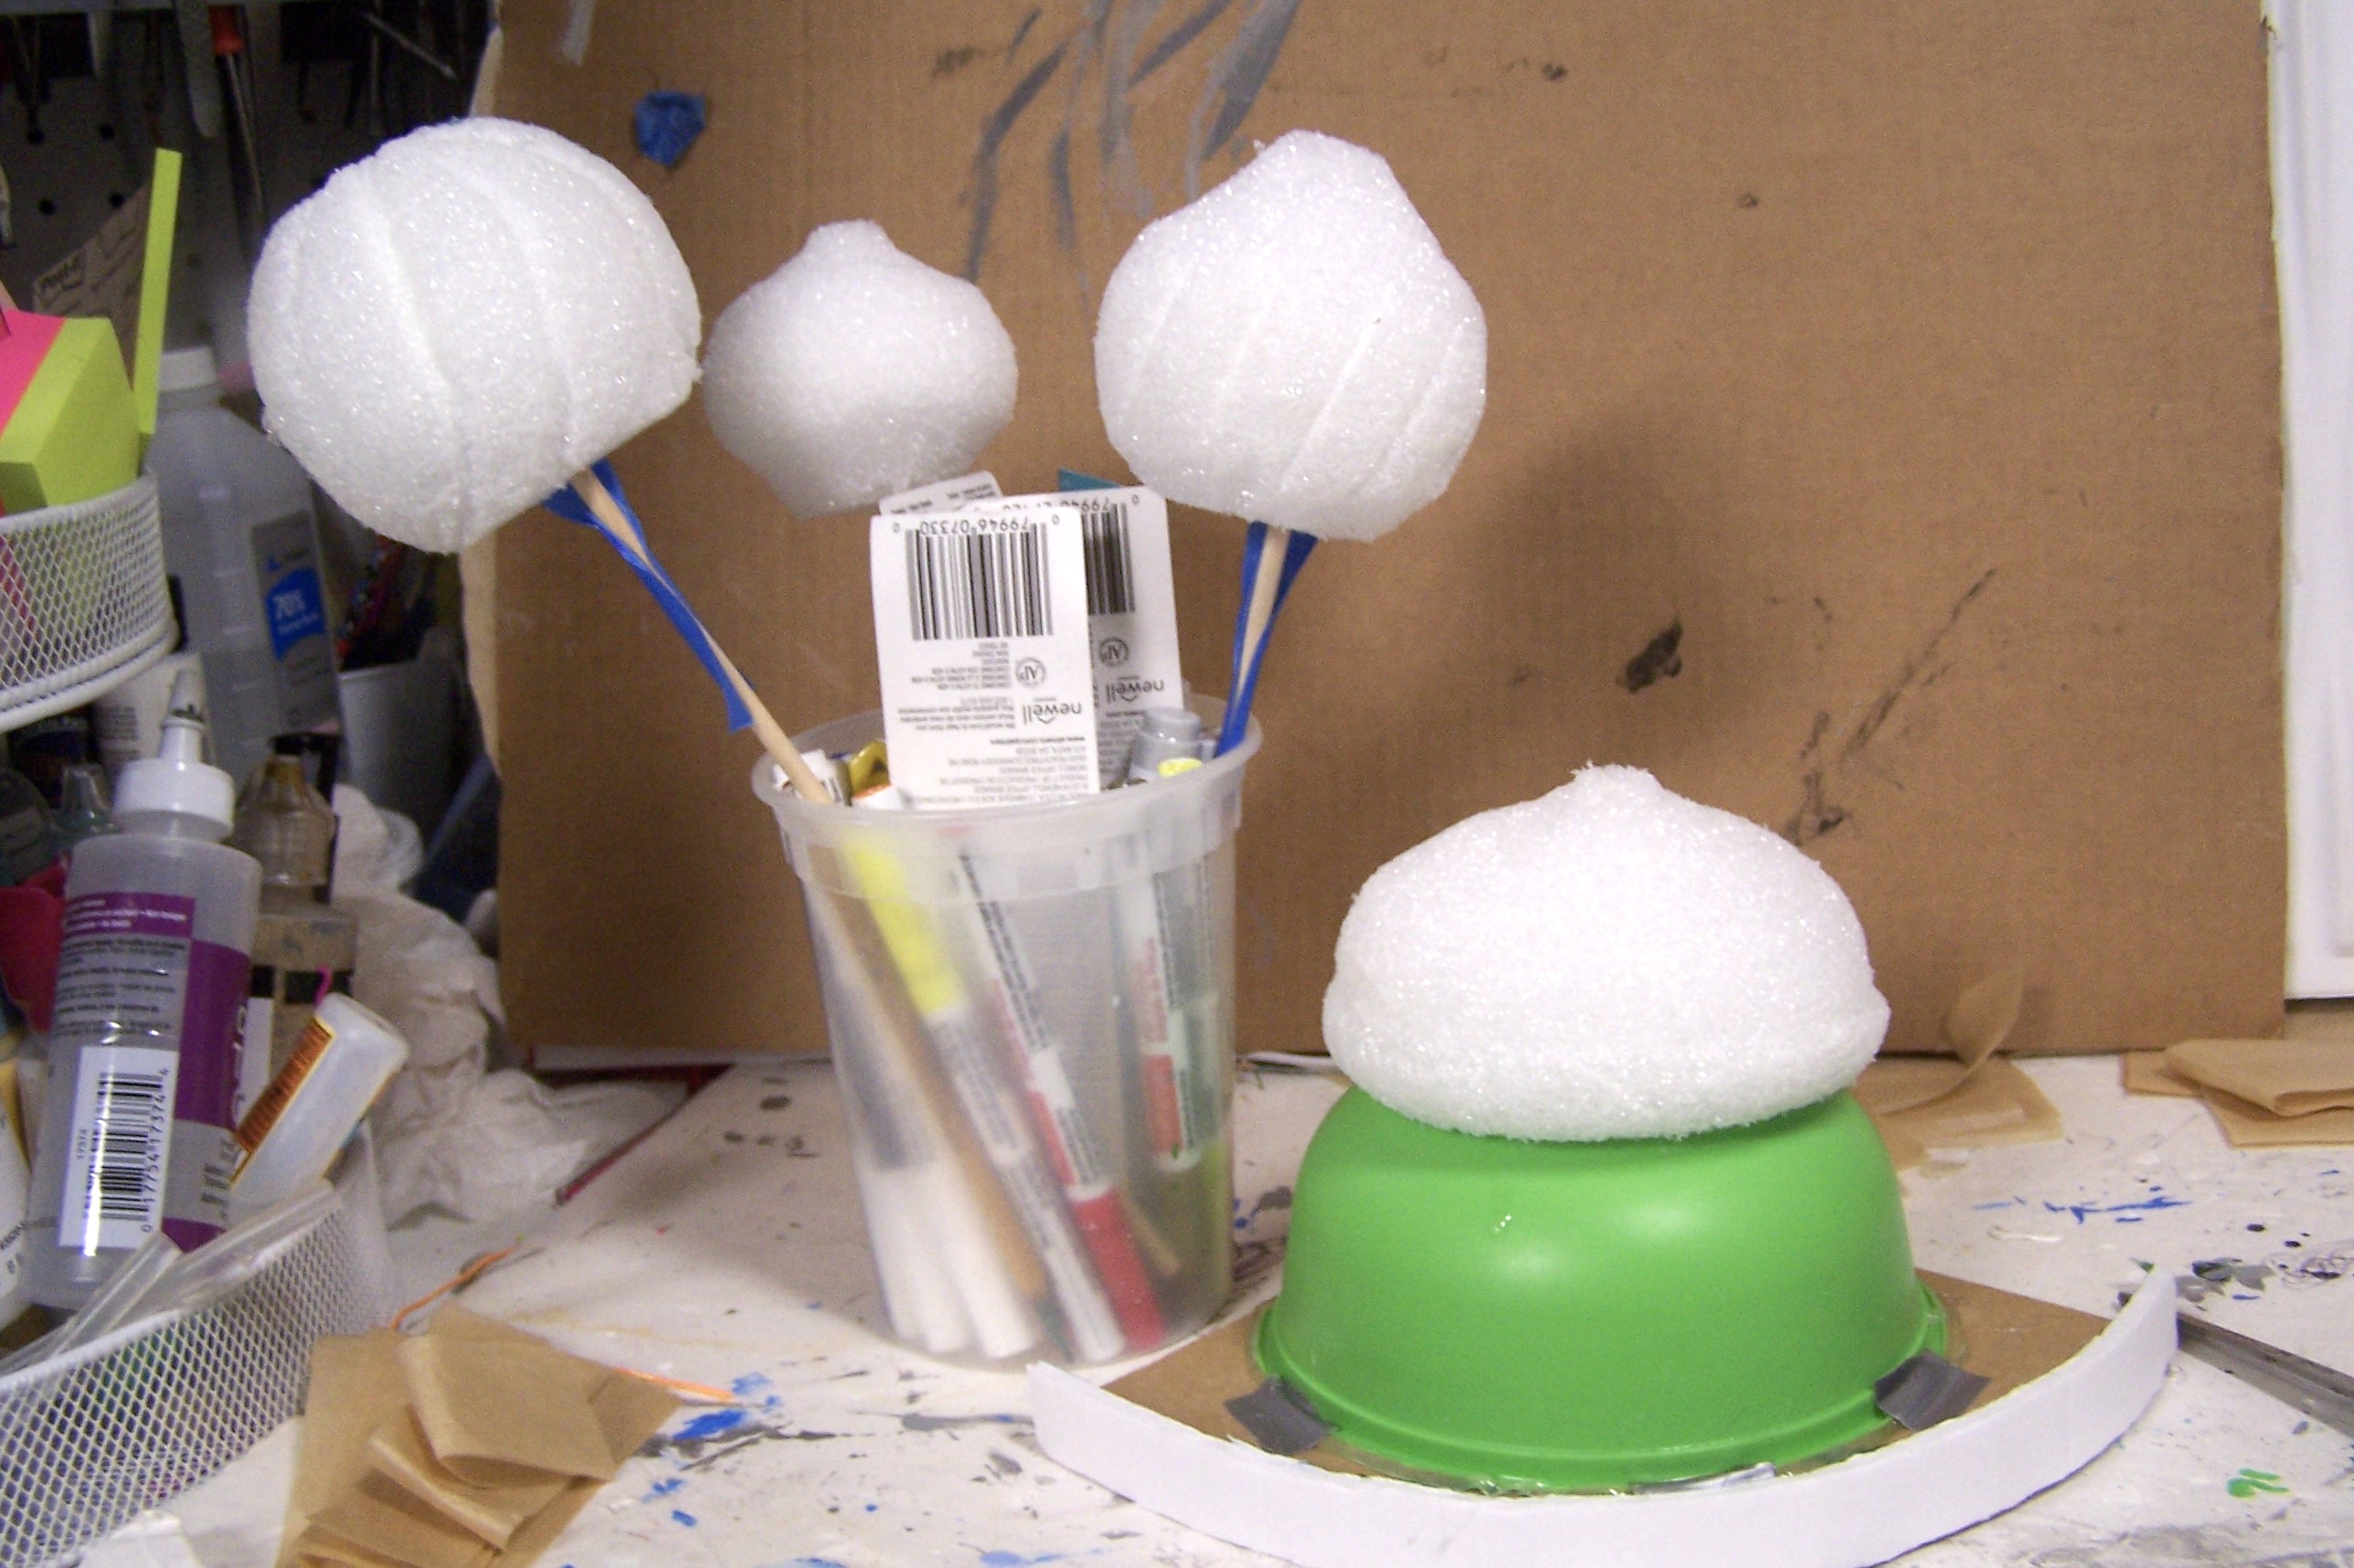
Getting ready to cover the shapes! Working with the pieces stuck on dowels made it easier than holding slippery shapes in old fingers.
 |
| barbieoldnewgreenredo |
The tops of the minarets were made from styrofoam, loosely carved and shaped with my craft knives, then tissue applied to cover the surface. I worked with triangle bits of paper which work well on rounded shapes.
 |
| barbieoldnewgreenredo |
The center cone dome had a definite shape---I was lucky to have an entire storage bin of pieces of foam and balls to work with. This is after one coat of tissue and MP.
 |
| barbieoldnewgreenredo |
Lots of double stick tape, hot glue, put this roof dome contraption together. The base is cardboard and that's a piece of thin cardboard on the rim.
 |
| barbieoldnewgreenredo |
Later, in digging through my scraps I ran across the bottom of a crocheted ugly Barbie wedding dress that I had saved because of all the work put into it. Amazingly it slipped over my already constructed tower top!
 |
| barbieoldnewgreenredo |
Like it had been made for it... The piece to the right was trimmed and applied to the pipe tower face the same way.
 |
| barbieoldnewgreenredo |
I added one more piece of plastic (pink bubbles bottle) cut to fit for the top layer.
 |
| barbieoldnewgreenredo |
And I MP'd it ...tying a few areas down with some twine to cinch it in and make it all stick tightly. The twine was pulled off when dry.
 |
| bbarbieoldnewgreenredo |
After two coats of white paint on the entire thing, the tower was now ...a tower!
And Bagdad city was underway!
Next Painting and Decorating
If you enjoyed this post(s), please join me by email- at
FOLLOW IT---upper right hand corner.
I have not been paid or reimbursed in anyway for my opinions or products shown, or from where I shop.
Please Join me at these Fine Blog Parties!
Thank you for your cooperation, Sandi
 |
| barbieoldnewgreenredo |
I like the way you used lace for texture! Sure was an involved project:@)
ReplyDeleteThanks, Lynn---I really was trying to use things I had!
Delete