Ad-Free Blog
Hi, Dear Dolly Friends,
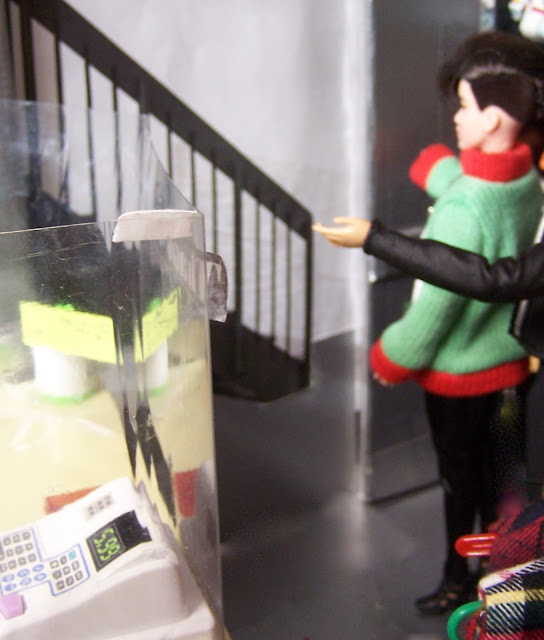
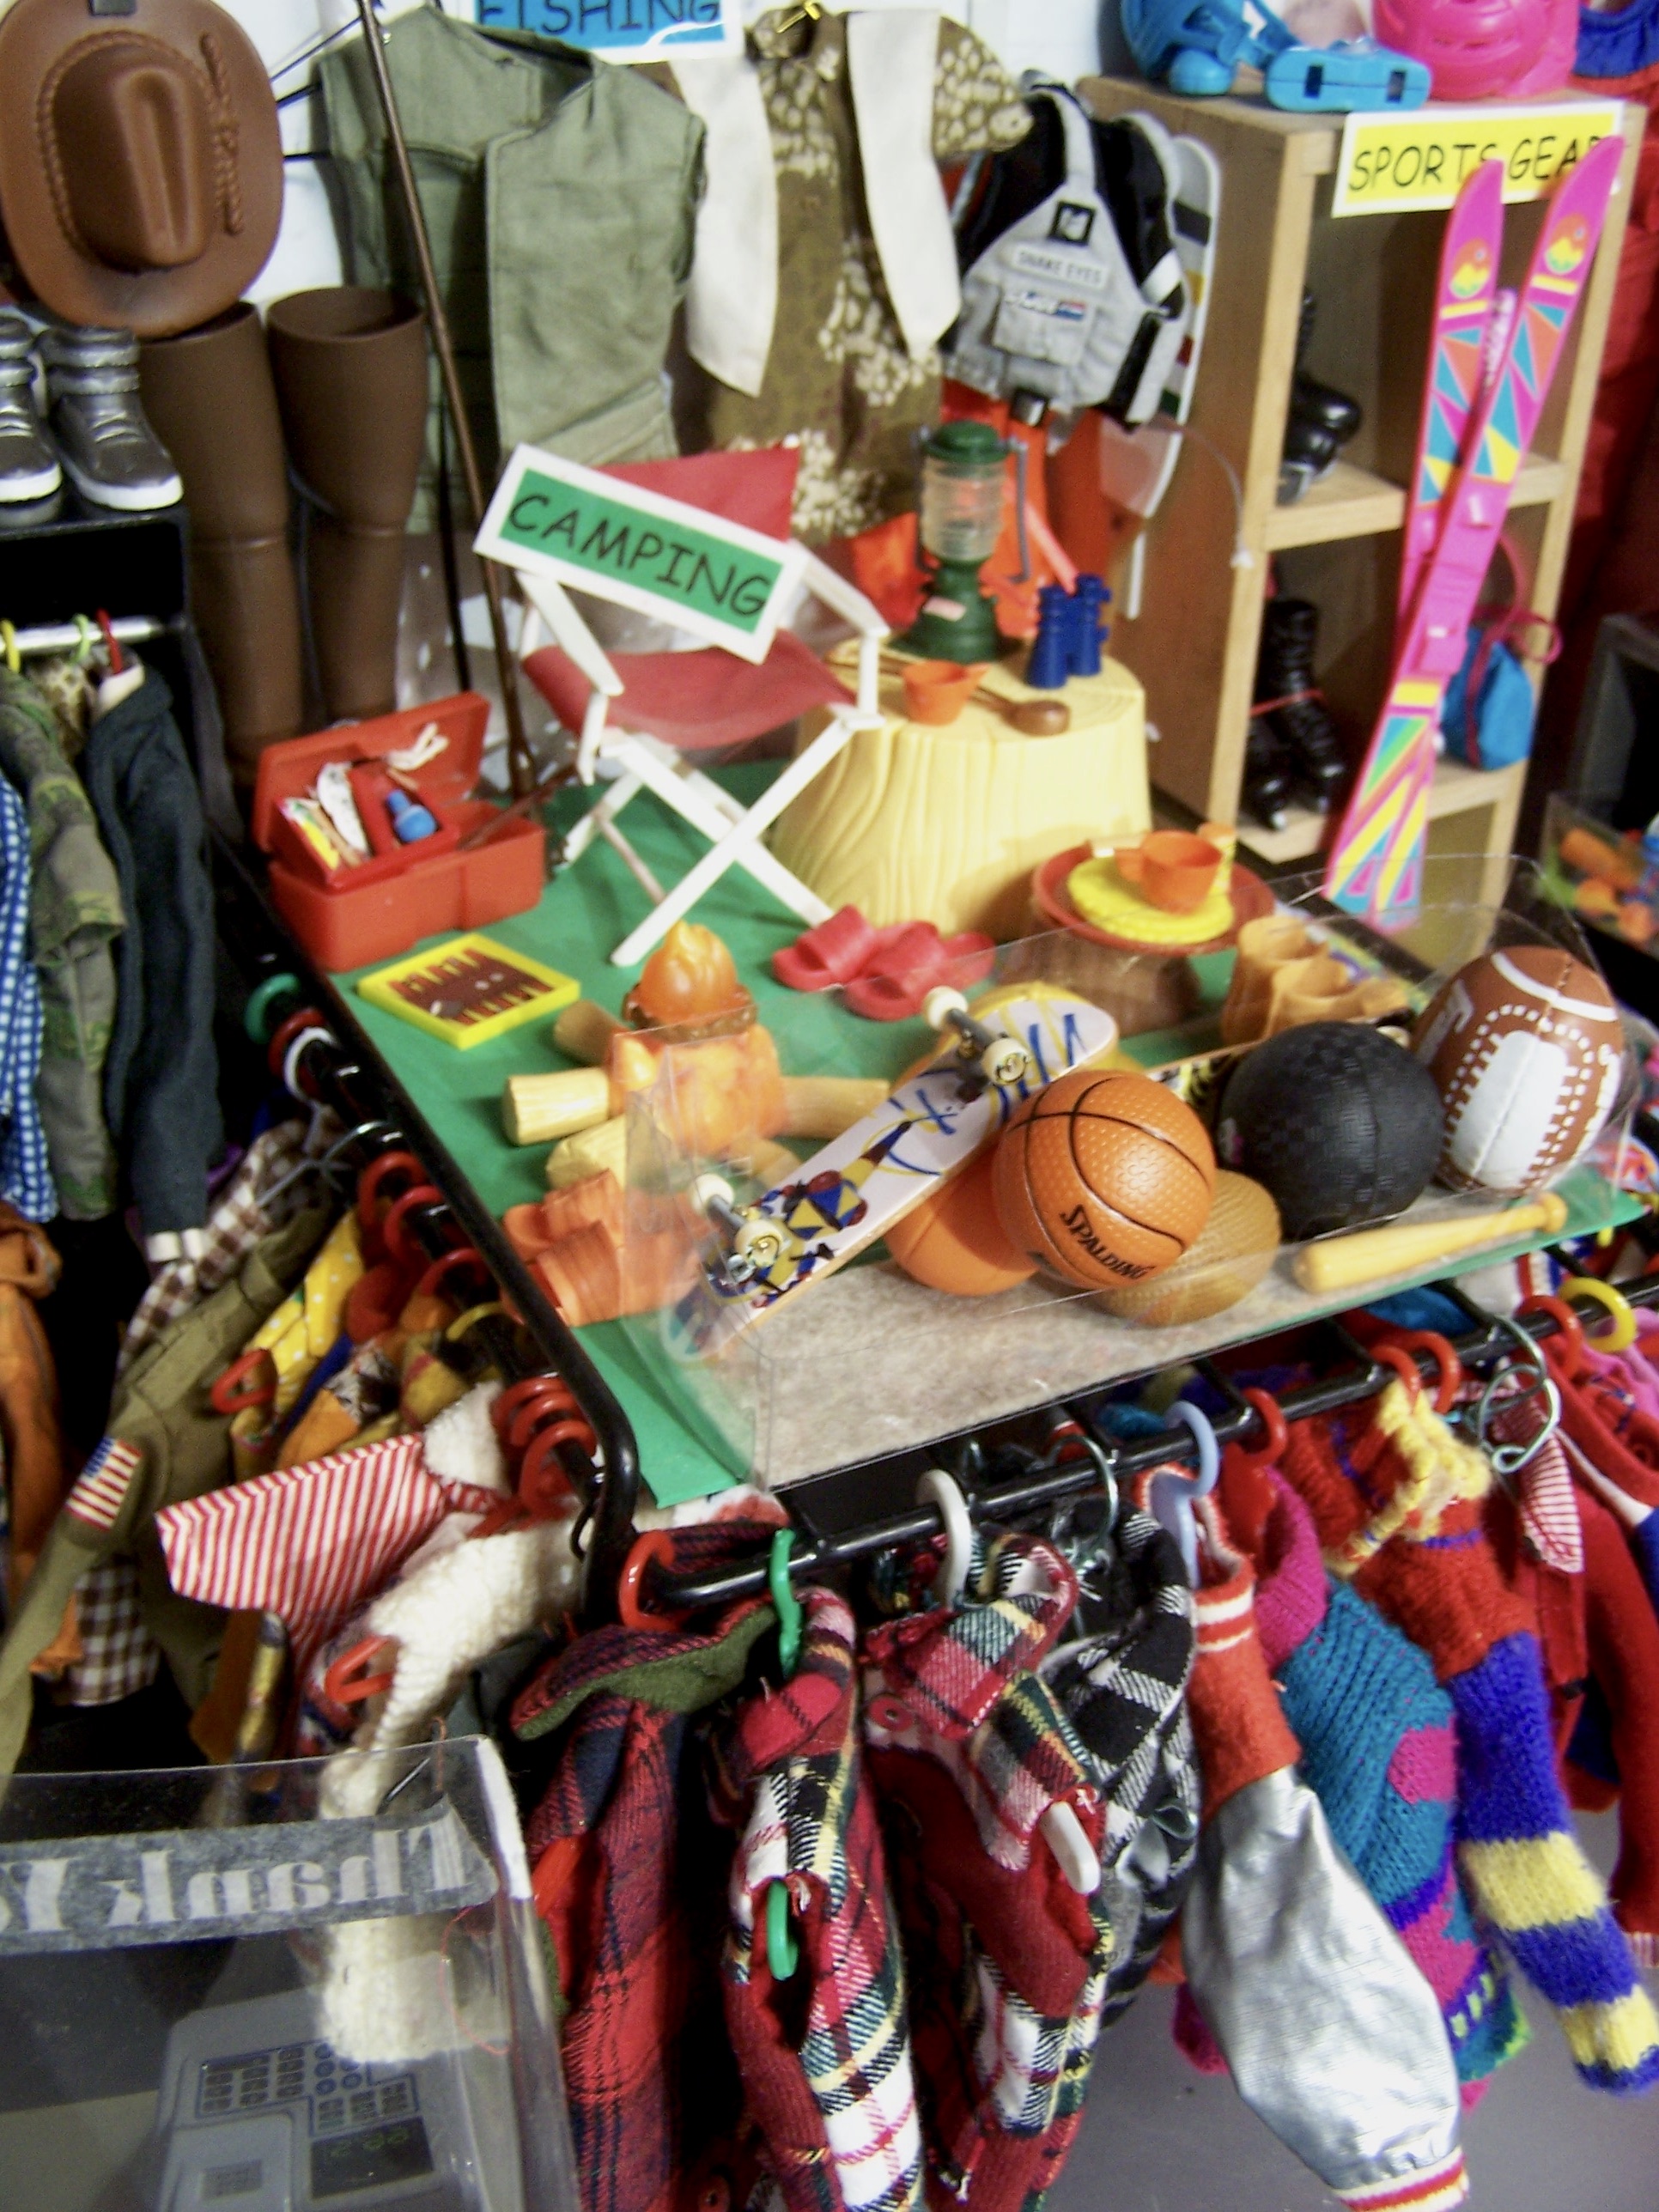
I've been working on a new diorama, Vickie's DUDE and Resort shop, located in the 'basement' of Vickie's shop.
Well, Elle has been in charge of working the space for Guys and Vacation merchandise.
Her new roommate, Billie, has had a hand in the design also.
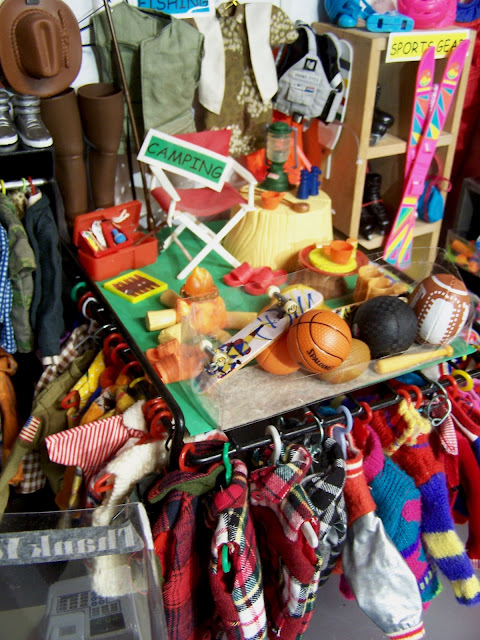
As you all know there isn't as much Ken/Guy stuff out there, but let's face it Dudes still like to shop. So, there will be an emphasis on resort wear, sports, outdoors and well, some fun things for guys and gals.
When starting a new diorama, it is always a challenge---I pulled a bunch of odd pieces together to see if I could make it work.
The walls are the same as I used for the costume shop, just reattached and taped them this time on the outside. All the fixtures are made of this and that, thrift store finds (GREEN THING TO DO)...totally forgivable in a vintage store. I have plans on tying them all together or Elle does...lol.
The whole thing will be foldable and built on one thick piece of foam core, and walls made of black foam core-the cheap kind. This table is the perfect size for the shop. I'm skipping the ceiling treatment this time---because it was really hard to photo around the beams and light fixture in the Halloween shop last Fall.
One of the things we needed was a closet for some 'upper end' visual merchandise. The rack in the middle of the plan is fine---but you really can't see any of the clothes in photos, so I pulled this OLD magenta and black thrift store case out of my stash. Upside on this one, is I won't have to paint the plastic shelf part---it's already black.
It's still too miserable and cold to spray paint in Chicagoland!
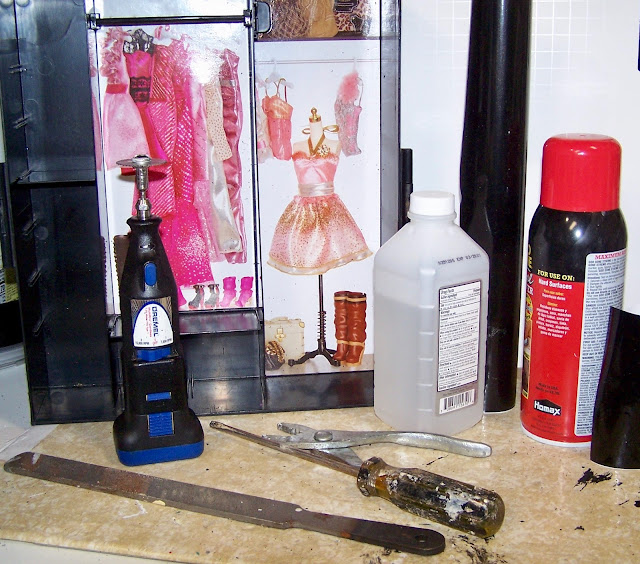
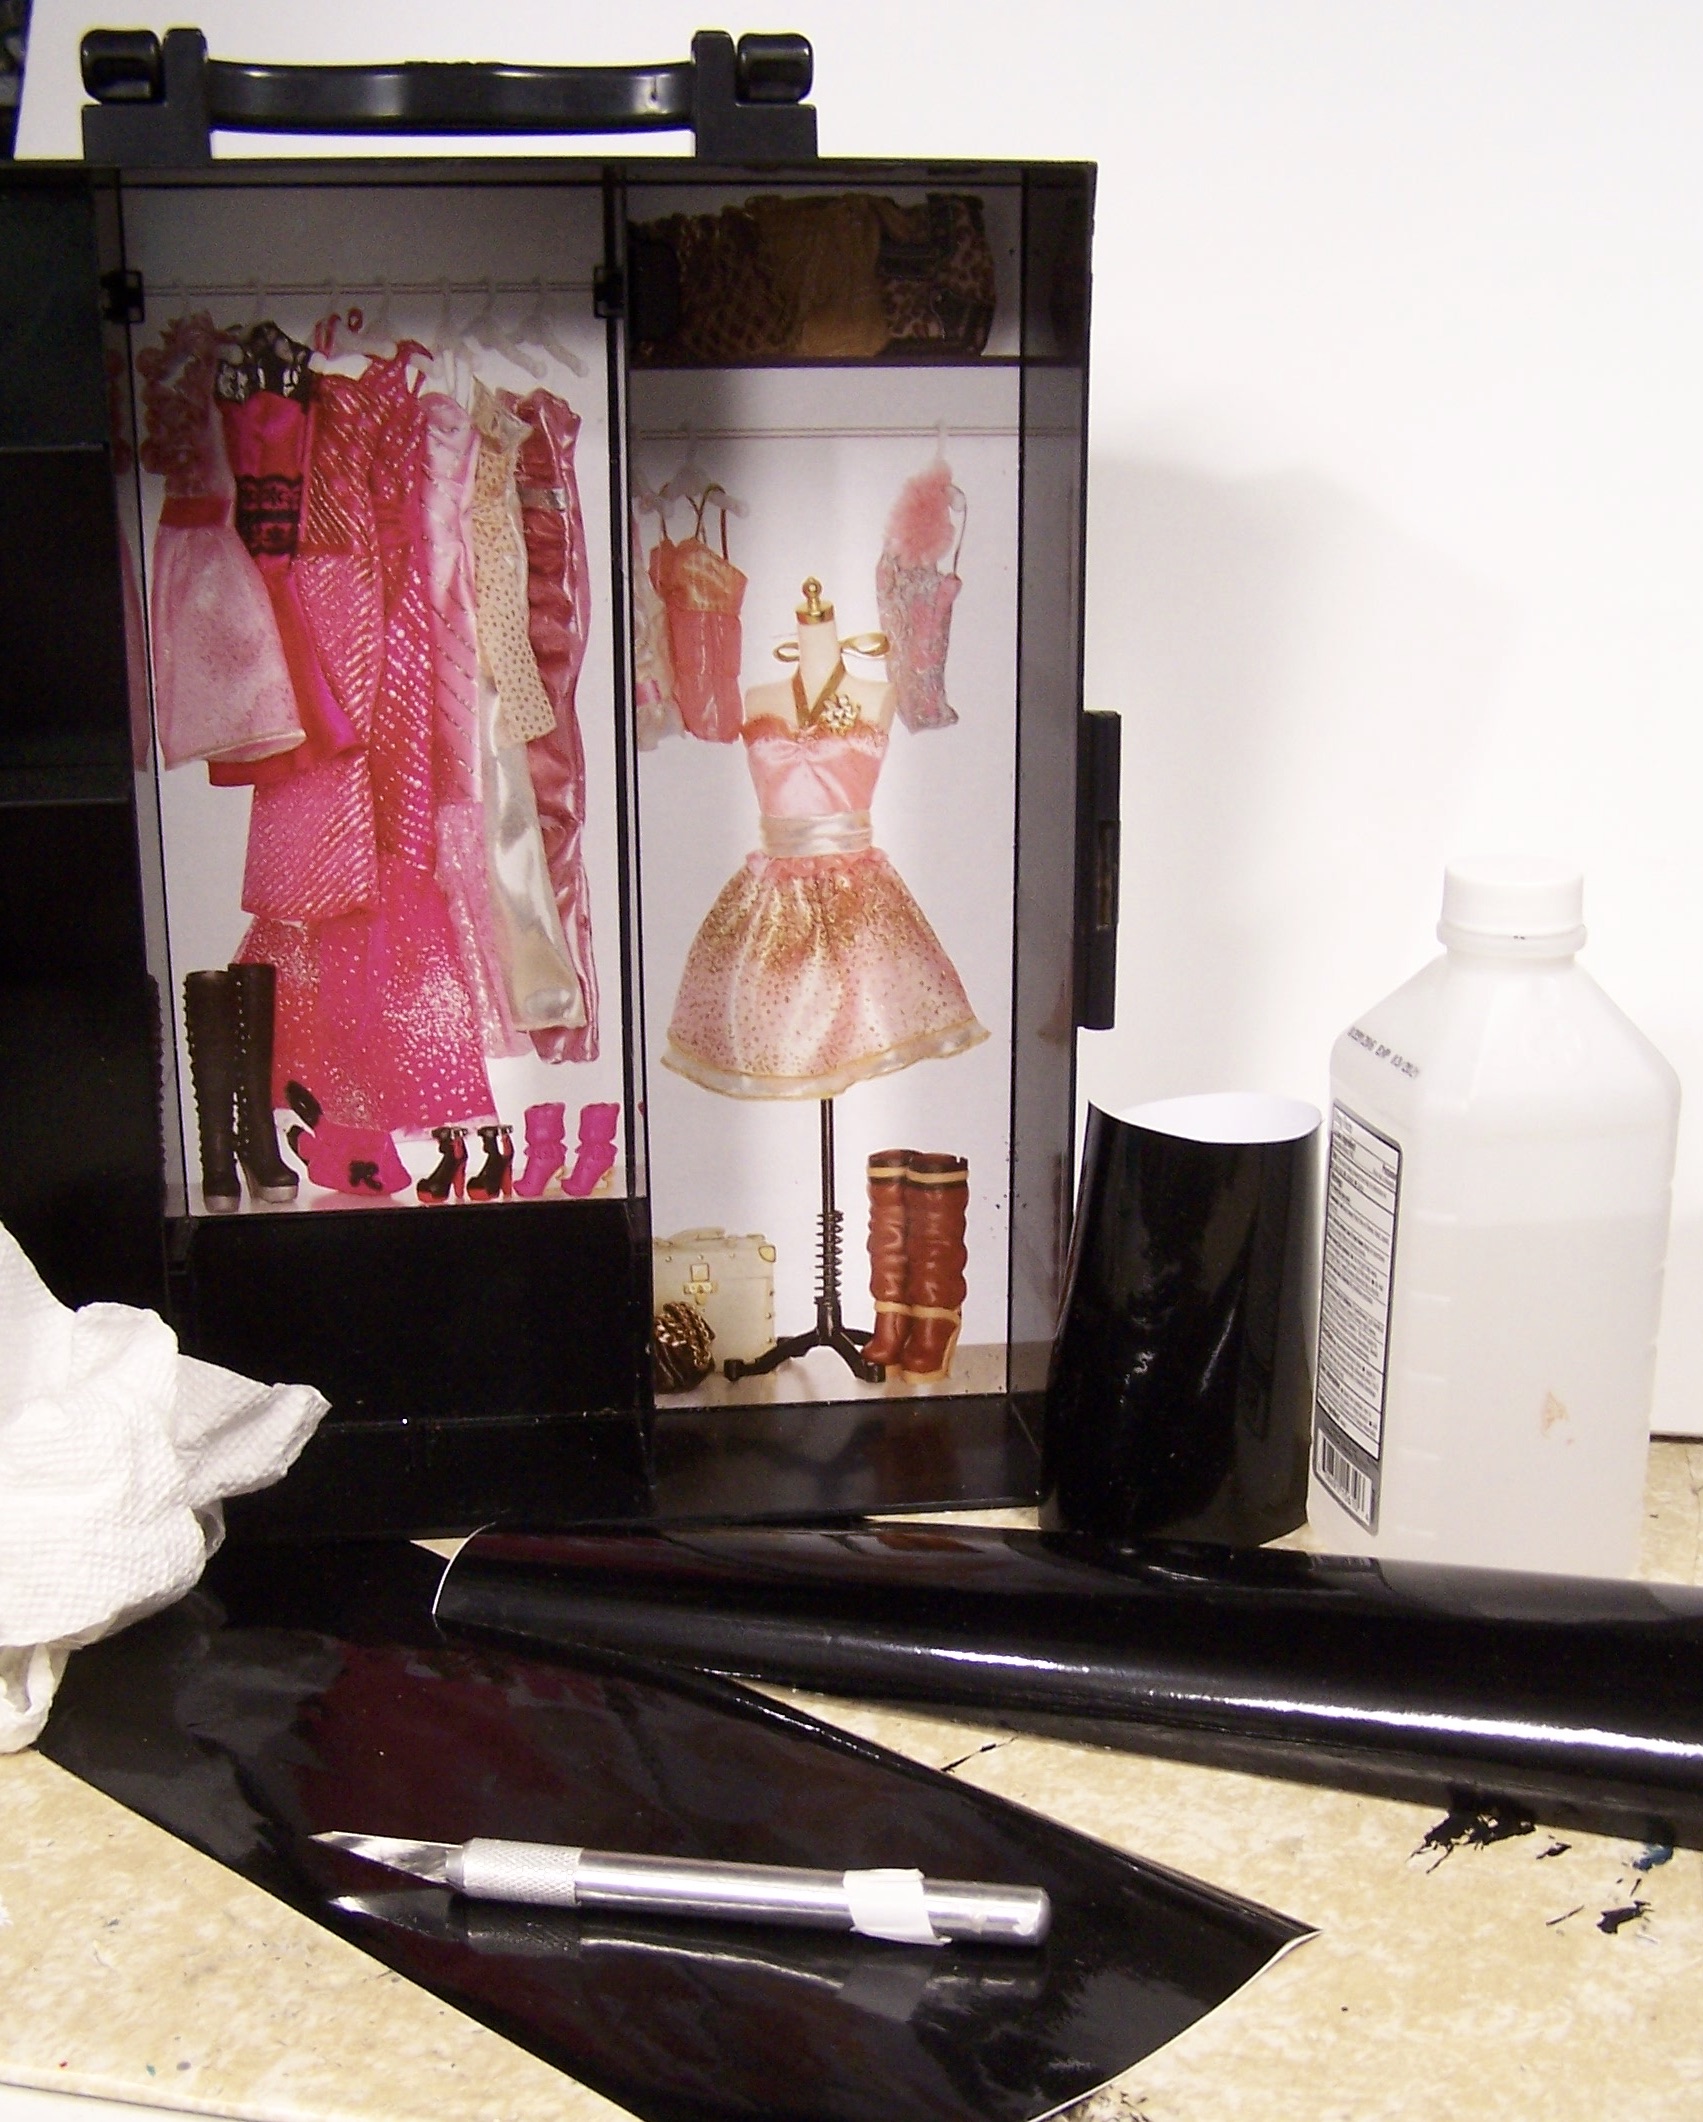
Here you see the doors removed, and the tools and some supplies to transform this case from 'girly' to neutral.
This is now my sixth case/cabinet of Mattel's to REDO. I pretty much have it down to a science now. The whole project took an hour and a half, start to finish.
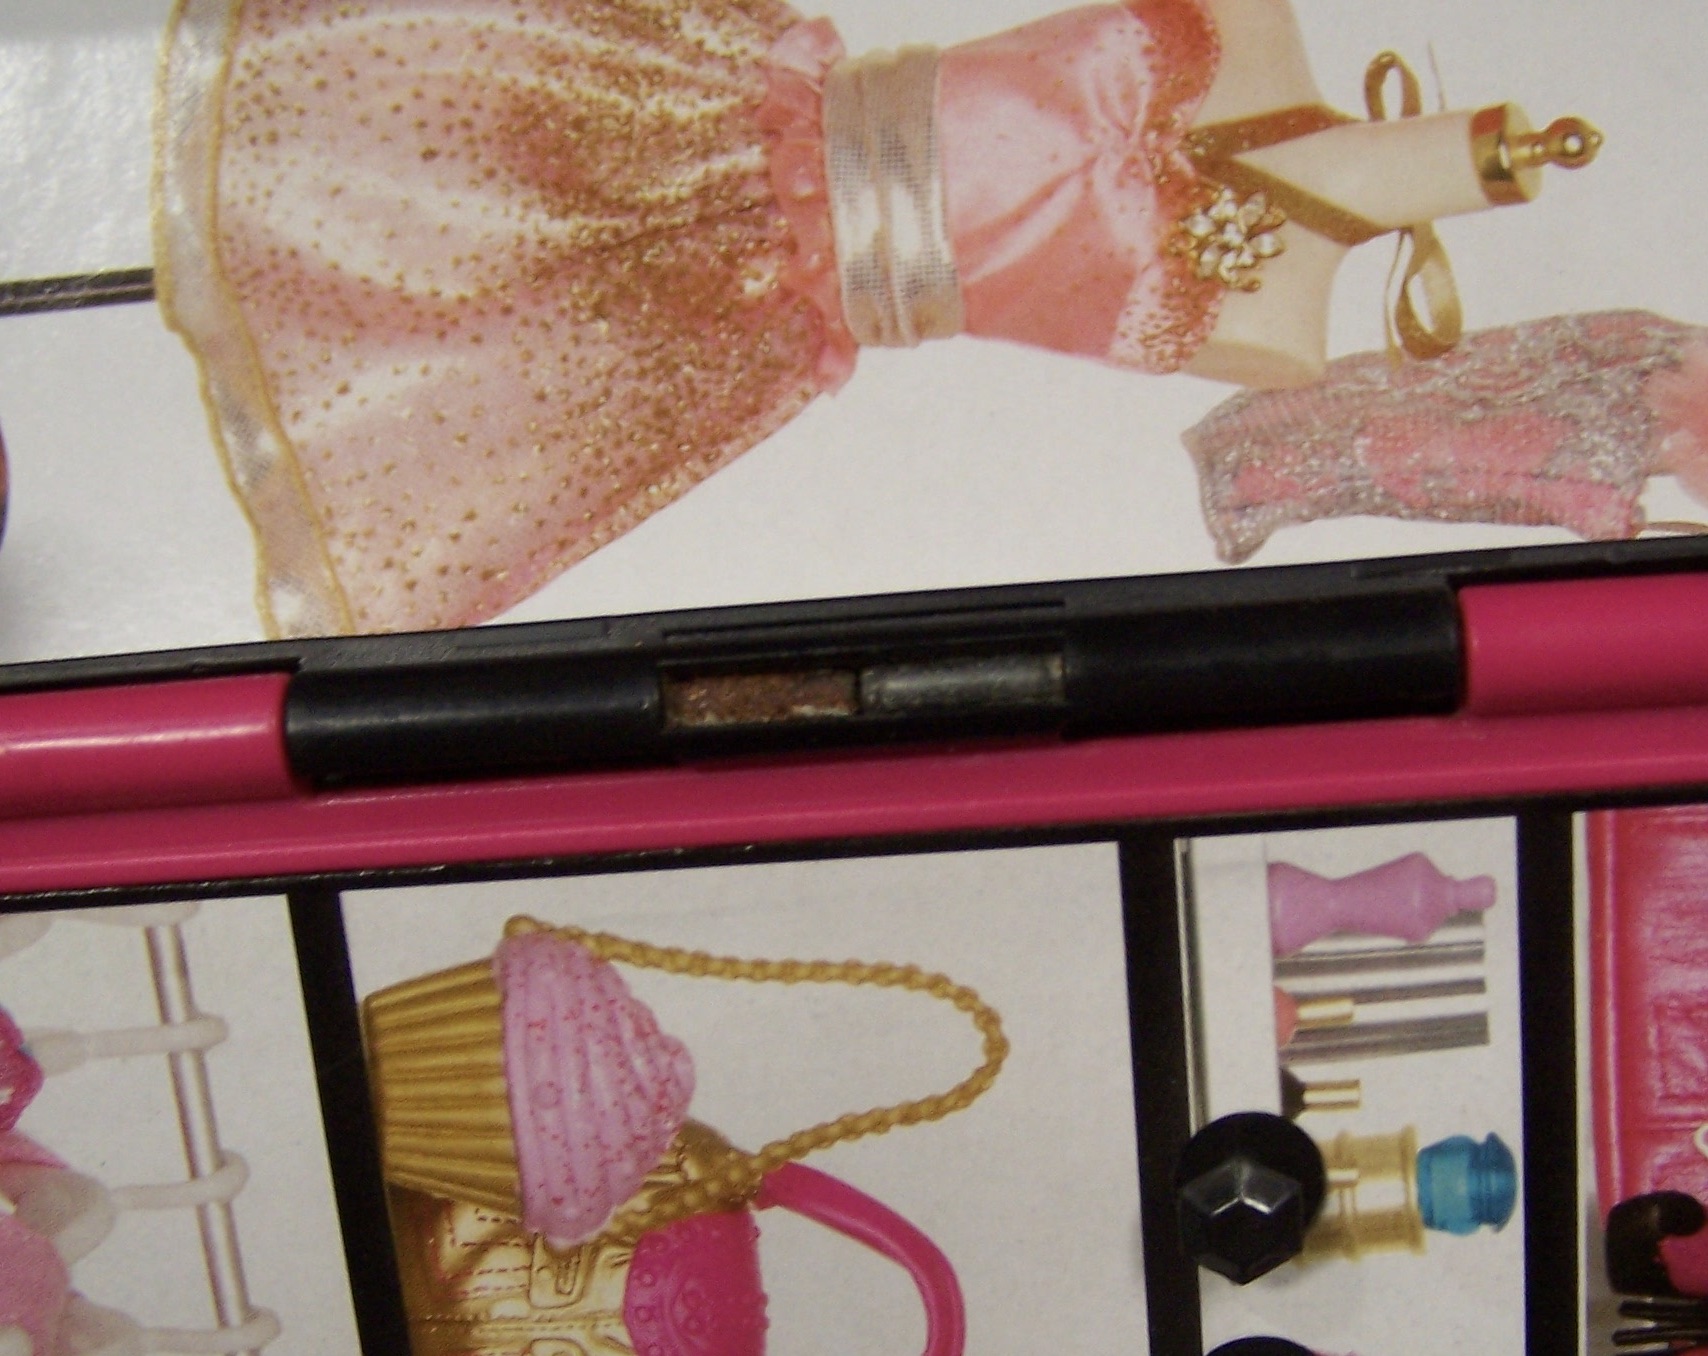
In the center of the hinges, you can see an open center part. Here the 'rods' were rusted. All the hinges are made of 'tubular' plastic attached to the cabinet and the doors.
You could use a hack saw ( a single blade hand saw is
hard to control-tends to curve when sawing), or an serrated Exacto knife blade which is stiffer,...or you can go high-tech with a Dremel/drill type tool with a small saw blade. (NOT FOR CHILDREN)
Moving up to the top of the cabinet, I sawed through the first section of the door hinge on the cabinet side-black part. A steady hand-gently guiding the saw blade at high speed. A few seconds and it's cleanly cut.
With a pliers I pulled the entire top rod out!
Here, you can see the rusted part from the first shot. Repeat on the other end, and the door is removed. Repeat again, and you have two separate doors and a cabinet.
Here you can see the black center hinge plastic---which I left intact. IF, I ever want to reattach the doors, I can. Save the doors, rods, and any hardware. I have used them for multiple applications in other projects, ie. the apartment doors in the hotel redo.
Yes, sticker-that is what I paid for this closet---I pick these closets as they are the right scale for the dolls, sometimes have great shelving, and are very sturdy. Sometimes they are only $1.99. Definitely beats building bunches of frames and shelves, etc., from scratch.
Labels and graphics are a pain to remove. I use a 'super-aerosol Goo-Gone and then alcohol to clear off any residue. Regular Goo-gone is great, you just have to add soap and water cleaning to the alcohol wipe, too.
With the doors gone, there are still the girly graphics inside. Trust me, these are easier to cover up than to try than try and remove. I had a roll of black $ store stickum plastic...that was shiny but a perfect match for the closet. I cut pieces quick with a scissors, applied them, and trimmed them with an Exacto/cutting knife.
I removed the top handle by prying it off with a flat screwdriver and then unscrewing (+) Phillips screw driver-the fittings. I chose to leave the plastic supports attached to the cabinet, as they have holes perfect for inserting wires to use in displays. (I'll show this later)
Some shelves of course were missing---easy fix. I cut foam core to snuggly fit into the shelf slots (measure) and covered them with the shiny black plastic on all sides. These don't even need to be glued as there are little ledges there.
Next: extra rods needed for shirt-sized hanging.
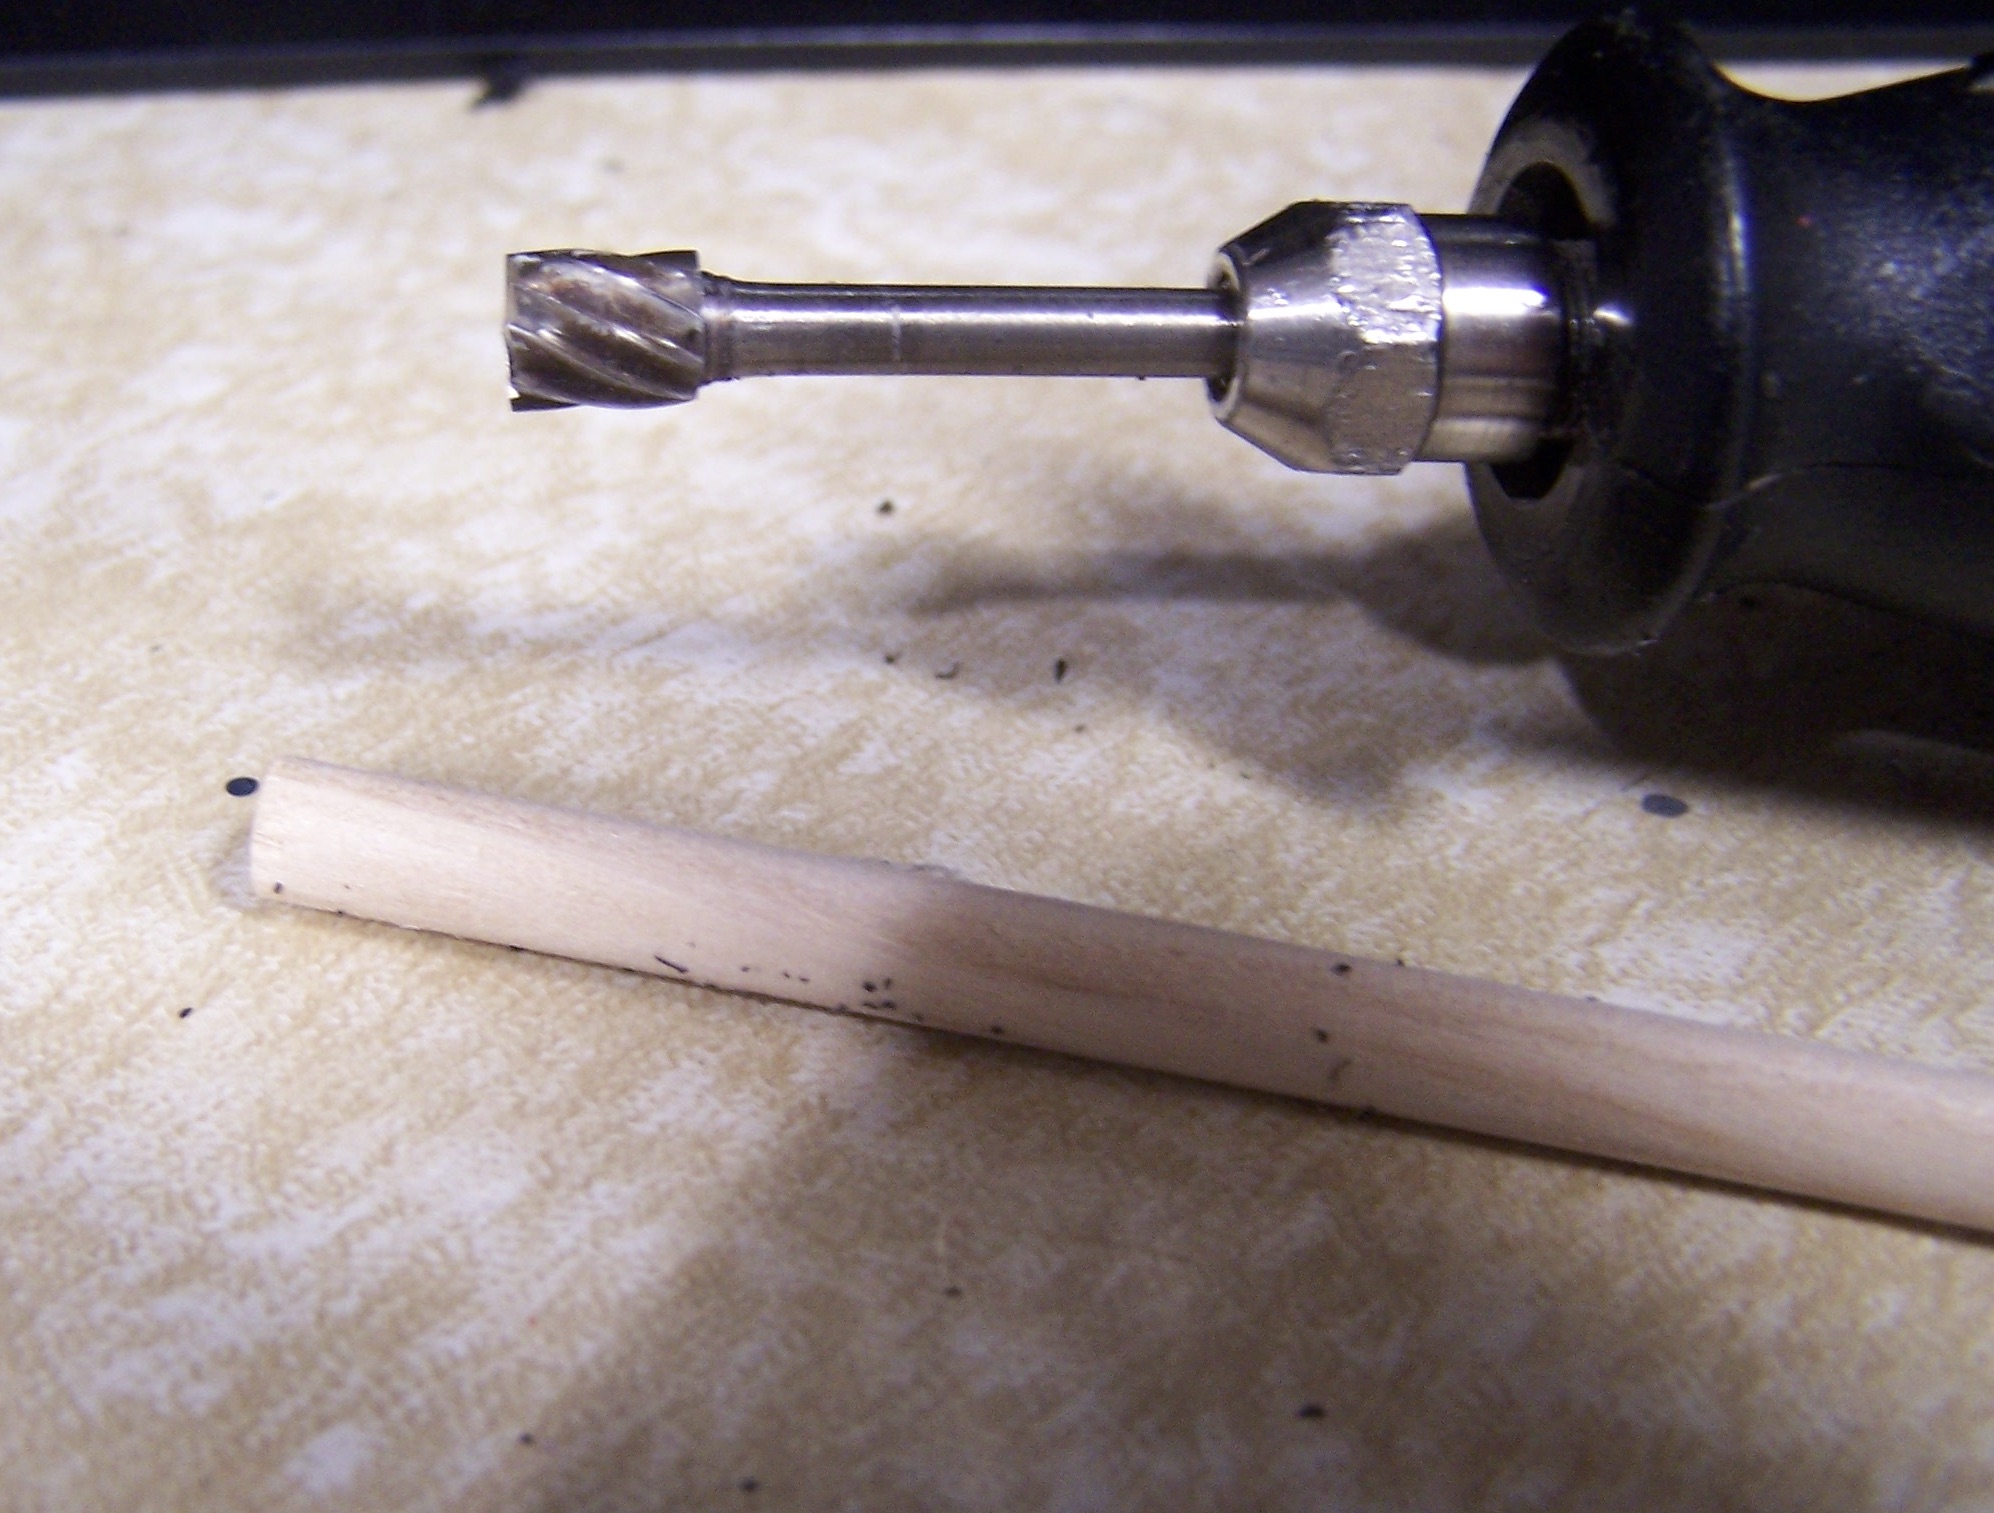
Honestly, I inherited a Dremel tool with tons of blades and bits. I have burned through three tools in my lifetime...but I really like the battery one because of the lack of cord for working in small spaces. The bit I used is exactly the correct size for the dowel rod, or you could use an electric drill with a larger drill bit to match your dowels. I measured, then scored the dowels with my cutting tool and broke and filed them to be flush with the outside cabinet edges.
Rough edges on the plastic were lightly filed and/or sanded. The black was very forgiving, scrape marks could be reduced with a clear sealer, or scraps of the black stickum paper.
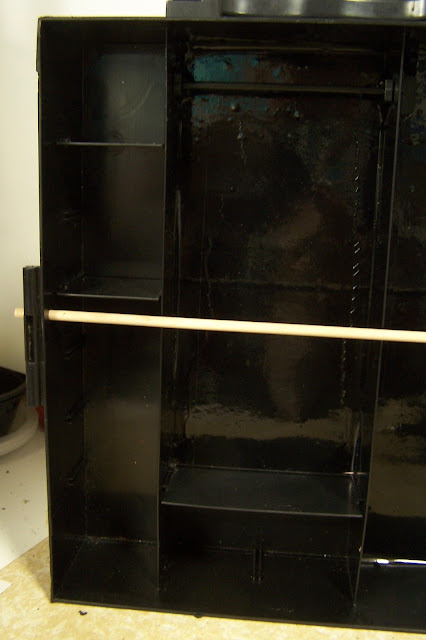
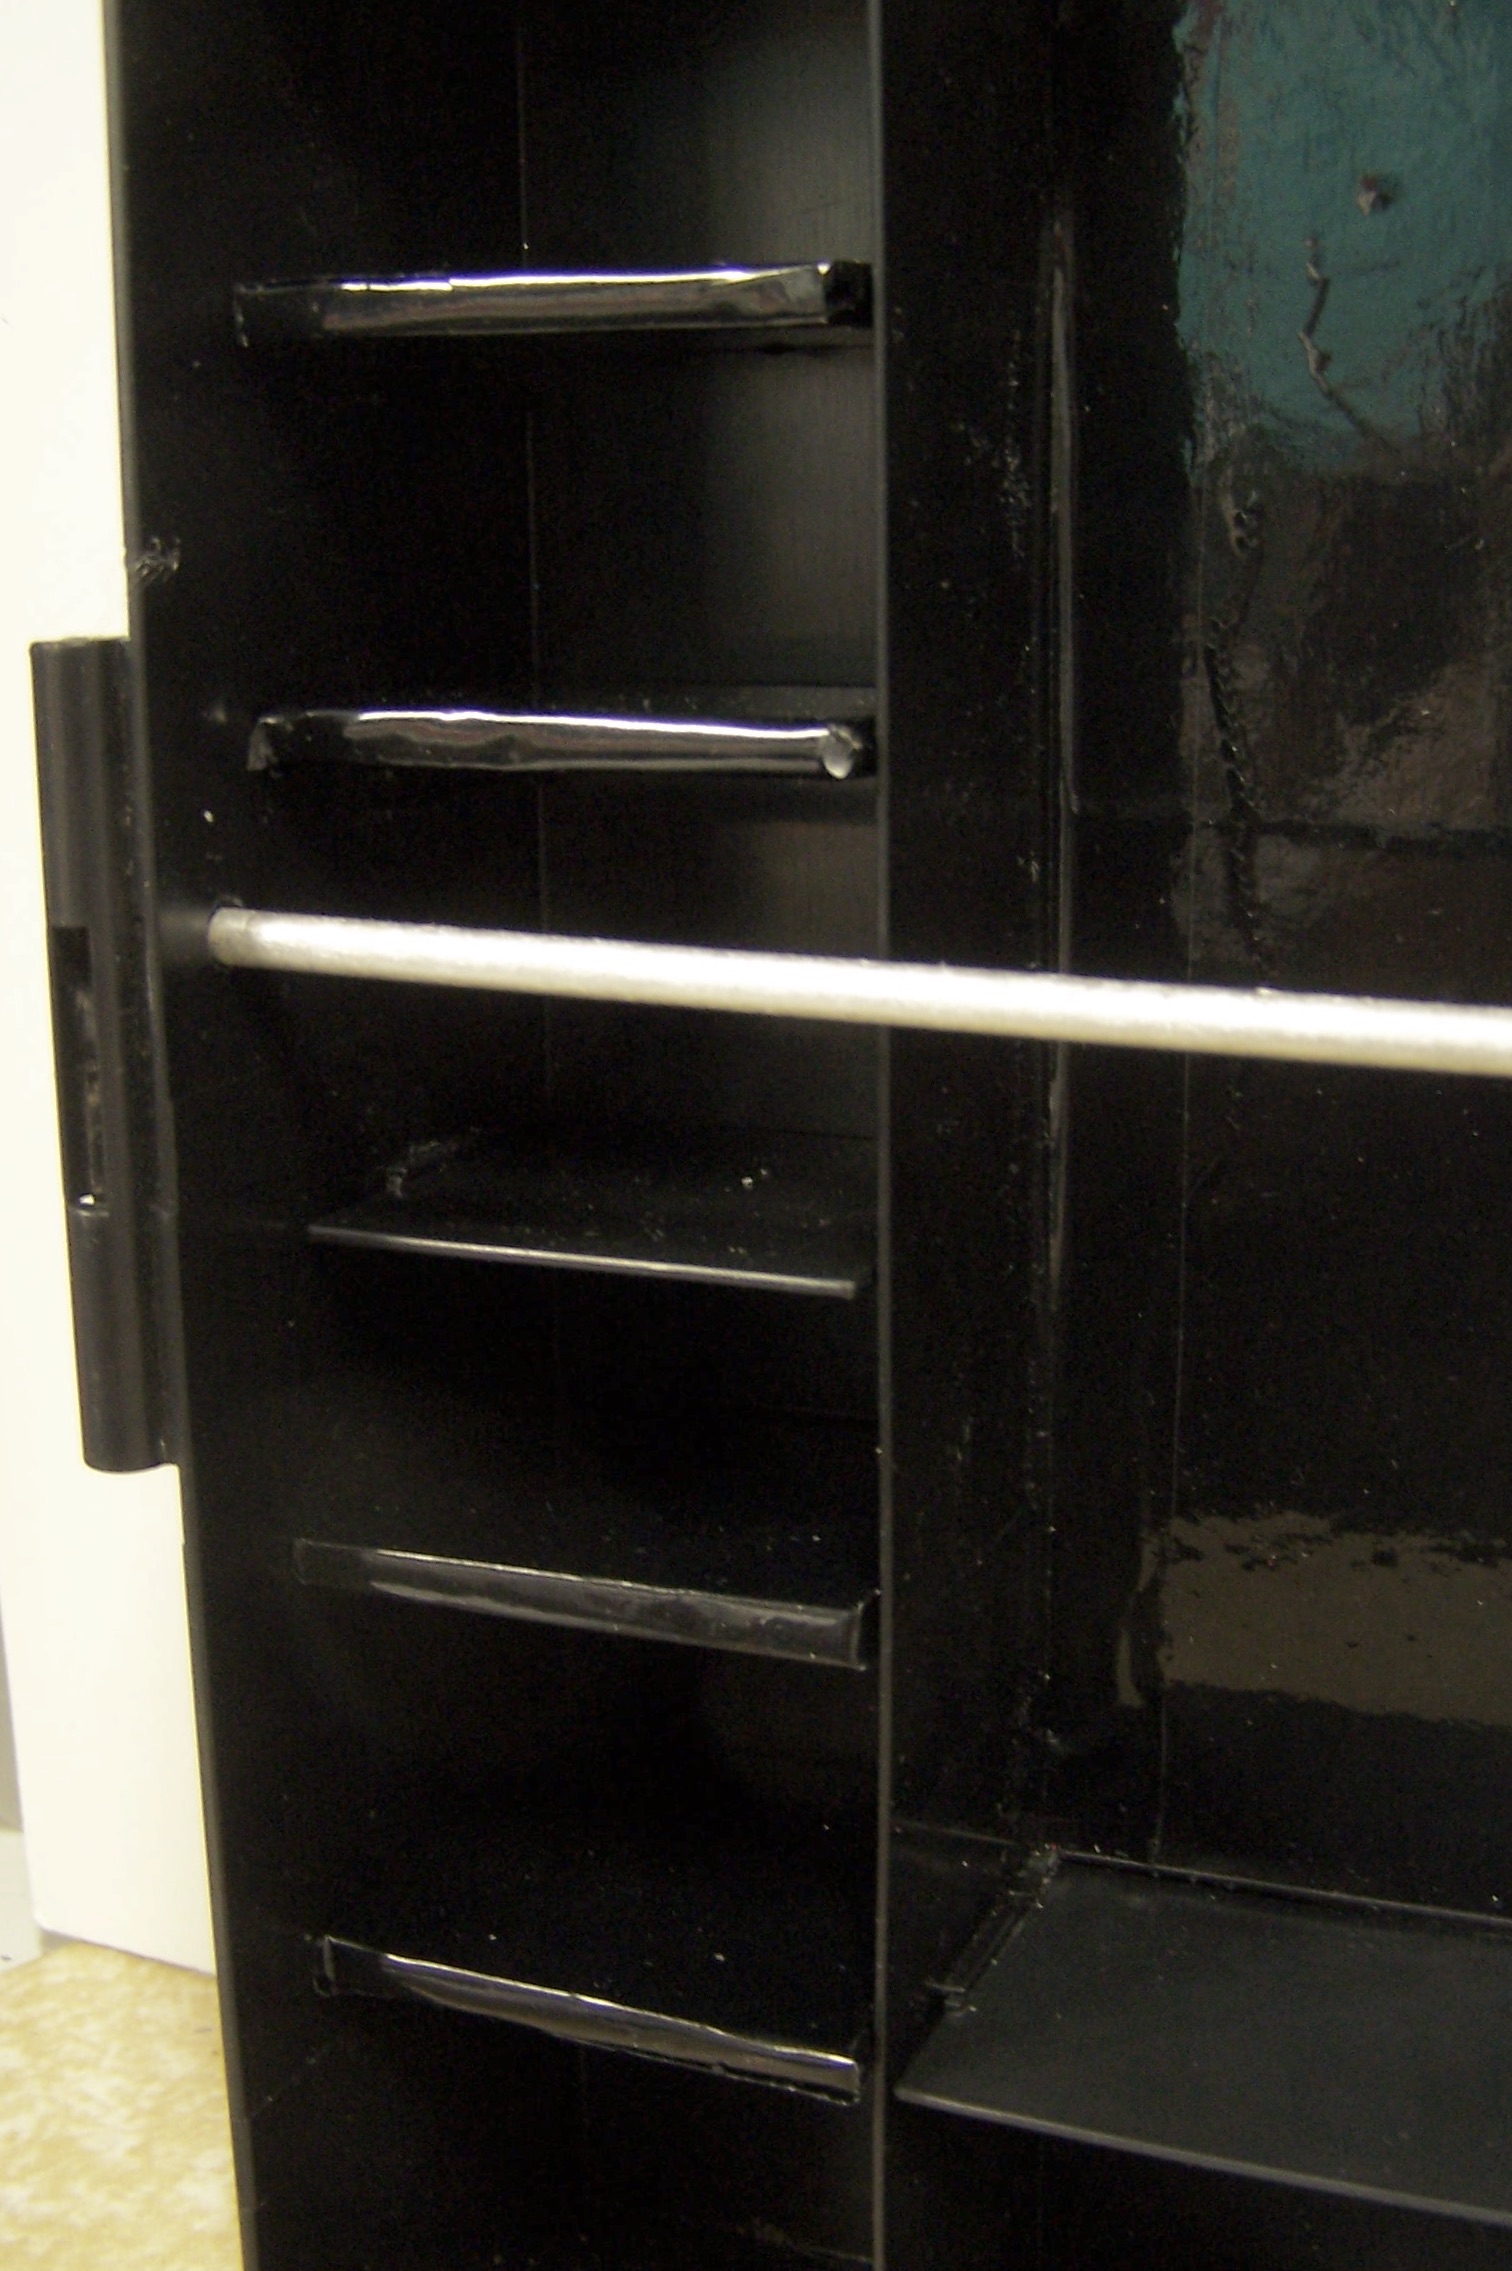
I ran one rod outside all the shelving all the way across about halfway up. And another in the right slot. Drilling through the plastic is really quick when you have the right tools.
I painted the wood dowel/rods quickly with an alcohol based paint pen which dries fast and looks exactly like aluminum. I also painted the plastic rod included to match. I used the back of the stickum plastic paper to paint on. Works super and it's throwaway you were already going to throw away...a GREEN thing to do. Don't forget to recycle all your bits and pieces.
I installed the rods with hot glue (some of the plastic glues leave a heavy residue, which would really show up on the black as a white textured haze)---and then covered the holes and rod ends on the outside with a small bits of the black plastic paper.
Here's a closeup on the shelves---I made four. You can see the center hinges clearly here on the left. I can easily hook or insert a wire fixture in the holes, so I left them.
The excess glue is easily pulled/cut off as it really doesn't permanently stick to the plastic.
Here is the final rough layout for the shop---Now to fill it all with merchandise and some fun enhancements!
My goal this Spring is to set up every diorama I have made, and use all the props, and then sell off my stashes of EXCESS---that I'm currently buried in. Only five years and I have an entire room stuffed with DOLL Furniture, vehicles, bitties, and etc. Yikes, but it is hard to pass up thrift store items, so cheap as children apparently cast things off quickly, now adays.
Everything you see here was a thrift store purchase, except for the hammock. Somethings are just too cute to pass up, NEW!
Diorama Store Materials:
4 pieces of black foam core
1 piece of thick foam core
1 sheet of silver/gray for floor
duct tape for the doors
T-pins and/or packing tape for hinges and attaching walls
exit sign printed from internet
photos from personal photos and internet
colored papers and signage(to be shown later)
Signage (to be shown later)
rocks printed from photos
1 Redo on a closet
assorted shelving
service counter
bags/tissue
clear plastic for counter barrier.
TOOLS Closet REDO
Some sort of hack saw, serrated blade or Dremel tool with saw blade.
Screw drivers, a straight blade and Phillips (+) type.
File or sand paper
Pliers
Scissors
An Exacto type blade and holder.
Materials:
Plastic Doll Closet
1 piece of 12x16 or so black shiny adhesive/plastic
Goo-gone to remove stickers
Alcohol to remove residue and clean
Dowel rods (I use 1/4-3/8" for my rods to fit doll hangers)
Silver paint marker or paint
Foam core scraps for shelves
Glue or glue gun to secure rods.
(clear plastic or boxes to make bins) if you choose.
Clear packing tape for bins-showing later.
WHAT haveYOU MADE for
your DOLLS?
If you enjoyed this post(s), please join me by email- at
FOLLOW IT---upper right hand corner.
I have not been paid or reimbursed in anyway for my opinions or products shown, or from where I shop.
Please Join me at these Fine Blog Parties!
Thank you for your cooperation, Sandi