
Ad-Free Blog
 |
| barbieoldnewgreenredo |
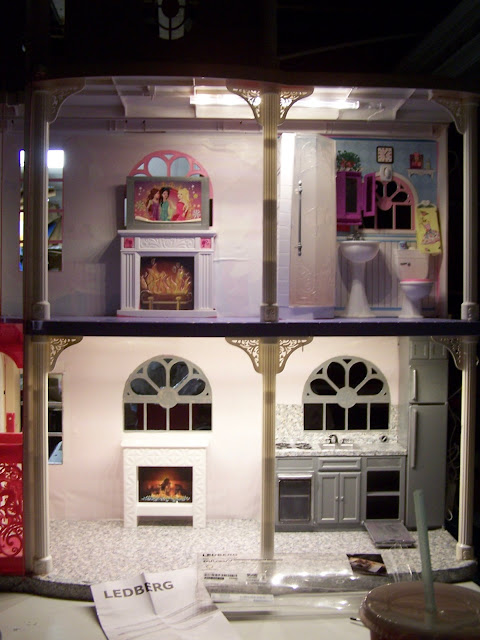
Since I want to put a more contemporary spin on the townhome, I had to work in some custom cabinetry to utilize the space efficiently. I used the measurements of the kitchen cabinets and the space I had available...so if you do constructions, make them fit your own spaces.
 |
| barbieoldnewgreenredo |
The left white wall screams for cabinetry, but since there is a fireplace on the second floor I decided against one on the first floor.
 |
| barbieoldnewgreenredo |
Hubby cut some 3/8" plywood and masonite strips and pieces for me. I had lots of small wood pieces of mini-lumber to use for construction braces to square up the 'box' that would be the pantry cabinet next to the kitchen.
|
| barbieoldnewgreenredo |
We've designed and put together 3 IKEA kitchens in the last 5 years, I wish mini cabinets were that easy. LOL, anyway. Construction was pretty simple. I did have to
notch the back top of the cabinets to slide into the house. I did glue and nail the three main cross braces at the top, center and bottom.
 |
| barbieoldnewgreenredo |
I used an E600 type glue which sets up pretty quickly to hold and then cures in 24 hours. This flexible type glue work pretty well, as you can adjust a bit before it begins to set up. I had so many issues with the small bookshelf---I wasn't real interested in pounding more nails that failed and split the plywood shelves from the side.
So I used glue.
|
| barbieoldnewgreenredo |
I glued smaller braces in for the shelves, front and back, and then glued the shelves in also. Trickiest part was the hinges. I stole some extra hinges from some folding picture frames which matched some in my stashes.
 |
| barbieoldnewgreenredo |
It's hard to see, but I used an Exacto knife to score around the edges of the hinges on the front door. Then I carefully chiseled out one layer of the wood so the hinge would fit flush into the front door. The tips of the hinges poke through the door, but are easily filed/sanded off, and will be covered with paint.
 |
| barbieoldnewgreenredo |
I'm still considering more trim, but decided to finish as is, and if needed later I can always add something.
 |
| barbieoldnewgreenredo |
I used glue bottles to weight down the shelves overnight to set the whole thing up. I finished the top door the next day!
 |
| barbieoldnewgreenredo |
I filled/sanded all the edges, and did a paint blitz of the rest of the pieces being used in the room. Two coats of acrylic satin gray paint worked well. I happen to love white insides in cabinets so I did that in the pantry. The open box will be for appliances, either a microwave or a coffee pot?
 |
| barbieoldnewgreenredo |
The color difference is the light streaming into the house. It looks like a well-balanced useful kitchen area.
 |
| barbieoldnewgreenredo |
The box in the middle was was the perfect size as is, so I just painted and added some nice quartz counter top. It's proportions worked so well with the other pieces. The small upright shelf on the left was a nightmare to make---and I will never take closeups of it, LOL. Filled with useful items, this wall will be a great addition for the home and great room.
And now to the Next Custom Project!
If you enjoyed this post(s), please join me by email- at
FOLLOW IT---upper right hand corner.
I have not been paid or reimbursed in anyway for my opinions or products shown, or from where I shop.
Please Join me at these Fine Blog Parties!

Thank you for your cooperation, Sandi
 |
| barbieoldnewgreenredo |